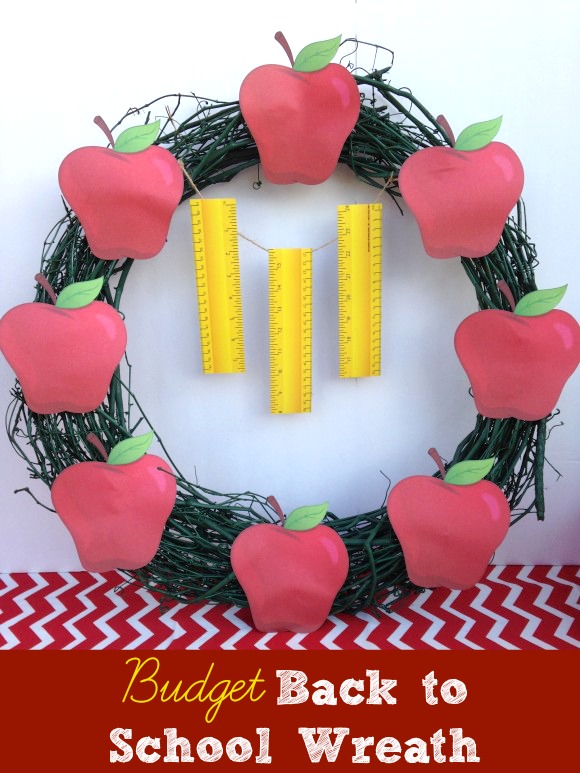
Is it back to school time already? It isn’t even the end of July, but my daughter heads back to school in four weeks!
When there is a holiday, or special occasions, I like to hang a wreath on our front door to celebrate an event. They’re easy to make, and are usually pretty inexpensive.
I’ve recently created a simple back to school wreath to get ready & welcome the new school year!
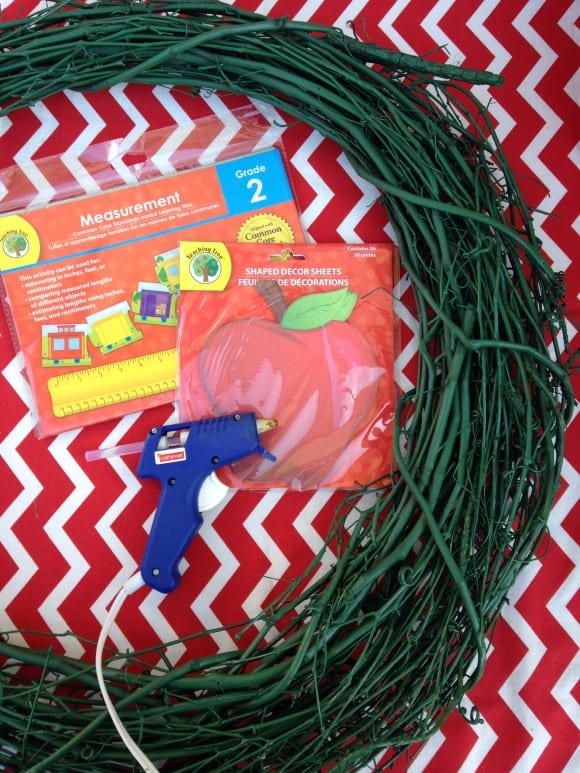
Supplies:
- Wreath {can be a grapevine wreath like I used, pool noodle, styrofoam, etc.}
- Hot glue gun
- Twine
- School related embellishments. {I chose paper apples, and paper rulers}
Directions:
Before I start attaching all my pieces to the wreath, I like to place them lightly on top of my wreath, to figure out where I’d like to glue everything down. Once you figure that out, start hot gluing your items to the wreath.
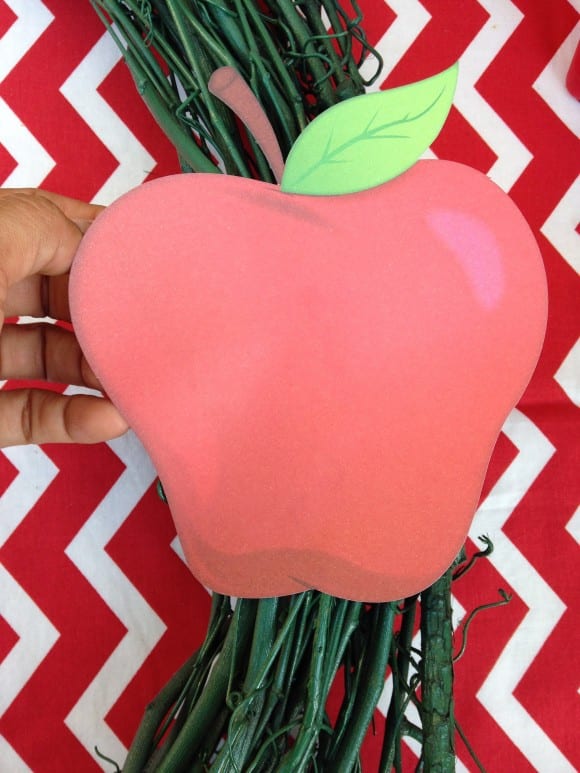
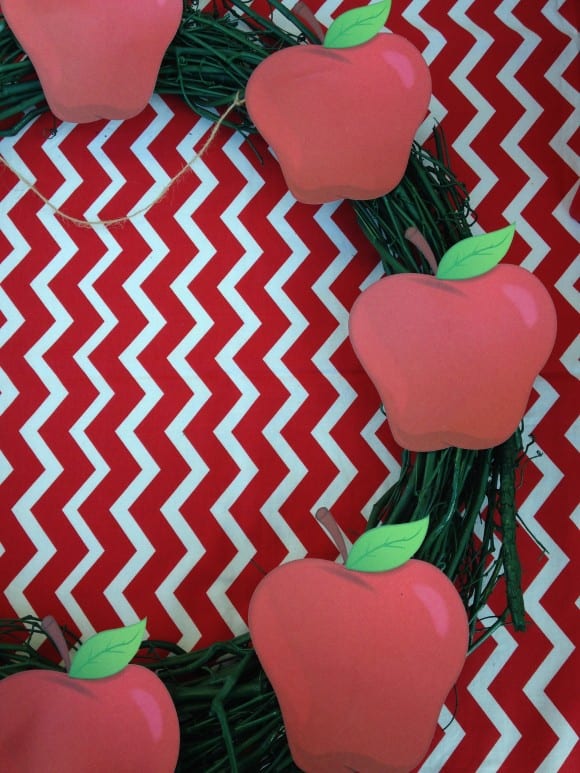
I evenly spaced my paper apples, and started the hot gluing process.
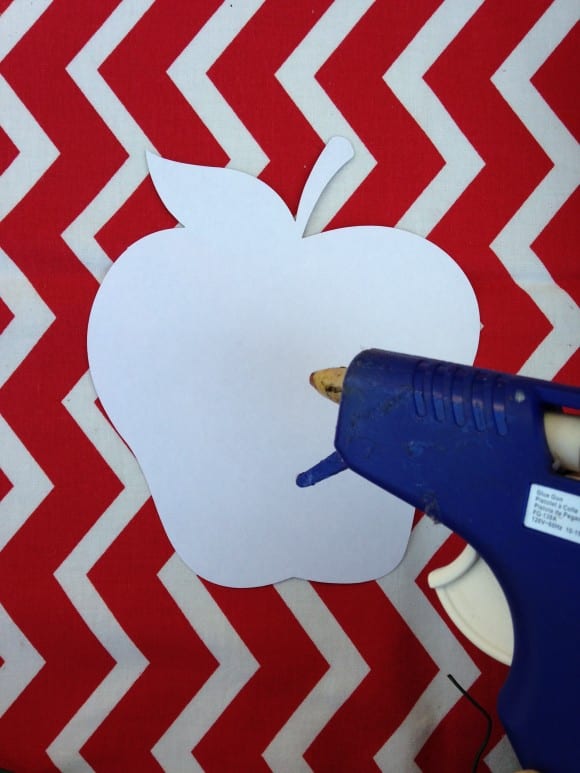
I continued gluing my items, until I had finished attaching them all the way around my wreath.
I attached twine towards the top center of my wreath, to hang my paper rulers. I then glued them to the twine.
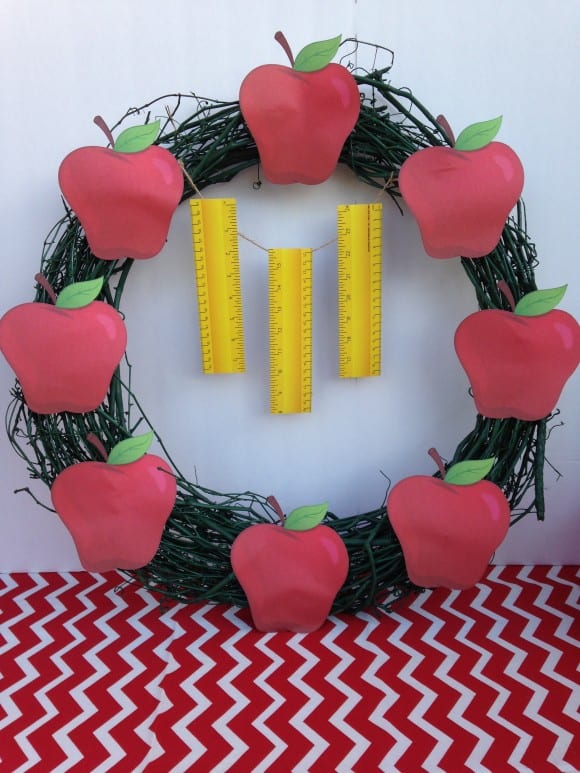
This project was very inexpensive. I used one of my existing wreaths, spray painted it, and purchased my back to school embellishments from my local Dollar Tree store. The total amount spent for this project was $2!
For more inspiration, check out these back to school parties from our site, plus our free back to school printables, and our back to school Pinterest board.