A homemade cupcake bouquet is the perfect way to say thank you, get well, or congratulations. It also makes a beautiful centerpiece and would look terrific on a dessert table. A cupcake bouquet is fairly easy to make, and only require a few simple supplies.

Supplies: (I’ve included a few affiliate links but they’re free)
- 12 standard sized cupcakes, without frosting
- White frosting, chilled (feel free to use store bought frosting)
- 1M icing tip and piping bag
- 8 inch clay pot
- Styrofoam ball (fits inside of clay pot, not all the way inside, just about halfway so the rounded top sticks out)
- Toothpicks
- Tissue paper
Directions
Place styrofoam ball into clay pot (see picture for example of how the ball should fit).
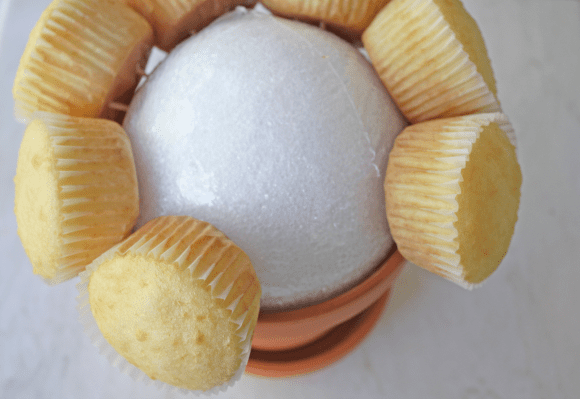
Starting around the bottom, place 23 toothpicks into styrofoam, leaving about half of the toothpick exposed and slide on the cupcakes. Repeat this around the entire bottom of styrofoam ball. I fit 8 cupcakes around the base.
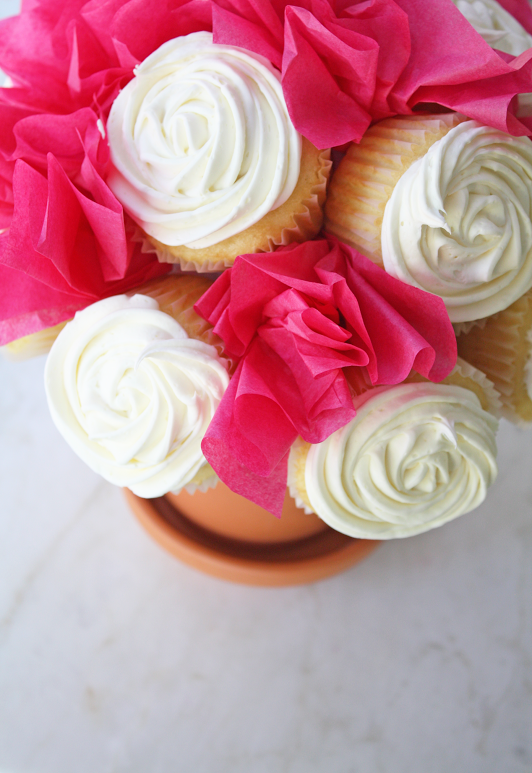
Next place the remaining 4 cupcakes on top. Space evenly. There will be blank spots where you will fill with the tissue paper.
Place chilled frosting into one of the piping bags. In the other piping bag cut the tip just so there is enough room for the 1M tip to be exposed. Cut the opening of the piping bag with the frosting in it and place it inside of the bag with the 1M tip.
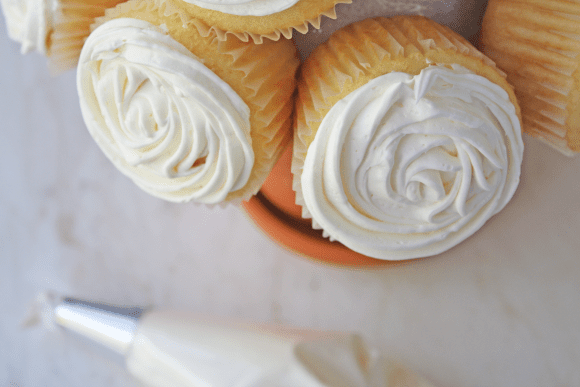
Frost the cupcakes after you assemble them on the styrofoam ball. This way the frosting does not get smudged. Pipe a rose onto each cupcake starting at the inside of the cupcake and moving outward in a circular motion.
Once you have piped all the cupcakes, place the bouquet in the refrigerator for a few hours so the frosting gets firm. This will prevent smudging the roses when you place the tissue paper on.
Cut strips of tissue paper and use the accordion folding technique.
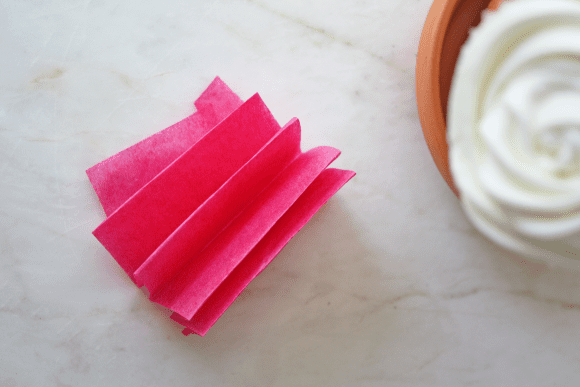
Pinch the bottom of your accordion tissue paper and begin filling in the open spaces of your bouquet!
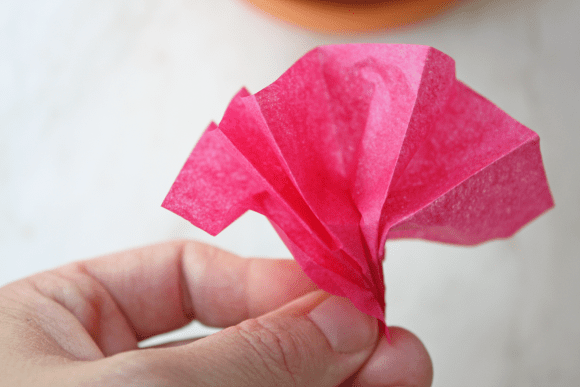

That’s it!
There are so many variations you can do with this sweet and simple treat. You can easily add more colors by mixing up the tissue paper or by painting the terra cotta pot.
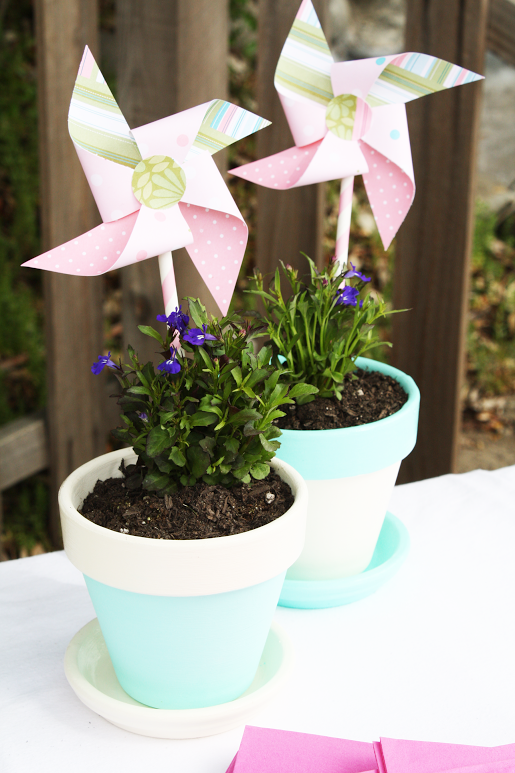
You can even see how we painted terra cotta pots in this spring flower pots and pinwheel tutorial.
