Honestly, I’ve never been good at carving pumpkins. Mine always turn out looking so juvenile, it’s a little embarrassing. 🙂
So yesterday I decided to try out pumpkin carving templates. I don’t know why I’d never thought of this before, maybe because I thought they’d be hard and weren’t worth the money. Well these I got for FREE from HP and they were super easy to use and look how awesome my pumpkins turned out!
Here’s how I did it…
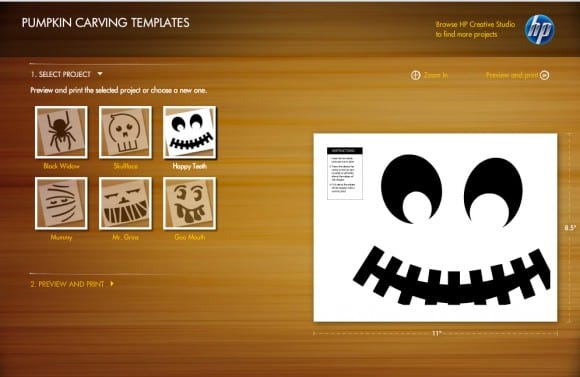
First I printed the templates from here. You can print them on HP Brochure and Flyer Paper so the templates are a little thicker and easier to manage.
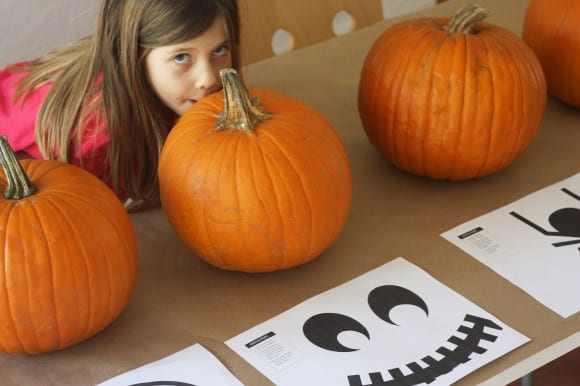
Here’s Lainey helping me choose which template to try first.
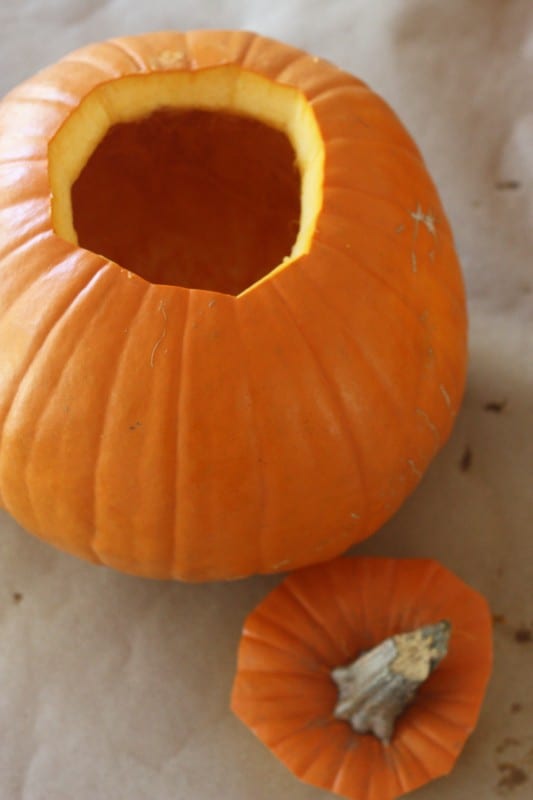
I cut off the top of the pumpkin and removed the seeds and pulp.
I taped the template to the front of the pumpkin, not worrying about making it look too perfect.
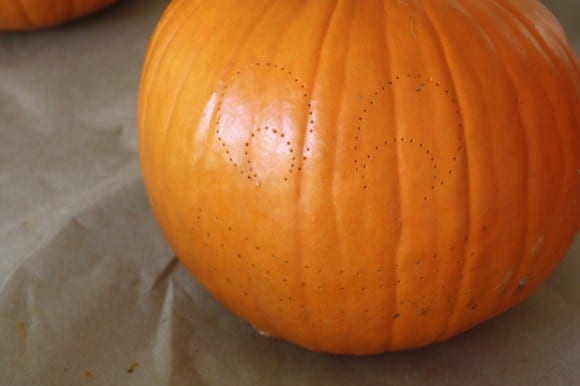
And here’s the best part… Using a black ball point pen, I poked little holes in the pumpkin using the template as my guide.
When I took the paper off, I knew exactly where to cut… brilliant!
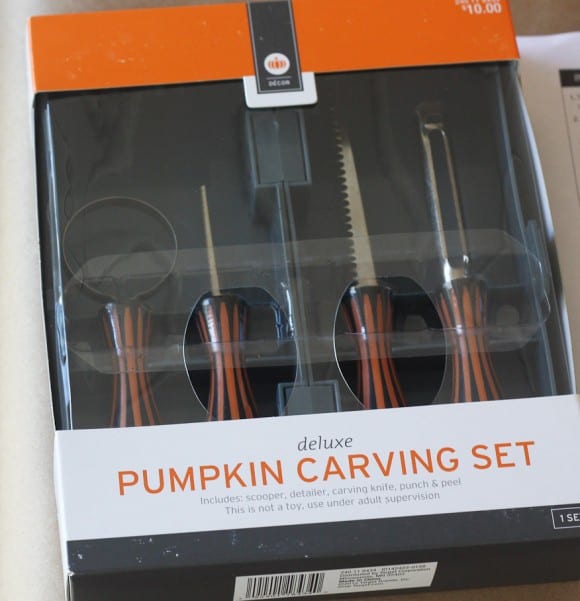
I used this pumpkin carving kit I found at Target. The little saw was the most helpful tool, but I still needed to use my small kitchen knife to get out the big chunks of pumpkin.
And here’s how my first pumpkin turned out.
A little clean-up, some lit votive candles inside and… voila! My first two carved pumpkins of the year!
As Halloween gets closer I will definitely be doing this again. It’s really simple and I loved the results!! After all these years, I now know the secret to a great carved pumpkin!

