
I first saw glitter tattoos at the Egyptology 8th Birthday Nicole W threw for her daughter. For party favors, Nicole applied glitter tattoos to her guests. I thought they looked cool, but didn’t quite get how they worked.
Then I read Nicole’s blog post, where she described the process and explained where to buy everything. So to try it out, I ordered this set from Glimmer Body Art for my daughter for Christmas.
Well, yesterday was Christmas, and those glitter tattoos were such a hit. By the end of the day, my daughter had two tattoos, I had one, her aunt had one, and even her grandmother had one. They look amazing, and are easy to apply.
So in case you’re wondering how to do it, here’s a simple tutorial.
HOW TO APPLY A GLITTER TATTOO
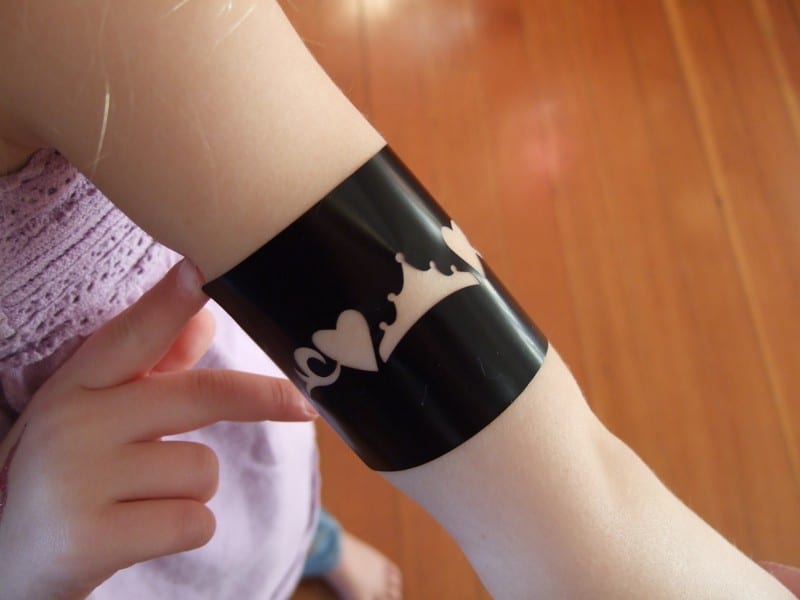
STEP 1
Pick out your self-adhesive stencil (this one came in the kit I bought, but you can buy them in every possible theme from Glimmer Body Art or Faketoos). Remove the backing so it’s sticky, and place it where you’d like the tattoo.
STEP 2
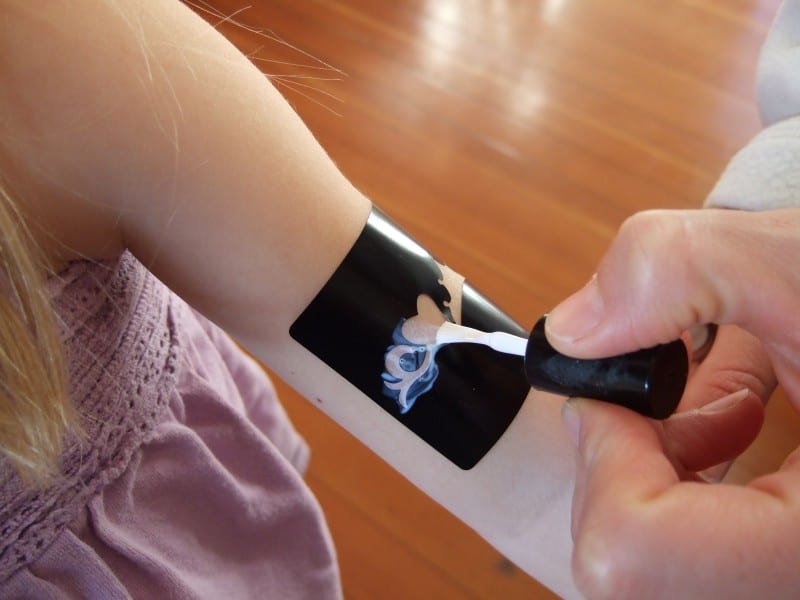
Apply the body glue.
STEP 3
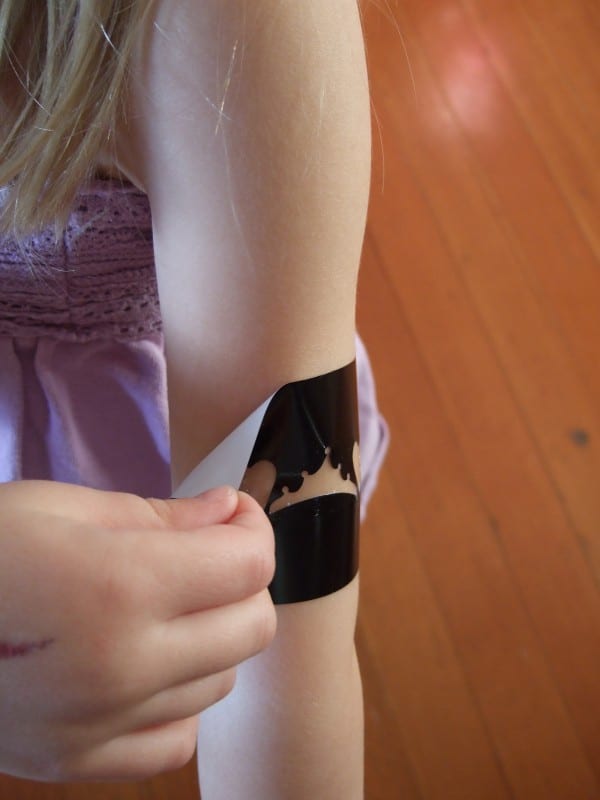
Let the glue dry until it’s almost clear, then remove the stencil.
STEP 4
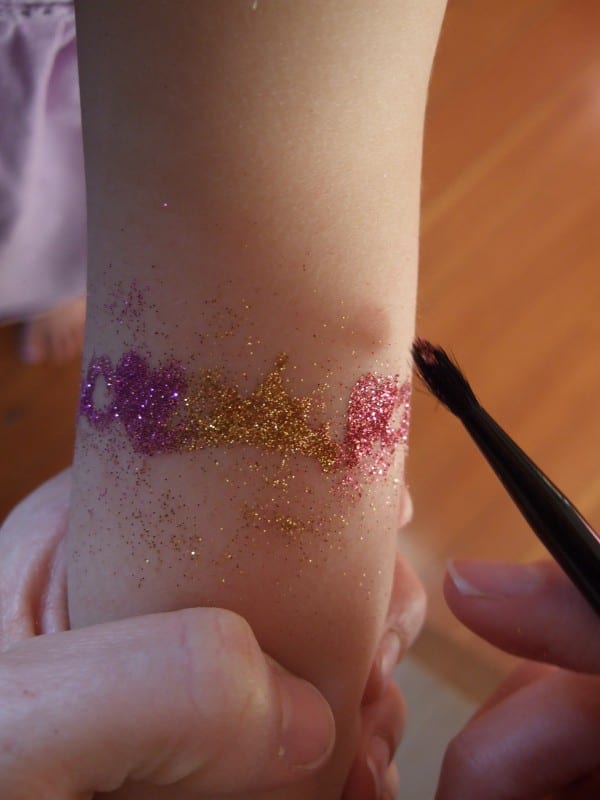
Using a small brush, apply the glitter generously over where you placed the glue. It’s easy to use a variety of colors, they blend nicely.
Step 5
Use a big brush (like a blush brush) to remove the extra glitter.
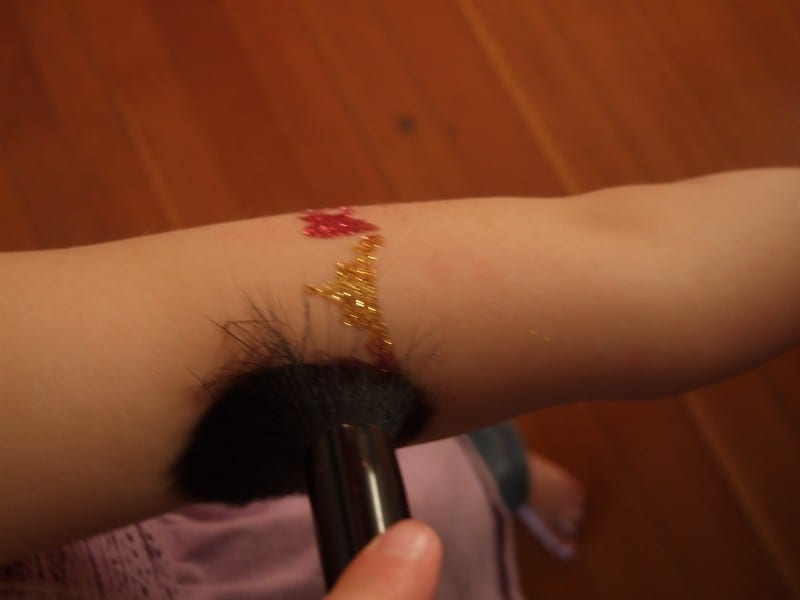
Step 6
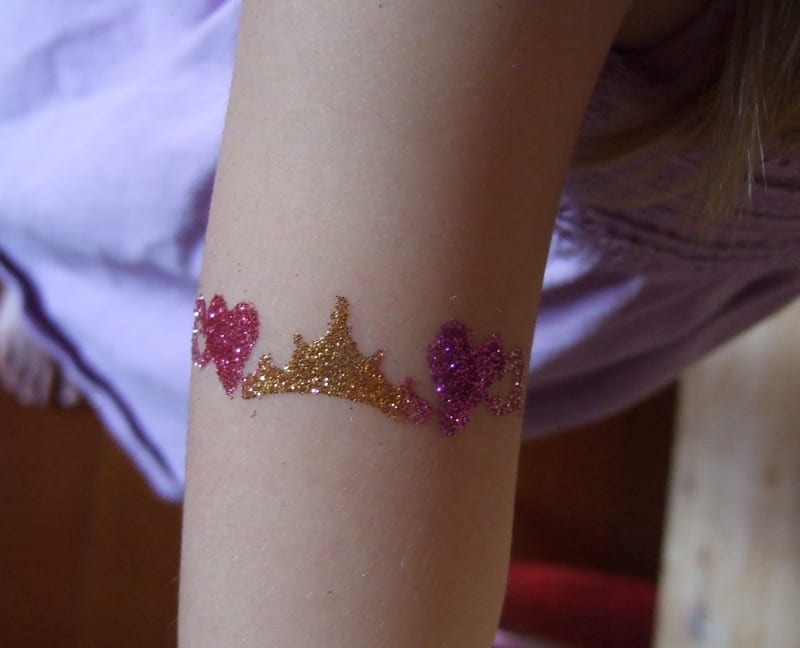
And what you are left with is an awesome sparkly glitter tattoo!
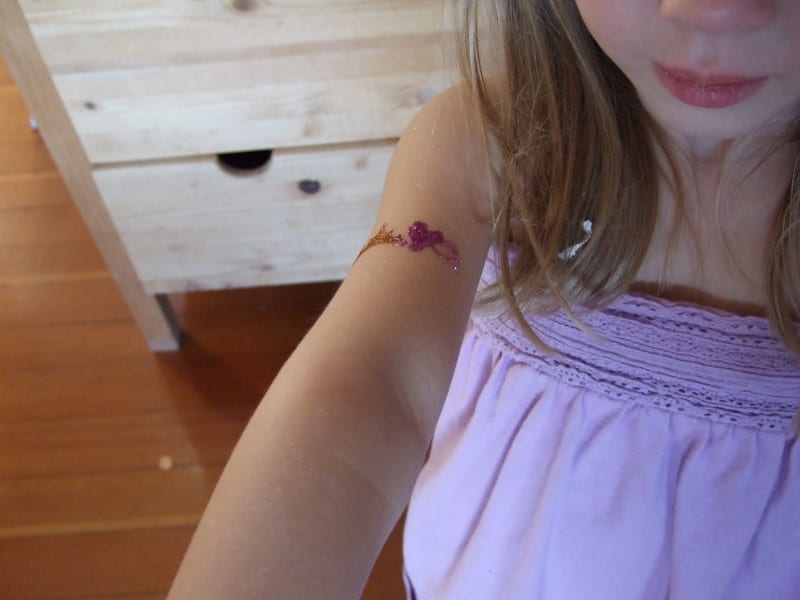
You can tell she likes them. 🙂

Here’s what the Glimmer Body Art kit looks like that I ordered.
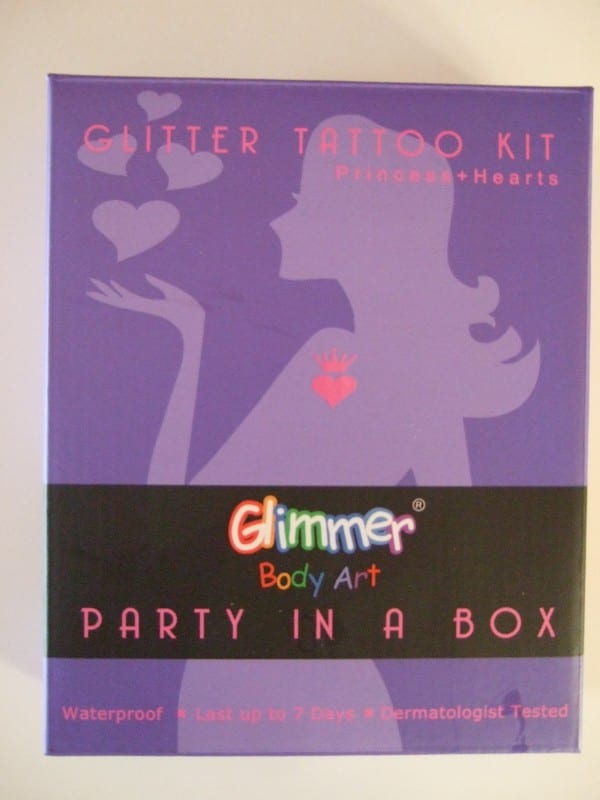
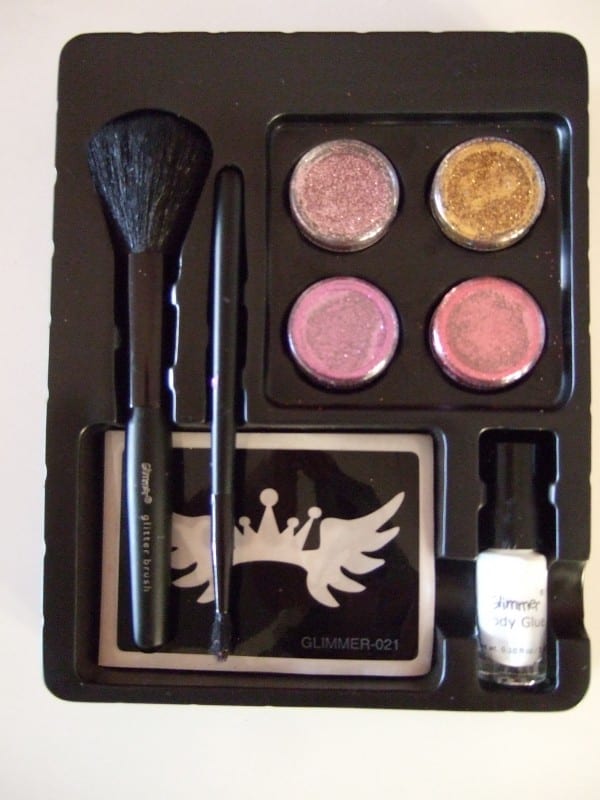
The kit comes with: 12 self-adhesive stencils, 4 containers of glitter, two brushes, and a bottle of body glue.
If I were buying glitter tattoos to do at a party (which I think it a fantastic idea!), I would definitely buy the pieces separately like Nicole did, but since we were just starting out, a kit was perfect. In fact, this will be my go-to birthday gift for all of my daughter’s friends.