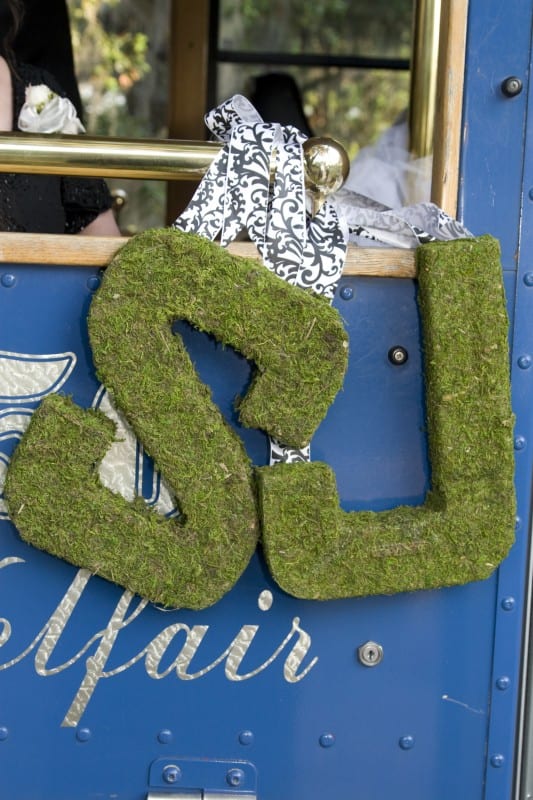
I saw these moss covered letters Raychel from Kush Event Planning made for the Black and White Damask Wedding she styled and I loved how rustic and classic they looked.
Raychel generously offered to put together a DIY on how she made them, so please, Raychel, take it away…
Hi all you Catch My Party readers! I’m Raychel from Kush Event Planning. There is no way I can describe my excitement over being asked by Jillian to do a DIY feature for them! So here it is.
I am partial to making parties, weddings, and events very personal. What better way than displaying the guest of honor or host’s initial. First initial, last initial, even a monogram would be super cute!
I have made these letters covered in many mediums, but one of my favorites is moss. It gives such an earthy feeling. I love this look for country/homespun weddings, but if done right can work so nicely with an upscale/elegant scheme too. Even better – great for your front door to welcome SPRING! (I’m sure you’re all as ready for that as I am!)
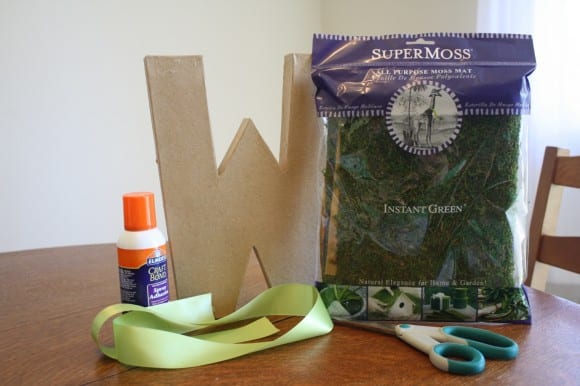
MATERIALS:
- Cardboard letter
- Spray adhesive (this gets messy so I suggest you do this project outdoors, with newspaper, and if you have rubber gloves it wouldn’t be a bad idea to wear them)
- Moss sheets — (I use this Super Moss it’s on a mesh mat and sometimes has a brown paper backing)
- Scissors
- Ribbon (optional– if you choose to hang it you will need about a yard of ribbon depending on how you want to hang it. Otherwise you can just stand it up on a table, shelf, mantel, etc.)
I purchased all of my supplies at Joann Fabrics and Crafts. And if you use coupons you can get all of the supplies (not including the scissors) for about $11. A little craft buying tip: Joann Fabrics (at least ours) lets you use as many coupons as you want! Including competitors coupons (as long as it’s something they also sell). That has saved me SO much moolah!
Step One
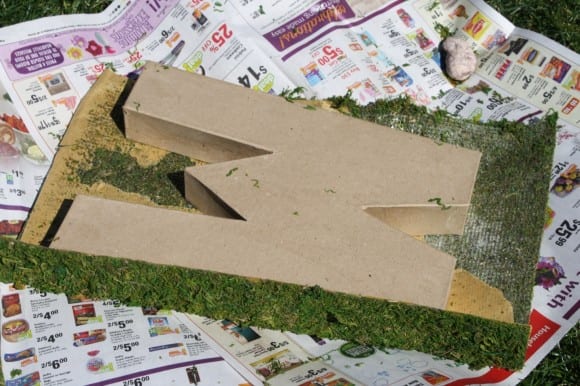
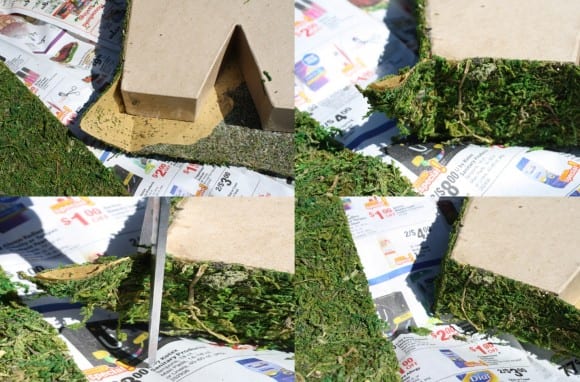
Step one is a bit tricky. Figuring out how to cut and glue your moss. It varies with each letter since each one has a completely different shape. It also depends on if you want to cover both sides, or just the front. If you’re hanging it on a wall or door you really don’t need to cover the back. For the “W” (and quite a few others) I find it easiest to completely cover the front and outer sides of the letter, then cut away the excess. I started with one side and sprayed as I went while pulling the moss somewhat tight so it lays flat on the cardboard.
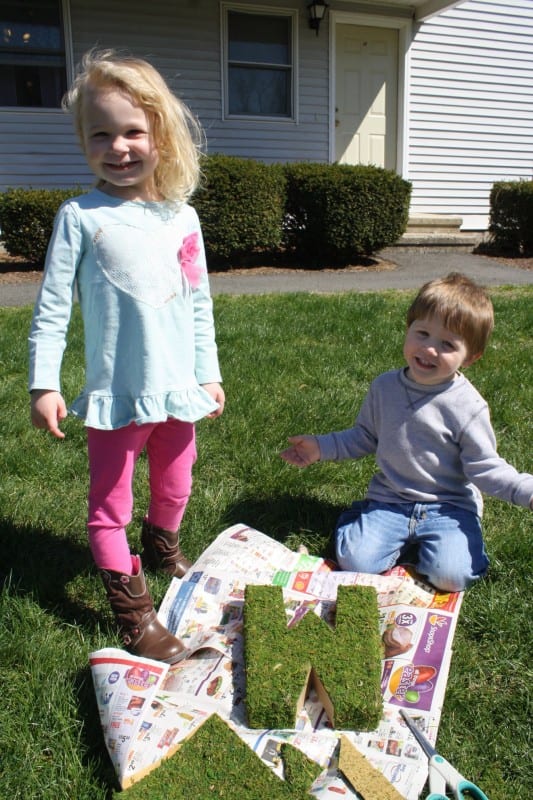
And if it’s an extremely windy day you might need some help holding down your newspaper.
(My son, Jackson and my niece, Sophie were perfect for the job.)
Step Two
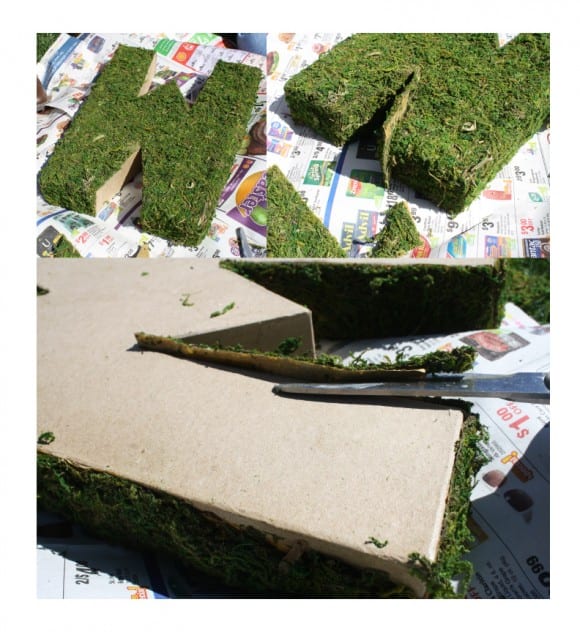
To make the corners, fold up the sides and glue. You will get a little “tail”. Just cut it off right up against the cardboard to make it flush. The moss is so forgiving that you will hardly be able to tell there is a seam there, and if you do see a seam just pick up some of the moss pieces that have fallen on your paper (or all over your clothes—but don’t worry it brushes right off) and spray a tiny bit of adhesive to cover up the seam.
Step Three
Cut strips of moss to fit into spaces that are not covered and fill in gaps. You can either cut and then glue or glue and then trim along the edges.
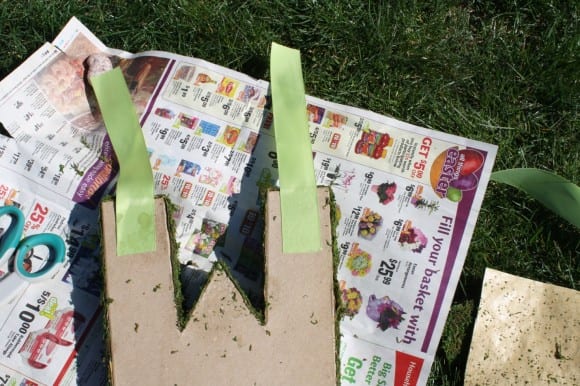
Add ribbon. Just cut the length of ribbon you want and spray the adhesive to the tops of the back of the letter. This will take some adjusting considering the different shapes of the different letters. I planned to hang it with two ribbons with two bows and two hooks, but changed my mind and tied the two ribbon ends together to hang it by one.
Step Five
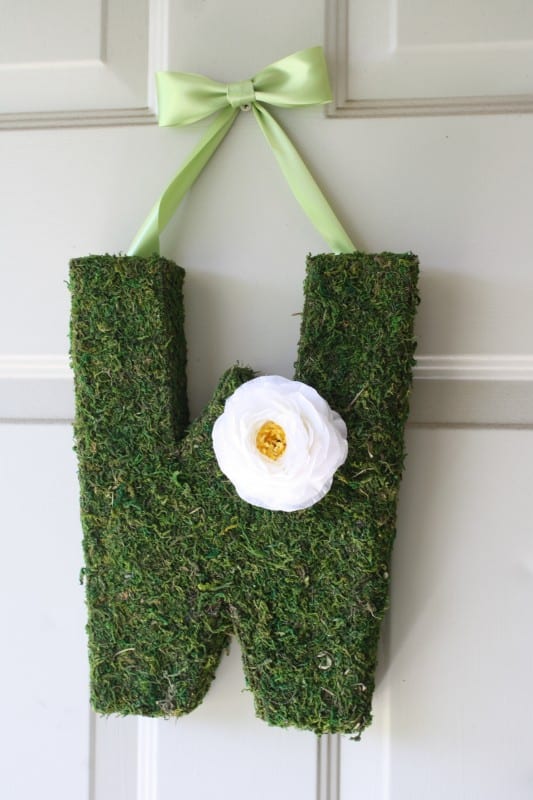
Viola! You have a hanging (or not) moss covered letter! I decided last minute to add a silk flower to mine. Hope you all like it! Our door is ready for SPRING!!!
How gorgeous, Raychel, thank you. And how great would a letter like this be as part of your Easter decor!
To learn more about Raychel, visit her at Kush Event Planning.
