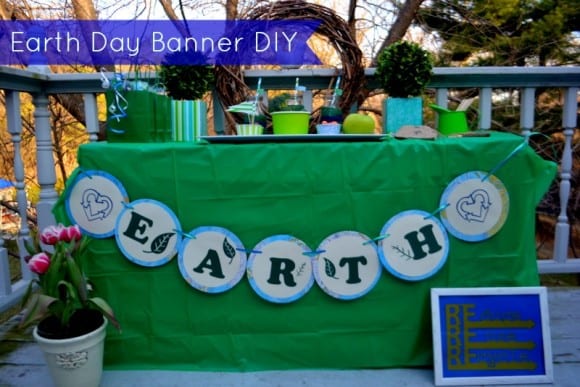
Melissa Newell from My Party Passion, is here with this easy Earth Day DIY. Look for her Earth Day Party on a Budget post tomorrow!
Happy Spring! The flowers are blooming, the trees are alive, and the snow is still in melting mode (hehe). Regardless of the weather, April is HERE and there is no going back! I am excited that Earth Day is fast approaching. We always have a great time learning about our planet and what we can do to help preserve it.
TODAY, I am bringing you a tutorial on how I made our Earth Day banner for this year’s celebration – using recycled maps.
Our public library holds a “used book sale” twice a year. Books, to our home, are like GOLD! A few sales ago, I found this HUGE hardcover Atlas with pretty maps in it for $ 1.00! SCORE! I knew that I would use them for our schooling in years to come.
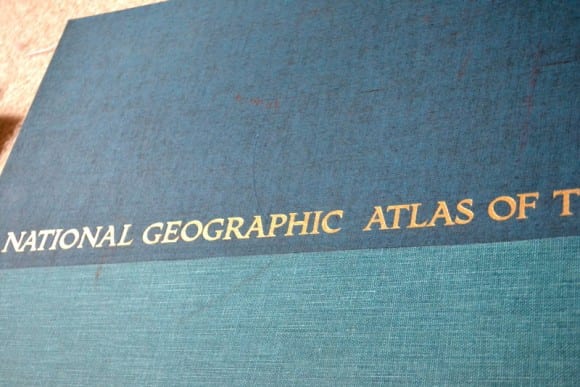
When I was thinking on what colors and “theme” to go with for Earth Day this year, I decided blues, greens and whites (typical Earth colors) and what better way to incorporate those colors then to use MAPS!
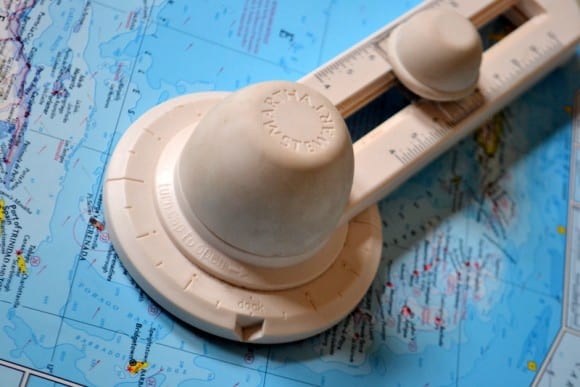
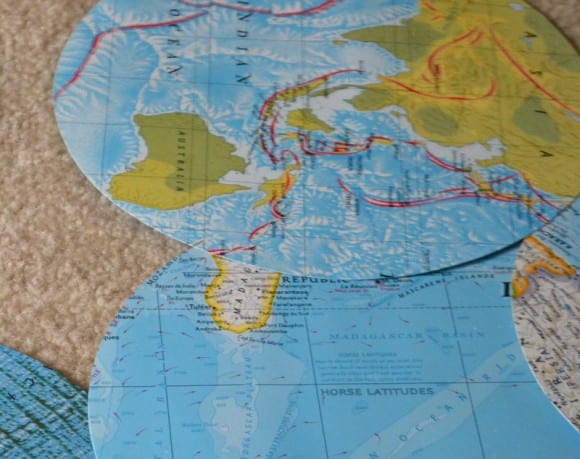
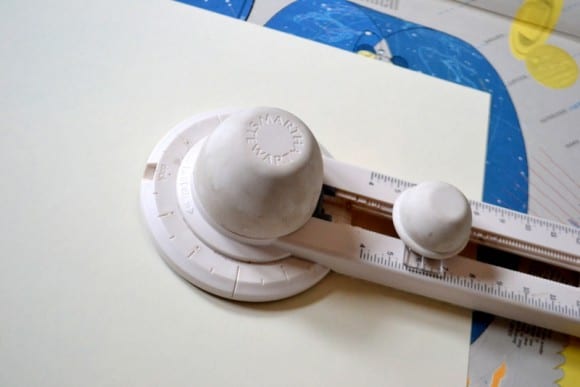
Using my Circle Cutter (Martha Stewart brand), I picked a few maps that would show off vibrant colors in hues of blues and greens (even snuck in some browns).
Cutting 7 inch circles out – using them for the base of the banner.
Next I found some scrap cream paper to use for the 2nd layer of the banner.
Cutting – 6.5 inch circles from this paper.
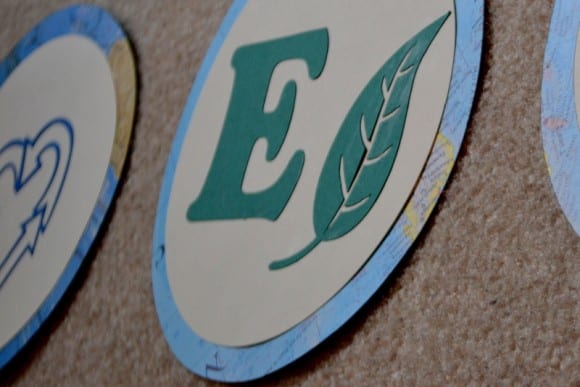
For the next layer, I enlisted the help of my Silhouette SD Machine (one of my party planning staples)! I cut the word EARTH and some leaves for embellishment.
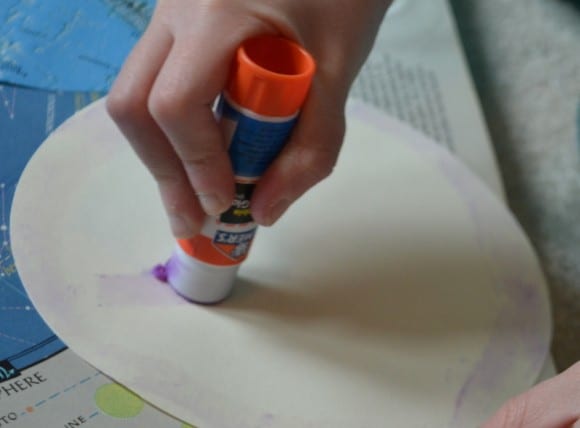
Layering these elements, gluing them all together and using some curling ribbon to tie it all together…
Here is the final product!
I bought nothing at the store and used all scrap and materials we already had. My daughter helped and we love the final results!
Be watching for our Earth Day Mini Party on a budget coming tomorrow! Until next time – Party On and Protect the Earth!
To learn more about Melissa, visit her at My Party Passion.
