Here’s the latest DIY Wanessa from Wanessa Carolina Creations
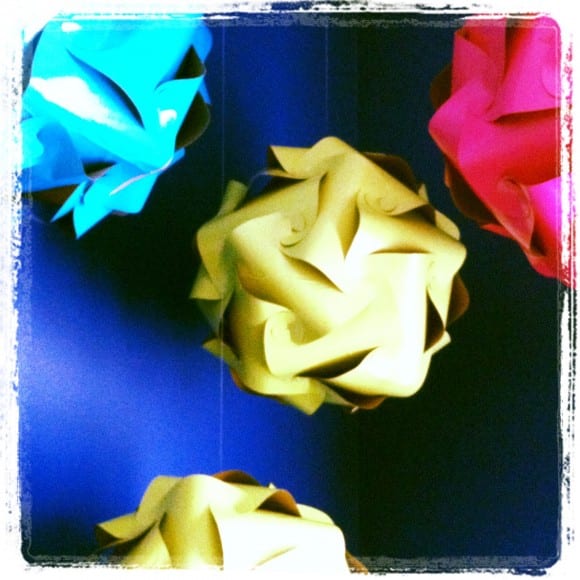
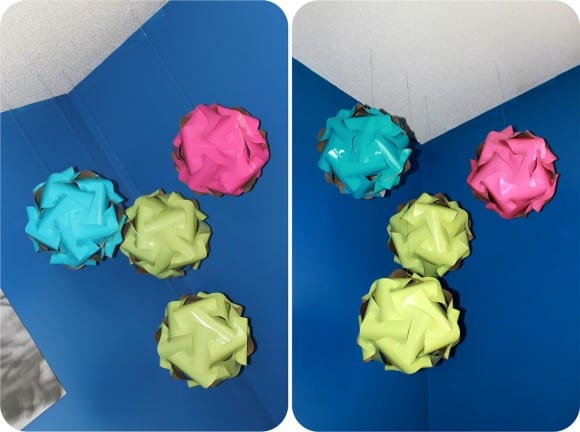
came up with and it’s incredible! Instead of pom poms or paper lanterns, how about dressing up your party with some of these paper spheres?
Take it away, Wanessa, and show us how…
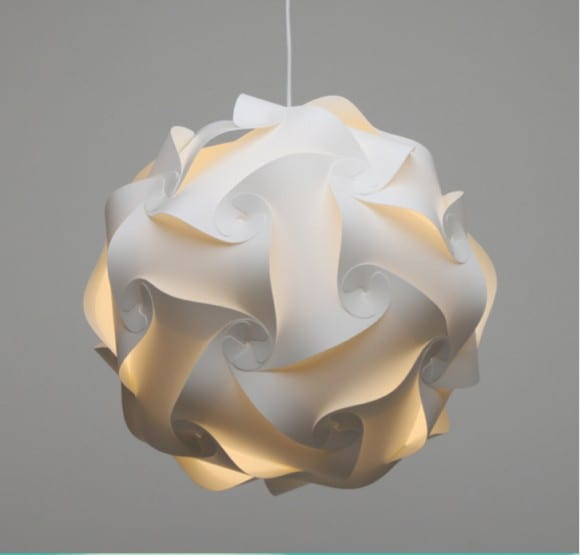
Back in the day, one of my stores in Brazil had a spherical lamp shade made out of plastic module pieces like this.
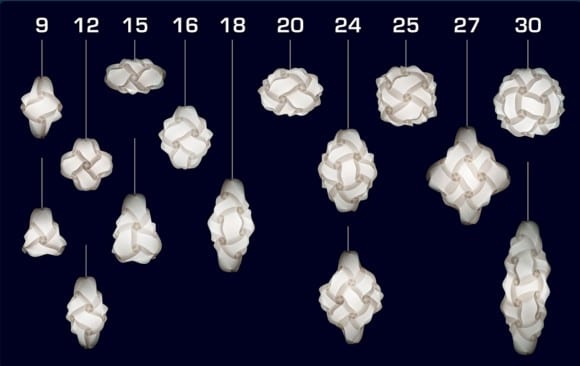
The original design, called an IQ Light, was done over 30 years ago by Holger Strom and what is amazing about this design is you can make up to 22 diferent shapes using the same module pieces.
I wanted to use the same design to make paper spheres.
Since I wanted to use bold and trendy colors, first I thought of making them with colored cardstock, but then realized that would be expensive. So here what I did…
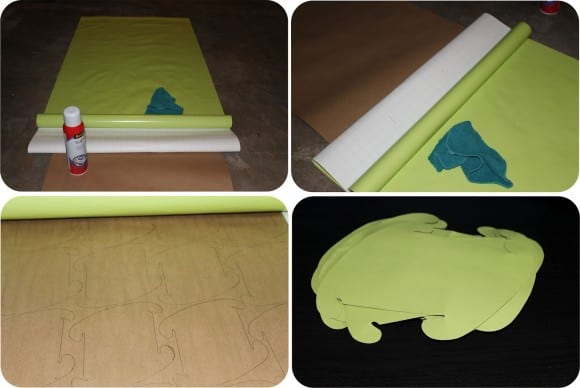
First I attached wrapping paper to brown paper with spray adhesive. Then I traced the module pieces using a module template and cut them out. At first it seemed like a lot of work but I can tell you it was worth it!
I bought the roll of brown paper at Walmart for $6.50 and the wrapping paper for $5.00. With the length of the wrapping paper I could trace up to 100 modules!
But here is what I figured out. This method just works for the round shapes, to make the oval, diamond, and the other shapes you will need the module to be colored on both sides, so you might want to try cardstock.
Materials:
- Brown paper
- Colored wrapping paper (about 8 feet)
- Spray adhesive
- Scissors
- Damp cloth
- Lay down the brown paper and spray the adhesive covering about 12″ (it is better to do this little by little)
- Lay the back of the wrapping paper on the brown paper over the spray adhesive, and rub the surface using a damp cloth to attach (using a damp cloth will avoid scratching the paper)
- Spray more adhesive and continue the process of adhering the wrapping paper to the brown craft paper
- Once both papers are attached, trace out 30 modules and cut them out. Download the module template here.
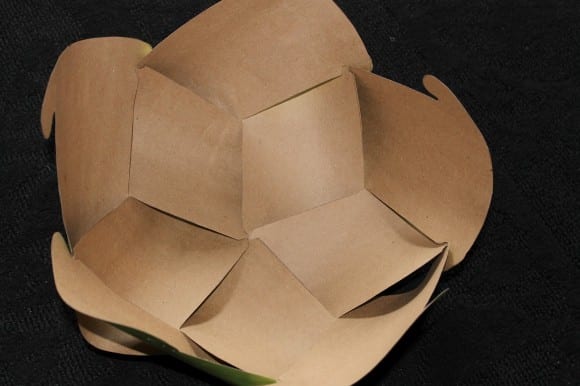
- As you start putting the pieces together, you will make something looking like a flower at the bottom, using 5 module pieces to start. Here you can see the beginning of the process of putting them together.
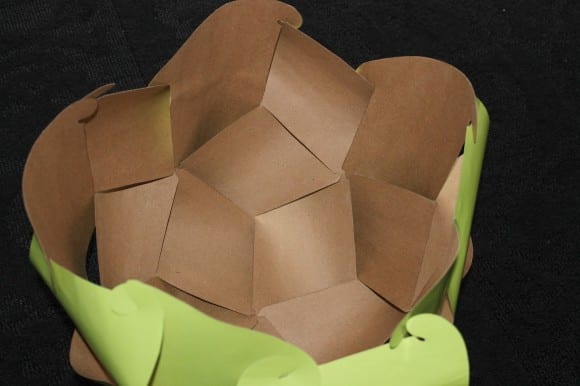
- Here’s the middle of the process.
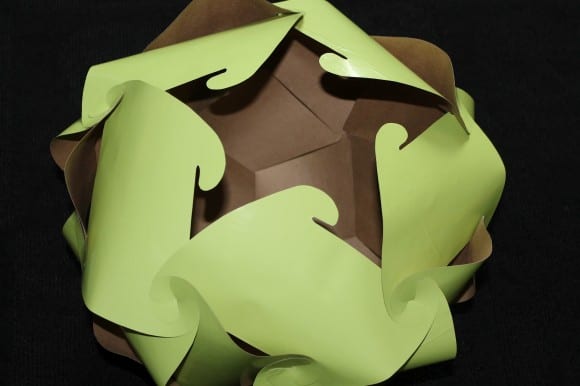
- Here’s the end of the process.
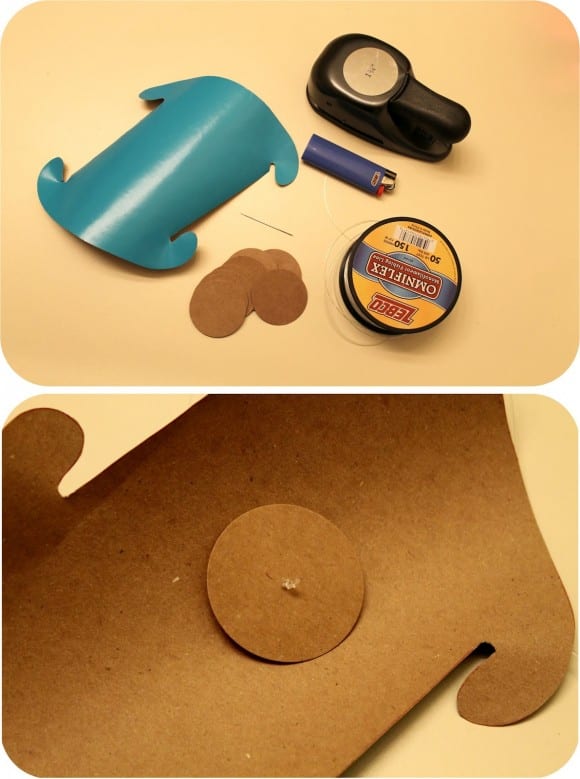
- To hang the sphere I cut out some circles (cereal box cardboard) using a scrapbook punch, made a hole in the middle of the circle and the module using a needle, passed through the holes a fish line (made a triple knot an burned the end).
- These are the different shapes you can make using the same module.
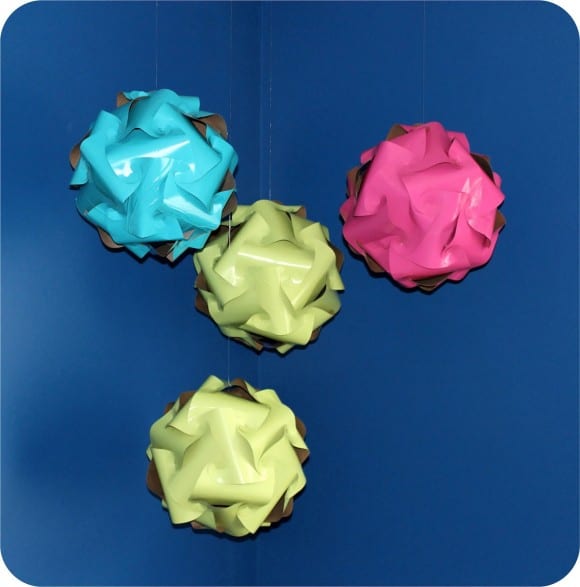
Here’s the finished product again!
 Thank you, Wanessa, these are incredible!!
If you end up making paper spheres, please email me a photo at jillian(at)catchmyparty(dot)com. I’d love to show off what you did.
To learn more about Wanessa and see more of her designs, please visit her blog, Facebook page, and Etsy shop.
