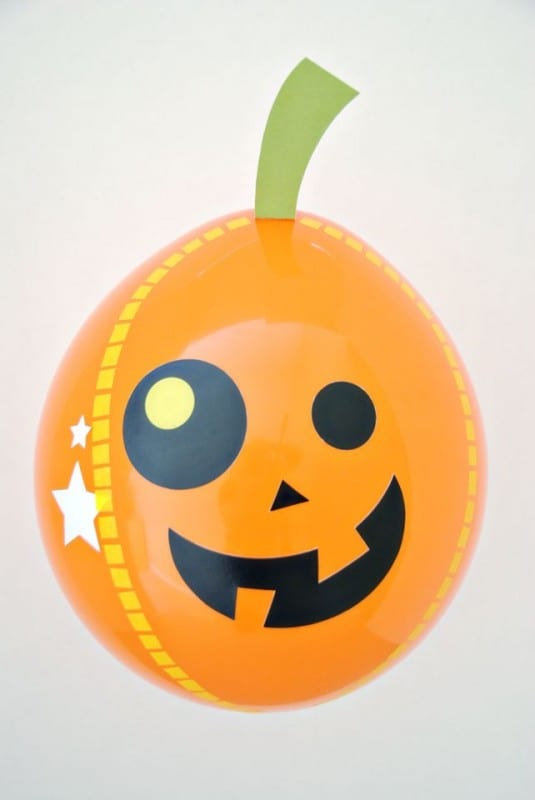
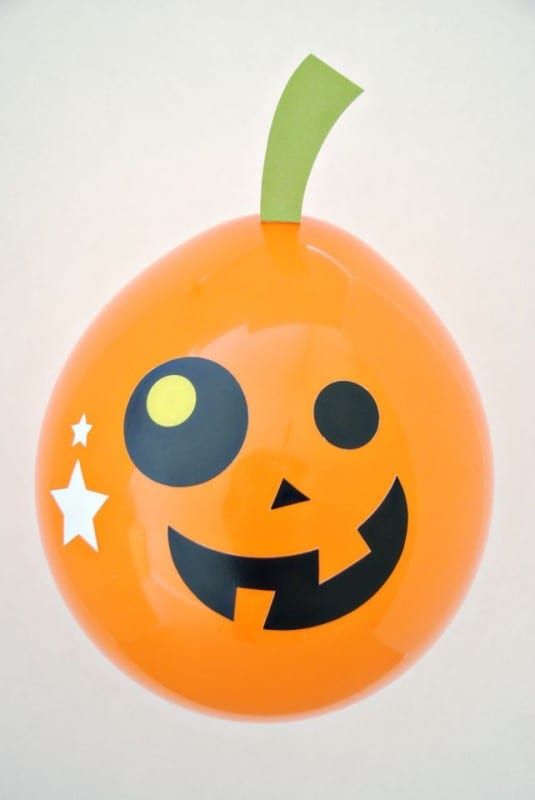
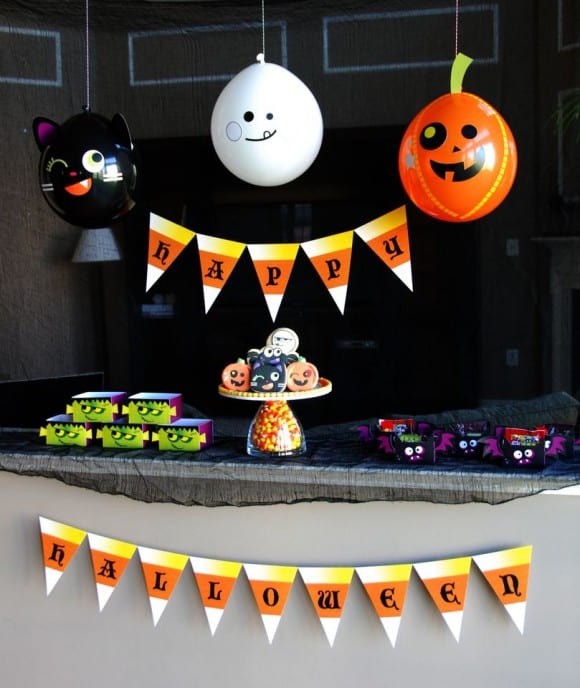
Christine from Pure Joy Events made these cute Halloween pumpkin balloons for her recent Halloween party, and now she’s sharing how she did it (with a free pumpkin template from Paper Glitter). Thanks, Christine. What a perfect Halloween party decoration!
SUPPLIES
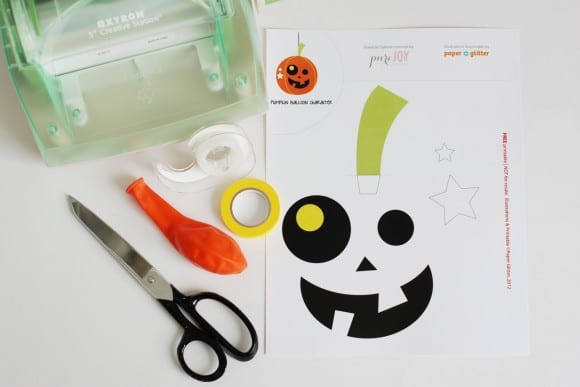
- Paper Glitter’s pumpkin balloon template
- 12″ round orange balloon
- 10mm bright yellow washi tape
- 8.5″ x 11″ 65 lb to 100 lb white cardstock
- double-sided tape
- scissors
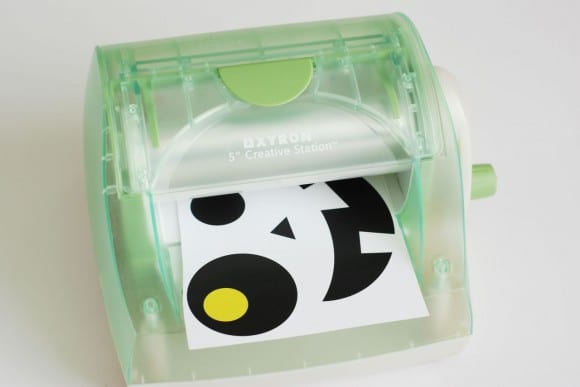
- sticker machine (optional)
DIRECTIONS
Tip: For best results, make 1 to 2 days before the event.
Step 1: Download and print Paper Glitter’s pumpkin balloon template on cardstock. (You can also download the ghost balloon template and cat balloon template here too.)
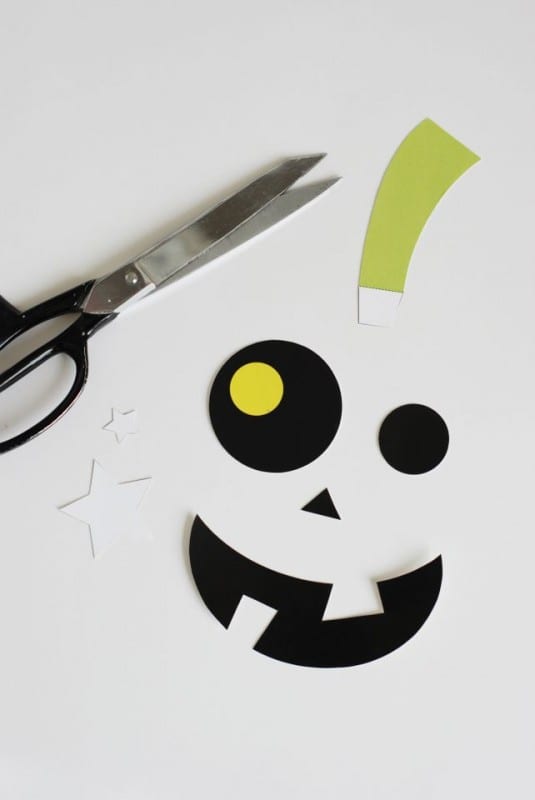
Step 2: Cut around all pieces except for the stem and apply double-sided tape to the back, or feed them through a sticker maker.
Step 3: Cut out all pieces.
Step 4: Fold along the dotted lines on the stem, then apply double-side tape to the white tab.
Step 5: Inflate the balloon with air. Tip: For size, insert the balloon into an 8 quart stockpot until it fits snuggly inside before tying the neck.
Step 6: With the neck of the balloon facing up, apply all pieces to the balloon, using the pumpkin picture from the template as a reference.
Step 7: Cut out square pieces of the washi tape and apply along the sides of the balloon, again using this picture as a reference.
We’ve also included the ghost balloon template and cat balloon template so you can make all three!
Awesome, Christine! I love how easy this was to make and they’re soooo cute!
To learn more about Christine check her out at Pure Joy Events and on Facebook. Plus, wait until you see the parties she’s added to our site… each one is more incredible than the next!
