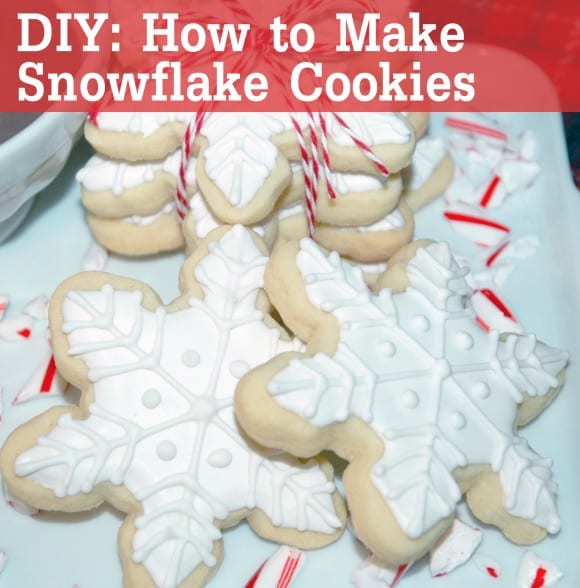
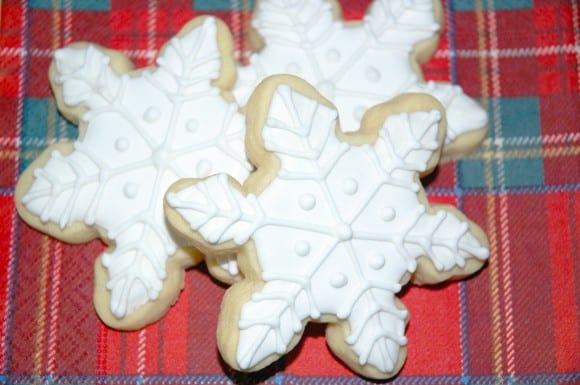
My friend, Jen Rasmussen, is what I like to call a “baker extraordinaire.” I asked her if she’d share how she does some of her incredible work, and she so kindly put together this tutorial on how she makes her gorgeous snowflake sugar cookies.
Wouldn’t these make a great holiday gift! In fact, I know after Jen took these photos, she wrapped hers up and gave them as a hostess gift. Lucky hostess!
MATERIALS:
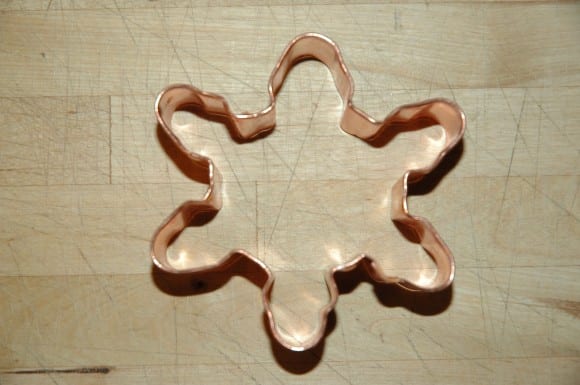
- 3 inch snowflake cookie cutter (see shape below)
- Royal icing
- White Pearl Dust (Wilton)
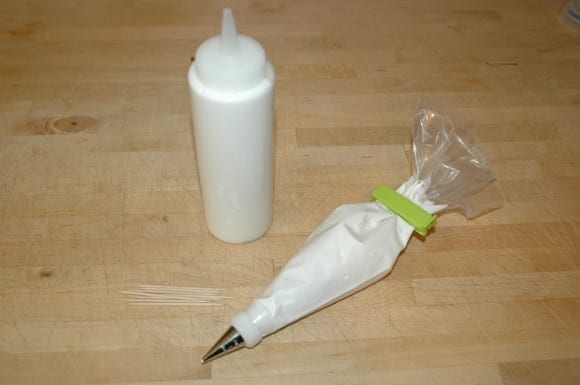
- Squeeze bottle
- Pastry bag with #2 tip
- Small bag clip
- Toothpicks
DIRECTIONS:
Using your snowflake cookie cutter, make your snowflake sugar cookies. Here’s a great sugar cookie recipe, if you need one.
Dilute ⅔ of the royal icing (here’s Alton Brown’s royal icing recipe, if you need one) to corn syrup consistency and put in squeeze bottle. The other ⅓ should be thicker for piping easily. It should fall off a spoon slowly. Add pearl dust to both for a little shimmer. Fill the pastry bag with #2 tip and secure with bag clip. Have toothpicks handy.
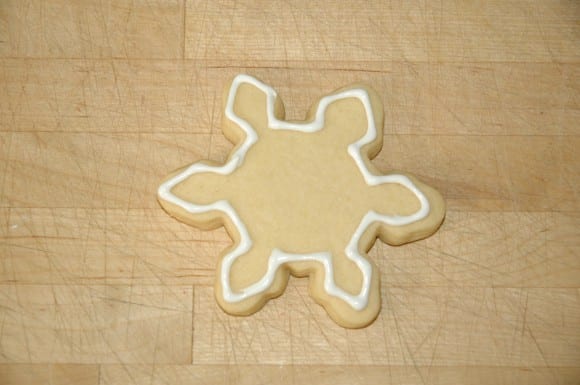
Outline cookie using icing in the pastry bag.
Using the squeeze bottle, fill in the outlined area with icing. This is called flooding. Use the tip of the squeeze bottle to spread the icing all the way to the borders. After flooding, break any air bubbles with toothpick. Let the icing set for an hour or two.
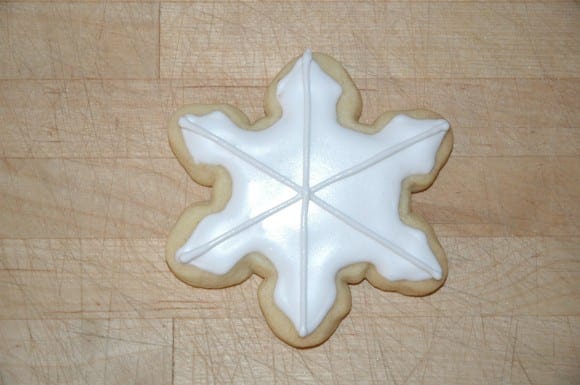
With piping icing, draw three straight lines from point to point on the snowflake, crossing in the center.
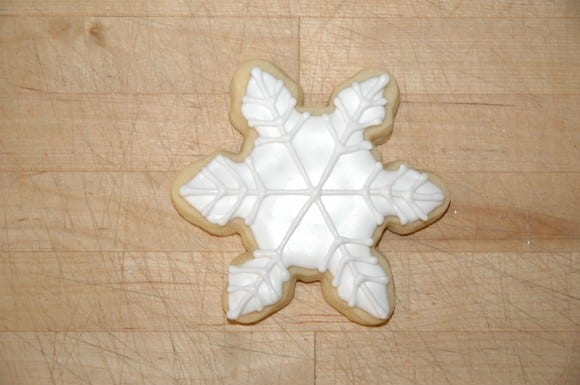
Next, add snowflake embellishments as desired.
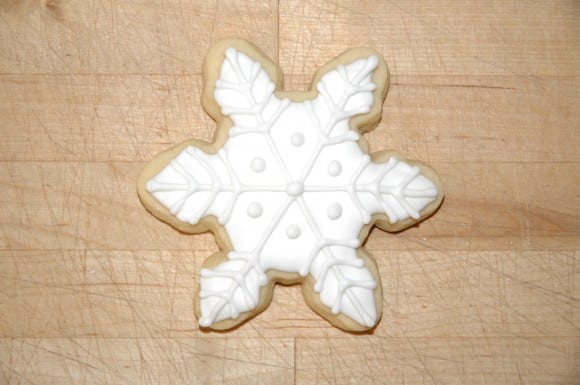
Finish with dots around the center. The cookies need to set for several hours before they can be stacked.
These definitely are gorgeous. Thanks, Jen, for sharing how you work your magic! I might try these next week with Lainey.
