Jen at Evanssays, be sweet created this adorable school bus cake pop tutorial as a great back to school treat. What kids wouldn’t want to sink their into this as they come off the bus that first day?
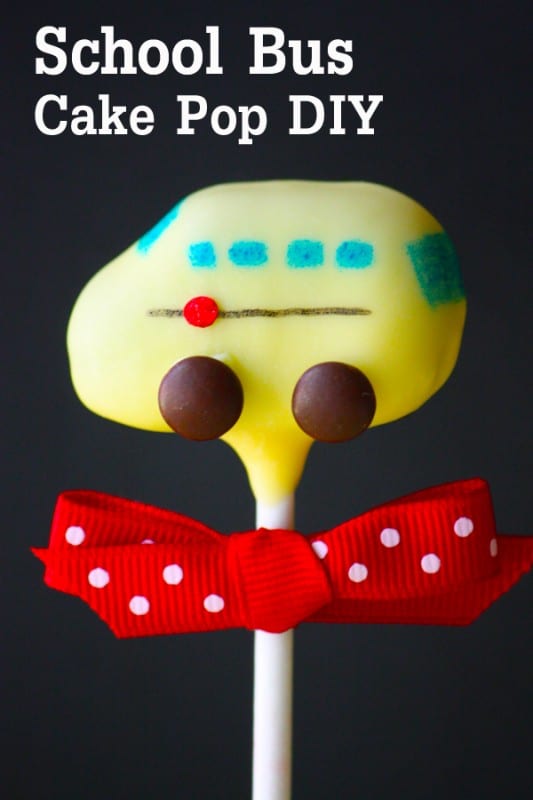
And the best party is they’re easy to make. Here’s how to do it, according to Jen, cake pop extradinaire…
SUPPLIES:
- Cake pop mixture – a completely cooled cake and 1/2 to 2/3 batch of frosting thoroughly mixed
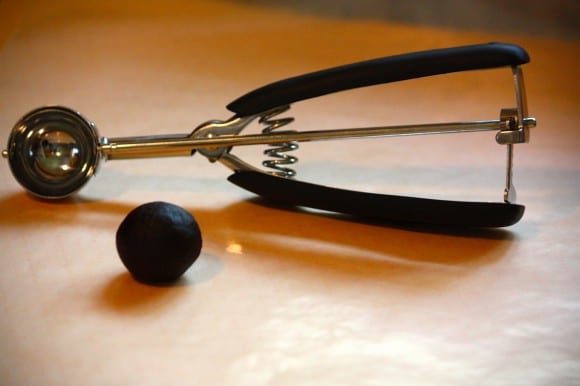
- Kitchen scoop – 1 inch
- Candy melts – yellow
- Lollipop sticks
- Food writers – red, blue & black
- Small confetti candy dots
- Mini M&M’s
- Toothpicks
- Styrofoam block
- Deep heat-proof cup or bowl for melting the candy melts
- Sterile kitchen tweezers – I’m not kidding 🙂
DIRECTIONS:
Scoop cake pop mixture using your 1 inch scoop. Roll them into individual balls. Cover and place in the refrigerator for 15 minutes to set.
While the cake balls are chilling, heat a bag of candy melts in the microwave in 30 second intervals, stirring between intervals.
Once the candy is smooth and thoroughly melted, set it aside to cool.
Get out your chilled cake balls and flatten them slightly using something smooth and flat. (I’m a fan of using my chopper scooper thingy below.)
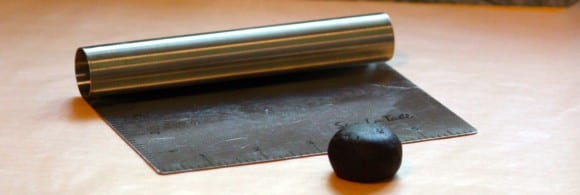
Take the flattened cake ball and shape into a rectangle…
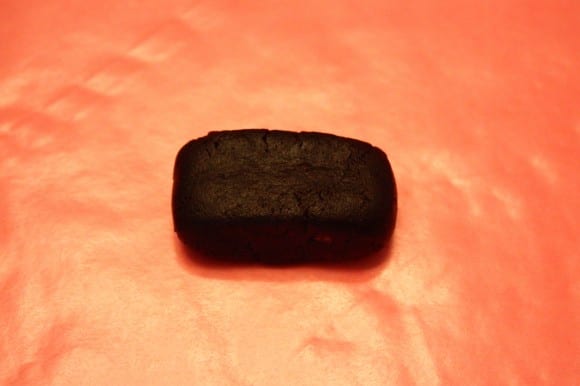
…and then shape it into a bususing your fingers. (Reach waaaaaaay back to your Play-Dough days. :))
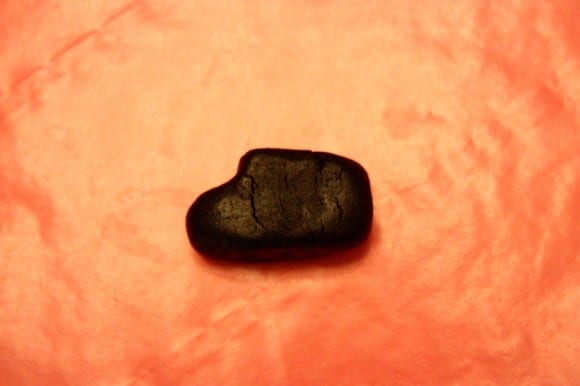
Return bus shapes to the fridge and chill for 15 minutes.
Get your bus shapes, lollipop sticks, and melted candy out. Dip the tip of the lollipop stick in the melted candy and insert into the bottom of your bus shaped cake ball. Place it in a styrofoam block to hold. Repeat for desired number of cake pops.
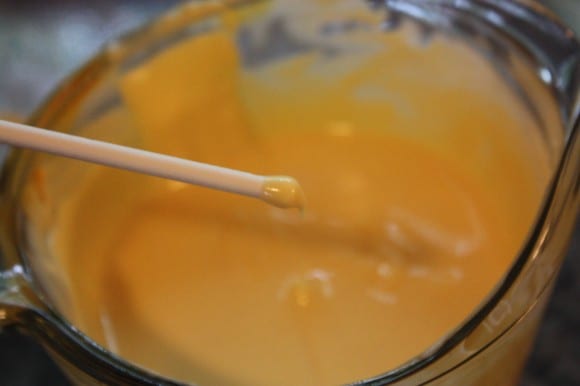
Dip the cake pop in the melted candy until completely covered. Gently tap off excess candy.
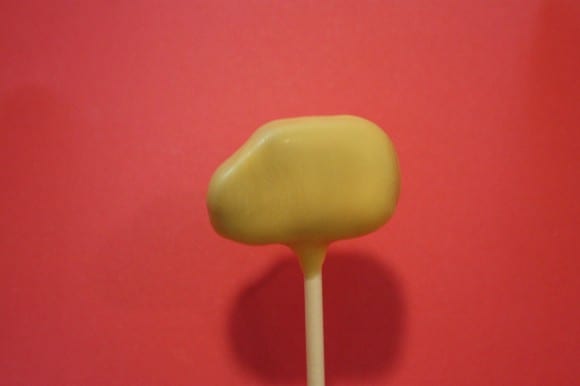
The wheels on the bus go round and round… Dip the tip of a toothpick in the candy melts and dab on one side of the mini M&M. Place on the bus and hold for about 10 seconds until secure. Repeat for all four wheels.
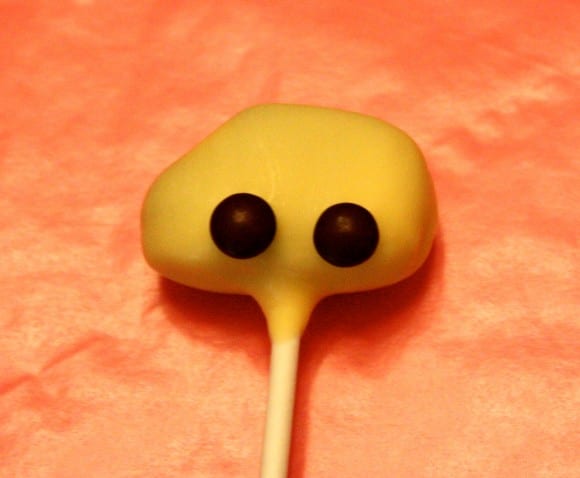
Grab your blue food writer and draw on your windshield, passenger windows, and rear window. (If you find that your writer is digging into the candy coating just put the pops in the fridge for five minutes to chill. Cake pop making during the warmer months, especially with humidity, is tough!)
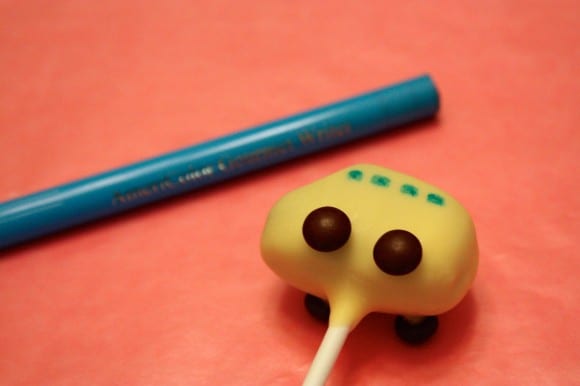
Draw a line along the length of the bus with your black food writer. (If you’re fortunate enough to be a lefty like me, then you need to make sure your previous work is completely dry before moving on to the next. Lefties know what I’m talkin’ about.)
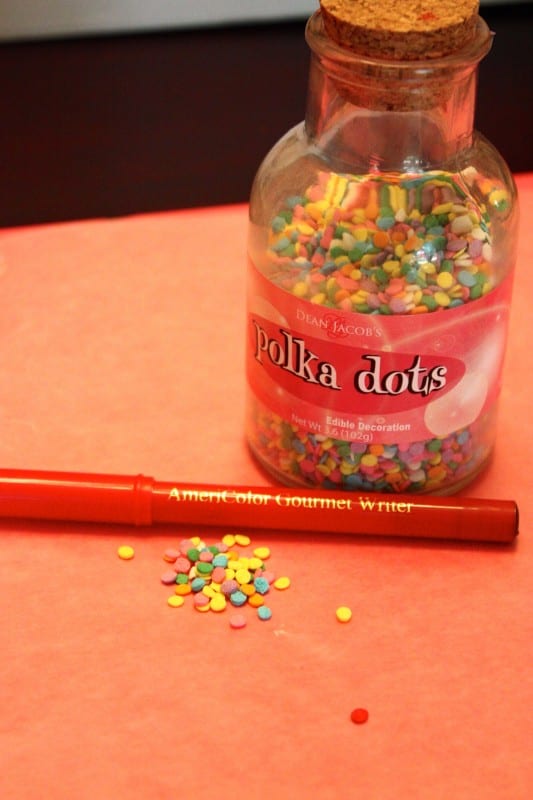
Next fish out a white confetti candy dot and color it red with your red candy writer.
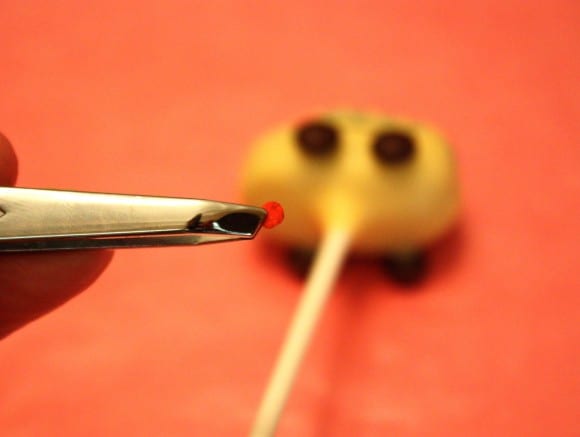
It just got real serious, y’all. Pick up your stop sign with the kitchen tweezers, dab on a bit of candy melt with a toothpick and attach your stop sign.
Breathe. Take a step back and check-it-out! You made School Bus Cake Pops! Adorable, right?

Absolutely adorable, Jen!! Thanks for the fantastic tutorial.
To learn more about Jen and Evanssays, be sweet, where she posts some terrific cake pop designs, definitely check out her blog and Facebook page.