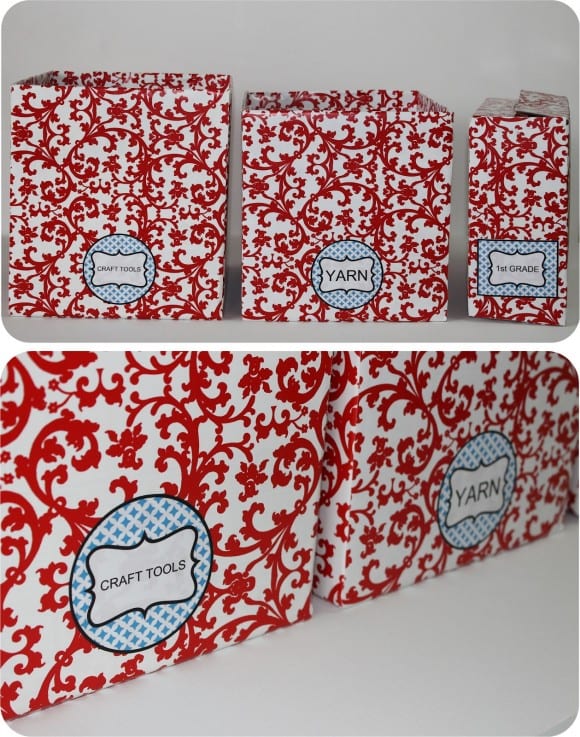
If you need to get organized, here’s an easy recycling DIY project using cardboard boxes that our creative contributor Wanessa from Wanessa Carolina Creations put together.
With this tutorial, you can take any box, make it beautiful, then add these free editable labels so you know exactly what’s inside.
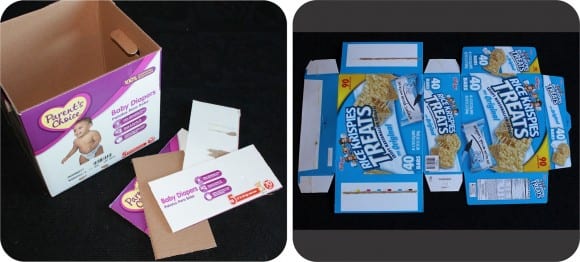
Wanessa used a small diaper’s box and a Rice Crispie treats box to demonstrate. Here’s what she did…
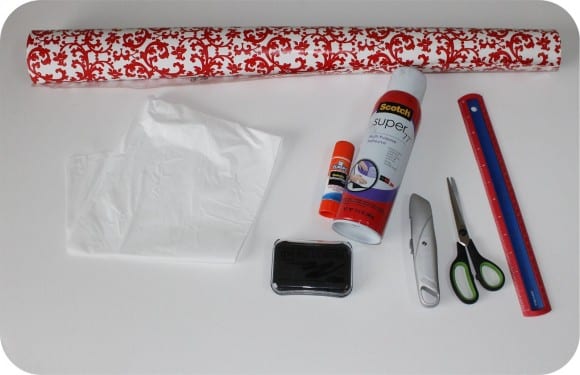
Material needed:
- Boxes
- Gift wrap (I like to use those with a grid on the back, each square measures 1″ so it’s easier to measure and to cut)
- Spray adhesive
- Exacto knife
- Glue
- Ink pad
- Scissors
- Trash bag
Here are the boxes she used.
Instructions (Rice Krispies Treats box)
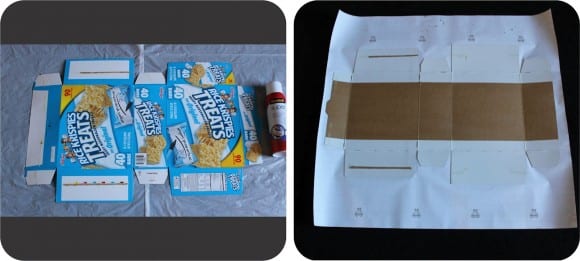
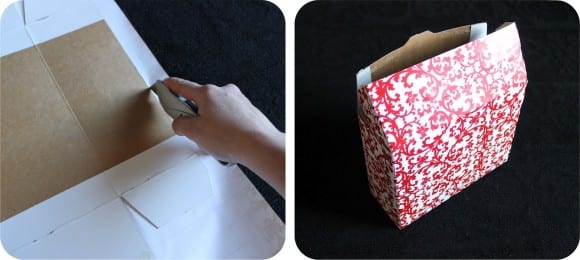
- Unfold the box
- Place the box over the gift wrap and cut the size you will need
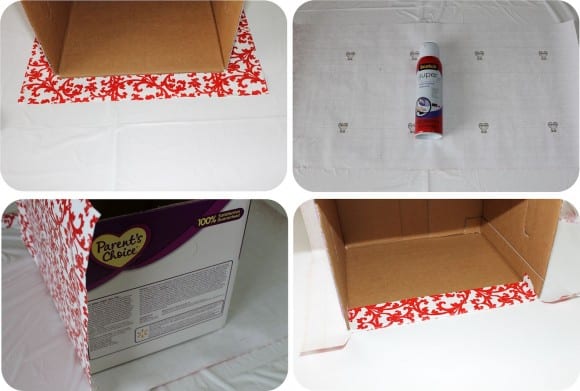
- Open the trash bag, place the box over it, and spray the adhesive on the outside of the box
- With the back of the paper facing up, start placing the unfolded box on the paper. (Be careful with this step. Start with the lid first on the paper. Then fold the lid of the box before placing the body of the box down on the paper. And finally fold the other side of the box before covering that side with paper. If you stick the whole box down all at once, when you fold the sides of the box back up, it will rip apart.)
- Trim off the leftover paper
- Working on the left or right side of the box, fold and stick each small side of the box on the paper, then trim the edge, keep doing that until the side is done
- Do the same thing with the the other side of the box
- With the box completely covered, start blotting the ink pad on the edges to give it a better finish. I used black ink. (This step is optional.)
- Fold the sides of the box to reconstruct it and use the spray adhesive to stick the sides together
Instructions (Diaper box)
- Start cutting off the lids with your exacto knife, save the bigger sides
- Measure the paper you will need to cover the large sides and the bottom of the box, add 2″ on each side. Do the same thing with the box top then cut off the paper
- Do the same for the small sides and bottom of the box
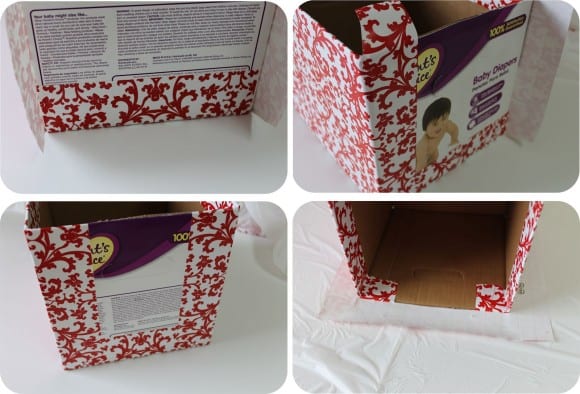
- Choose the side you will start working first (large or small side), spray adhesive on the respective paper. Place one side of the box onto the adhesived paper and leave 2″ on each side and top, lay the bottom and then the last side
- Fold over and stick the 2″ of extra paper onto the box
- Repeat the same steps to cover the other sides
- With the box all covered, stick the left over paper on the top covering the edges, then using a exacto knife cut off the paper left on the sides.
- To give a better finish inside, cut 4 stripes of paper, measuring 2″ width and stick inside of the box on each side
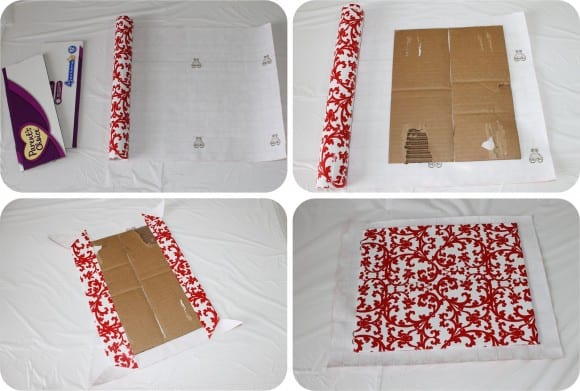
- With the lids you saved, start making a bottom to place inside of the box
- Place both together on the paper and cut the size you will need (2 x);
- Spray the adhesive on the paper, stick both lids together, do the same to cover the other side of the lids, for last trim the edges with a exacto knife and place inside of the box;
- Now that you have your box nicely covered it’s time to label.
Instructions for the Editable Labels
- Download the labels here
- Open the file using Adobe Reader, if you don’t have you can download it here it’s free
- Just click on the label and type in any text you’d like
- Print and cut out
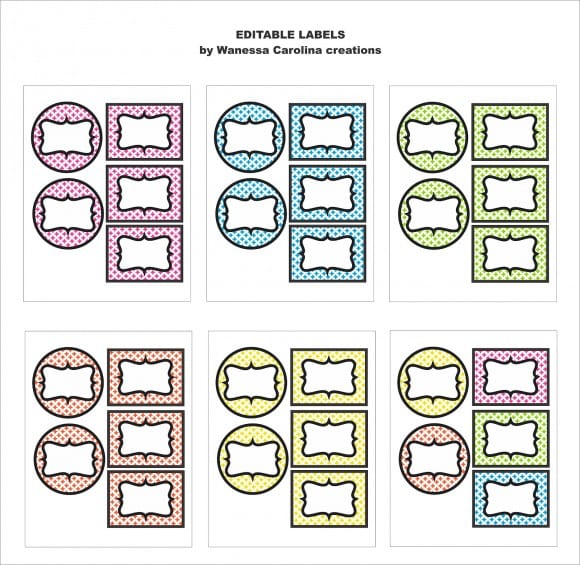
- I’m providing 5 pages in different colors and 1 page with multiple colors, for a total of 6 pages. Just choose the color / page you want, type in your text, then when you hit print, choose to print just the page you have used
Thank you, Wanessa, for this great way to reuse all those boxes you get in the mail and don’t know what to do with. Now you can make your life a little more organized and pretty.
To learn more about Wanessa and see more of her designs, please visit her blog, Facebook page, and Etsy shop.
