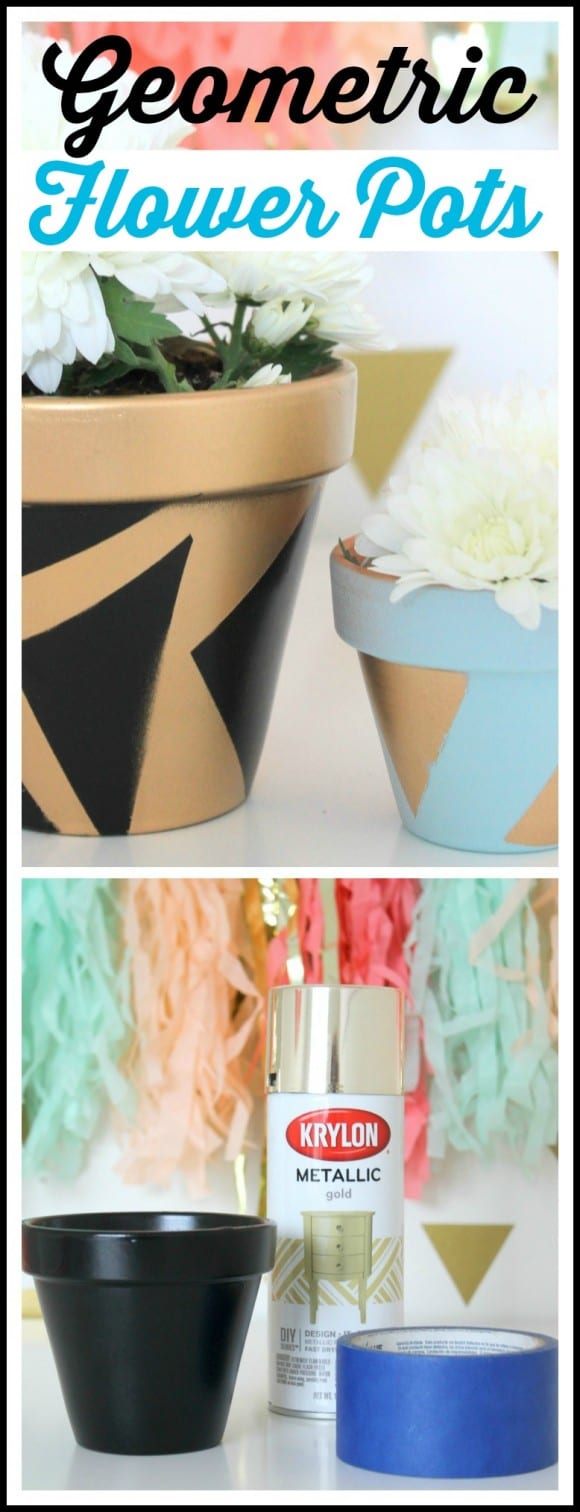
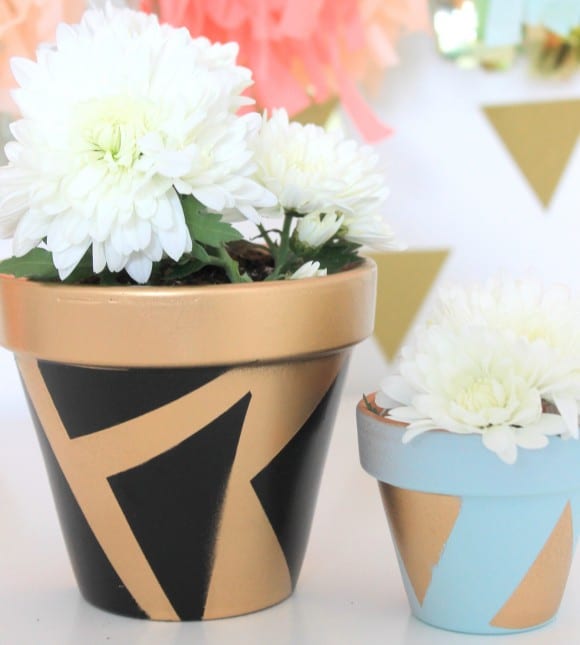
Today I’m sharing cool geometric DIY Painted Planters from Kristen and Missy from Sweetly Chic Events & Designs. We just got our front porch repainted and these would look awesome on it!
With spring on the horizon, we thought this would be the perfect time to create some fabulous painted planters for all our upcoming floral displays.
Not only would these be functional and fabulous decor items for your home, they would also make the perfect teacher or neighbor gift!
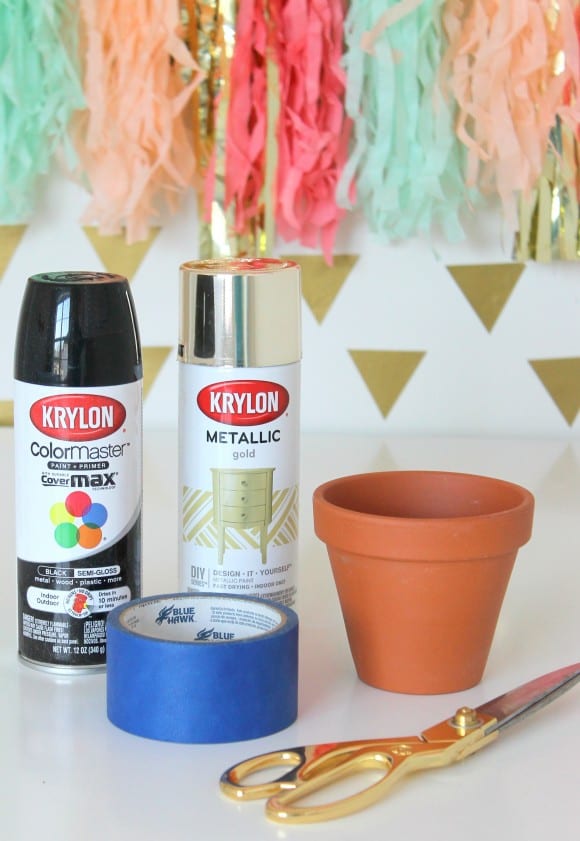
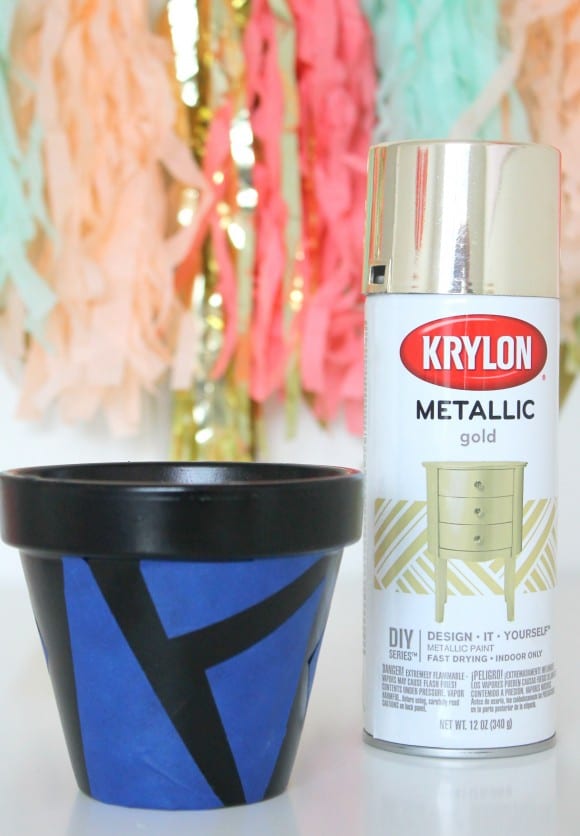
Supplies:
- Terra cotta planters
- Spray paint
- Painters tape
- Scissors
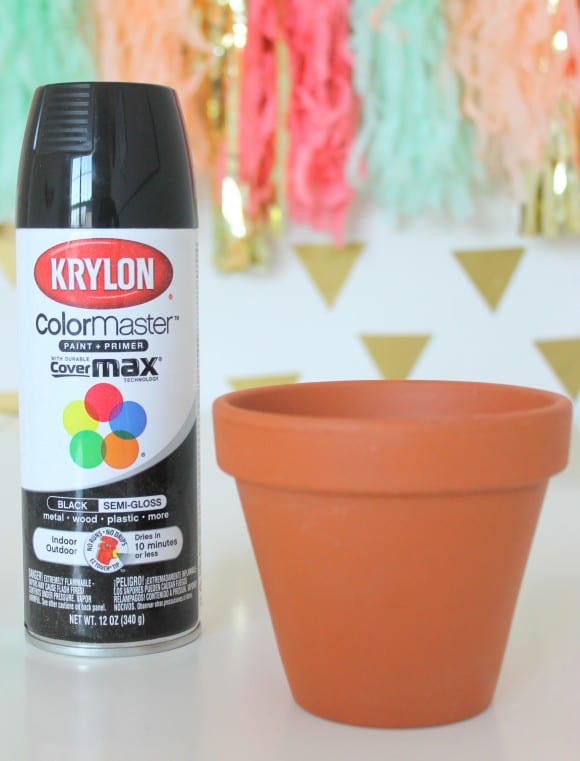
1. Begin by choosing which paint you would like the for the accent color of your planter. We chose a glossy black for a more modern feel! Apply an even coat of spray paint to your planter and allow to dry.
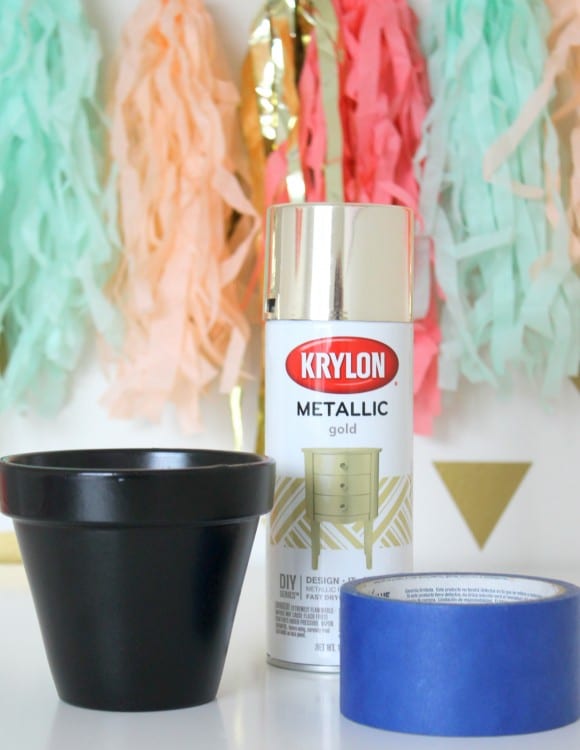
2. Once the paint has dried, it is time to adhere your painter’s tape.
3. Using scissors, we cut triangles out of the painter’s tape to give our planter a more geometric feel, but any pattern can be created; stripes, polka dots-get creative! Go ahead and add your next paint color. We chose a fun metallic gold!
4. Once the paint is dry, remove your tape.
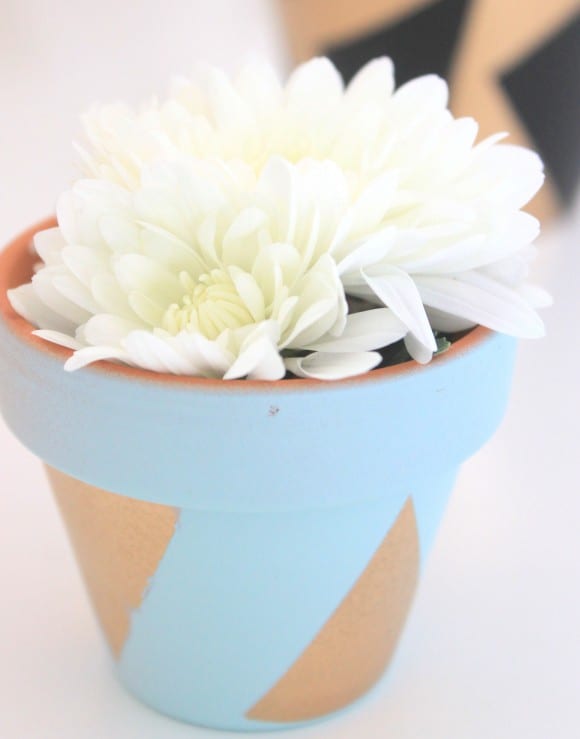
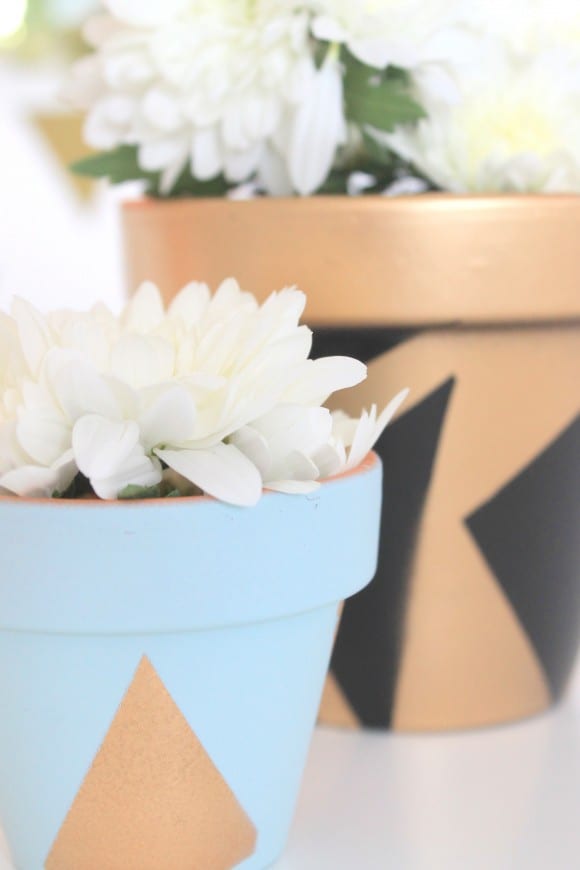
5. You now have a pretty, painted planter! Repeat steps 1-5 for any additional planters.
Once filled with fresh flowers, these would would look fabulous on your porch or windowsill and add the perfect touch of spring to your home decor!
We can’t wait to make some more of these simply chic planters to add to our collection!
To learn more about Missy and Kristen, please visit them at Sweetly Chic Events & Designs, and on Facebook, Pinterest, and Instagram.
