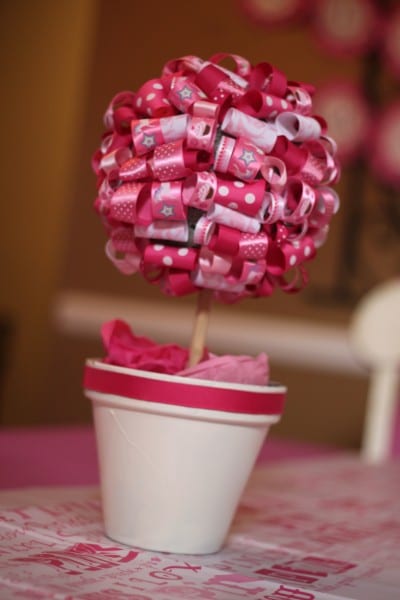
Lisa G put together this fabulous Pinkalicious-themed Pink-errific 4th Birthday for her daughter, and I loved so many of the elements she created for the party including this ribbon topiary.
I’ve seen ribbon topiaries on our main site quite a bit and have always wondered how to make one. Well, thanks to Lisa and this tutorial, I now know. Thank you, Lisa!
Supplies:
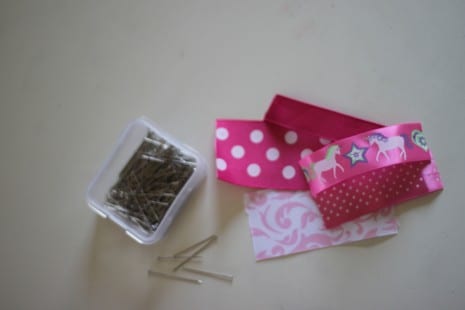
- LOTS of ribbon!
- Terra cotta pot or any ceramic potspray paint (for the pot)
- Wooden dowel
- Large styrofoam ball
- Floral foam
- Scissors
- Dressmakers pins
- Hot glue gun or gorilla glue
- Rocks/candy/tissue paper etc for the base of the topiary
Step one: Spray paint the pot and allow it to dry
Step two: Add a dab of hot glue to one end of the wooden dowel and insert it into the styrofoam ball about 1 inch.
Step three: Add a dab of hot glue to the opposite end of the wooden dowel and insert it into the floral foam.
Step four: Once your pot is dried insert the floral foam into the pot. This will allow your topiary to stand on a flat surface making it a little easier to decorate.
Step five: Cut cut cut that ribbon! I cut all my ribbon in 3 inch strips and also cut multiple spools at once to save time.
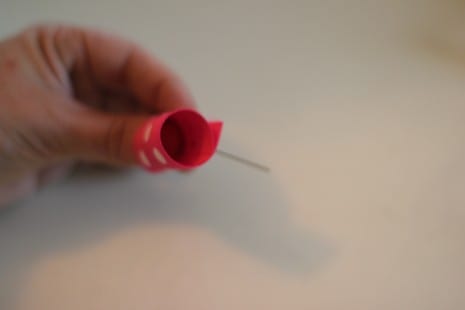
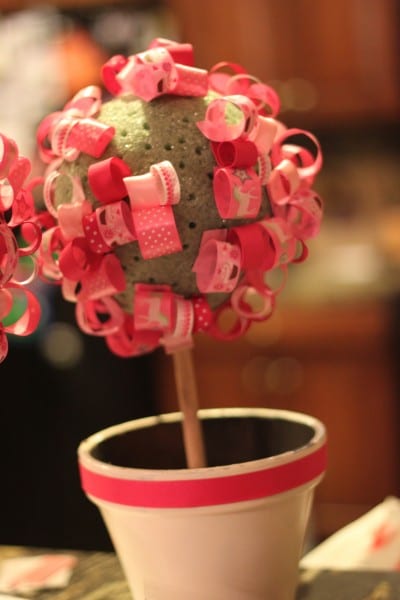
Step six: Make a loop with the ribbon. Where the ends meet insert a pin then push the pin completely into the styrofoam ball.
Step seven: Repeat step six until the entire ball is covered.
Step eight: Once the ball is covered you can add gumballs, tissue paper, rocks etc. whatever coordinates with your theme and that will cover up the floral foam in the base!
Now you have a beautiful little tree that is very easy to swap out for any season!
Thank you, Lisa, for this easy tutorial.
Check out more of Lisa’s Pink-eriffic 4th Birthday here, and see all the sweet touches she added to the party. Also, take a look at her other beautiful parties on our site and her blog Blissful Chaos.
And finally, if you make your own ribbon topiary using this tutorial, please send photos to jillian@catchmyparty.com. I’d love to show it off!


