When I realized that Caroline B made these adorable favor bags for her daughter Taylynn’s 5th Birthday, I had to ask her if I could repost her tutorial. Wait ’til you see how simple it is. I could totally do this!
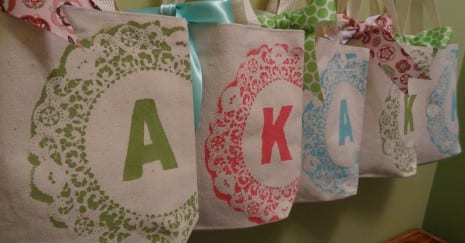
For the party favors we had lots of goodies so I wanted cute bags for the guests to put their things in. I made these bags for the girls, and they were so easy.
SUPPLIES
- Canvas tote
- Doily
- Paint (I used house paint, but fabric paint is best)
- Spray adhesive
- Freezer paper
- Iron
- Xacto knife
- Sponge brush
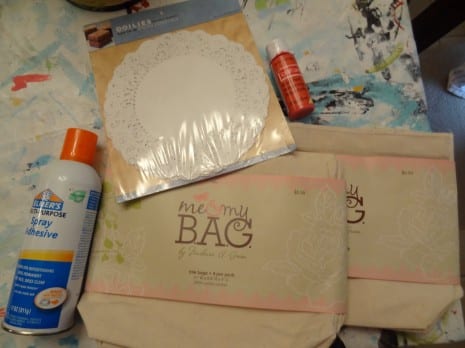
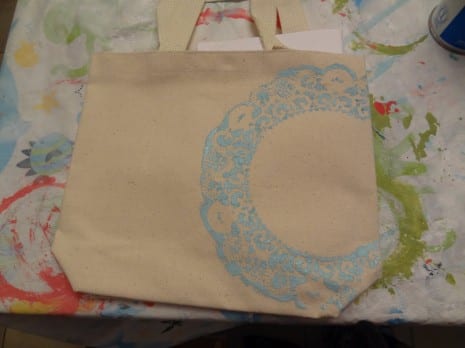
Start by spraying adhesive onto the doily and place it on your bag.
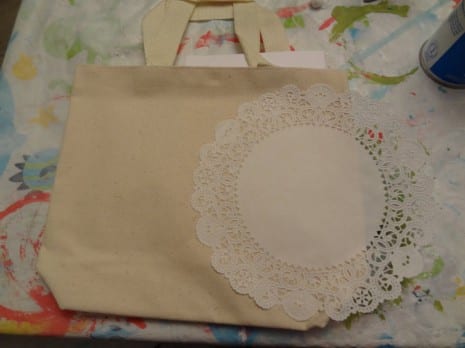
With your sponge brush paint over the doily and on the rim of the doily.
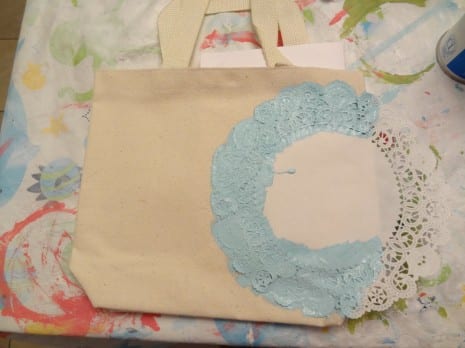
Slowly remove the doily.
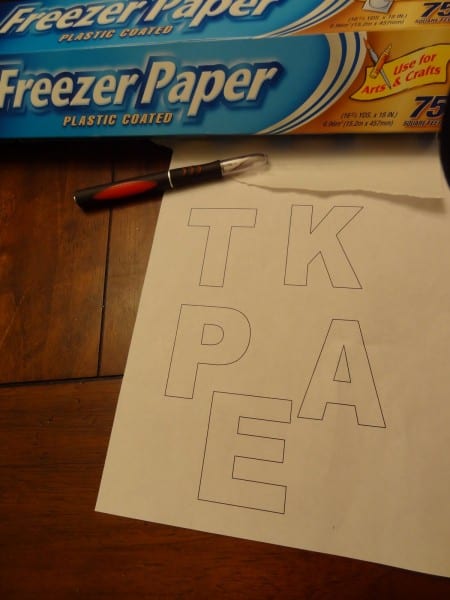
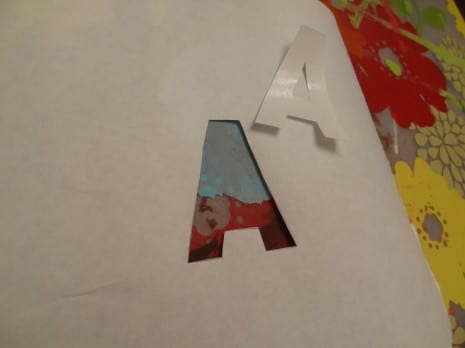
Trace your initial onto your freezer paper, wax side down and with an xacto knife cut out your initial.
Then with a hot iron and freezer paper wax side down, iron the paper until it sealed on your bag.
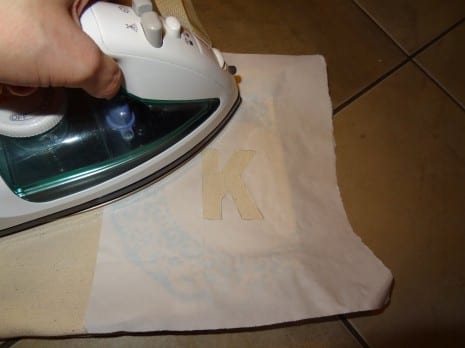
You can then paint your letter and peel off the paper
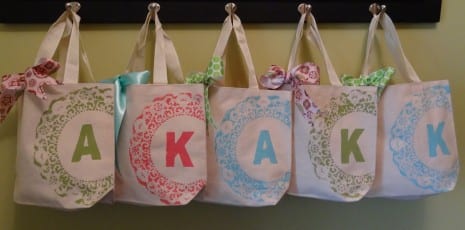
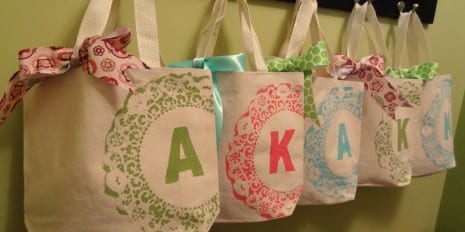
Voila! I love it, Caroline. Thanks for letting me share your tutorial. And btw, I noticed your daughter has lots of “K” and “A” initial friends. 🙂
Also, if you haven’t seen the photos from the party these bags come from, you must. It’s that gorgeous!
And finally, to learn more about Caroline and see all her great party tutorials, please check out her blog, Oh Pickles!