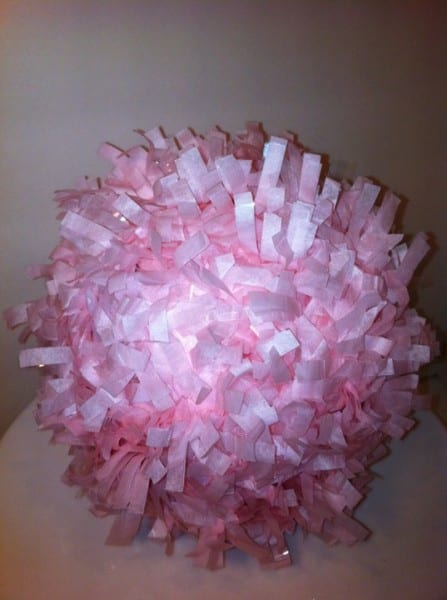
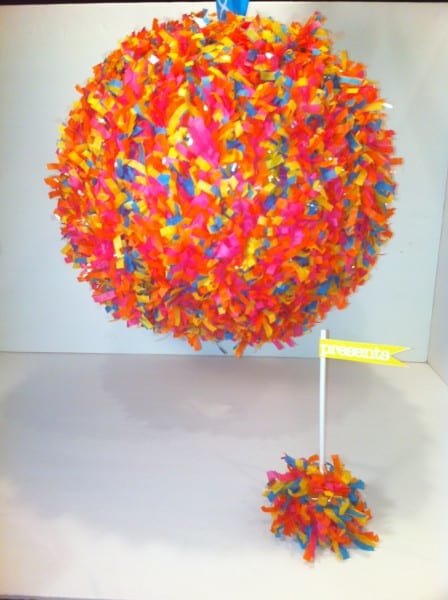
Have you heard of festooning? It’s one of my new favorite party craft decorations. I first learned about it when I saw this photo on Jen Smith’s Jilly Bean Kids Facebook page.
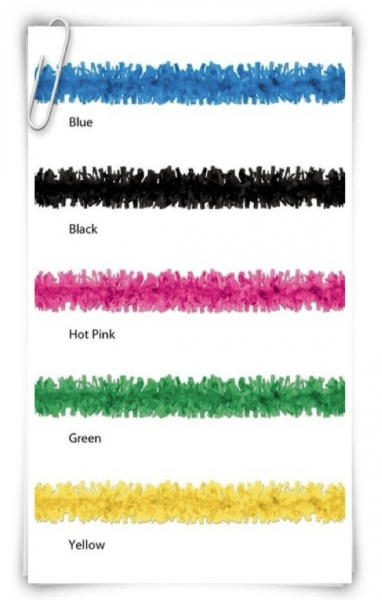
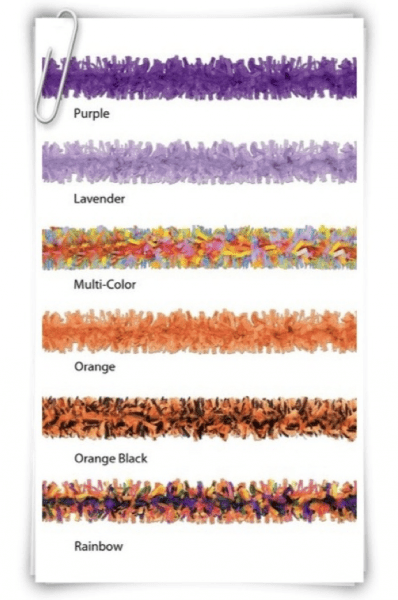
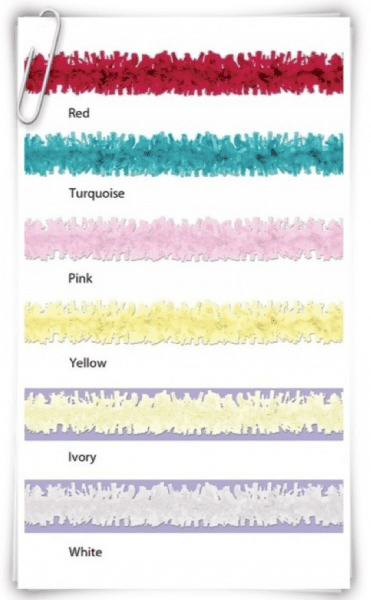
In case you don’t know, festooning is crepe paper fringed garlands that comes in 25′ rolls in all these colors.
So you can see why it’s so great for decorating and crafting!
Now back to the craft… Jen had decorated a Styrofoam ball with festooning, and I needed to know how she did it, so she kindly put together this tutorial for us. Thank you, Jen!
Supplies:
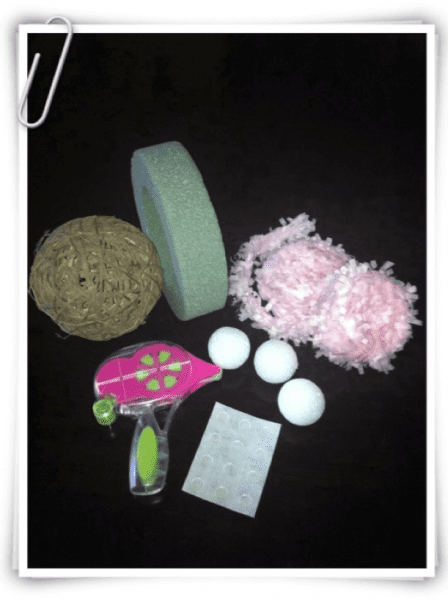
- Festooning 1 roll
- Styrofoam ball or ring or anything else that can easily be wrapped (and be creative here, I didn’t have a Styrofoam ball the size I wanted so I used a round twig ornament I use for decor in my home)
- Glue gun or Glue Dots (could even use straight pins)
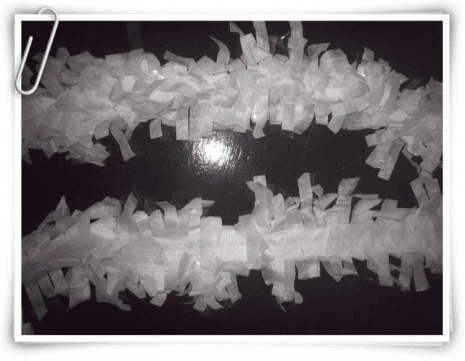
If you have worked with festooning before then you know it has a front and back. This is great for crafting. The photo shows both the front and the back side. The back side or working side of festooning, has a flat spine like look to it. This is so helpful when attaching it to objects. The fringe pieces from the front get in the way sometimes but just fluff, squeeze, or shape the festooning after you are done.
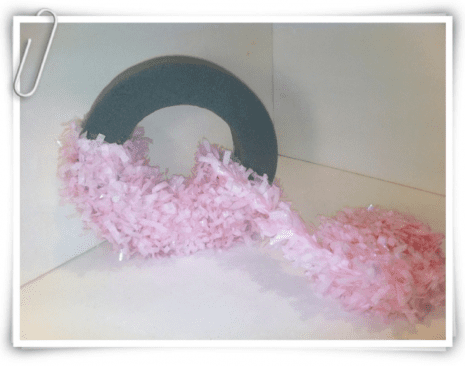
Now that we have our working side, find the beginning of your festooning garland roll. Apply your Glue Dots (2-4) to the back flat spine of the festooning roll. Firmly apply the Glue Dots to the bottom of the Styrofoam ring. Now start winding the festooning around the Styrofoam ring. This task is much easier if you do not unravel the roll of festooning. Keep it in the roll and just unwind as you go.
Continue winding around shaping, aligning, fluffing and checking to make sure you have good coverage as you go. Looking back, I would have used less festooning if my styrofoam ring was white instead of green, but again I love using items I have on hand and really loved the end results.
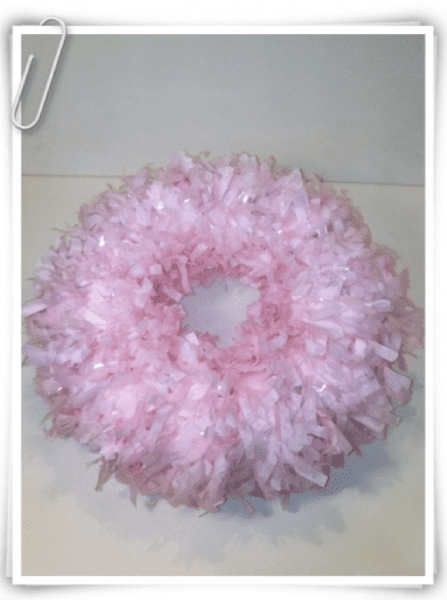
When your reach your starting point, double check your work. Make sure you have the coverage you want before you cut your garland. If you are happy with your results, cut your garland and apply (2-4) Glue Dots to the back flat spine of your festooning and firmly apply to the bottom of the Styrofoam ring.
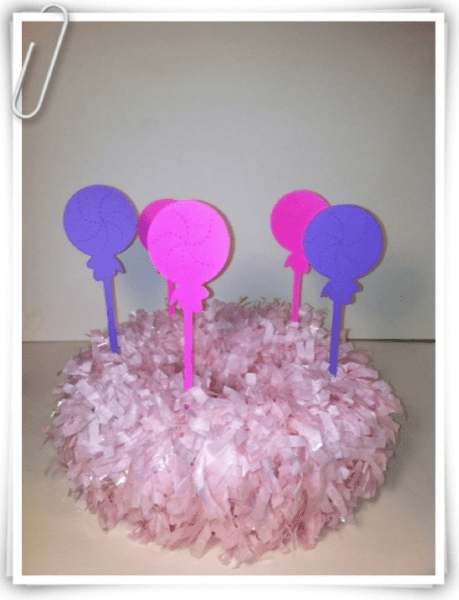
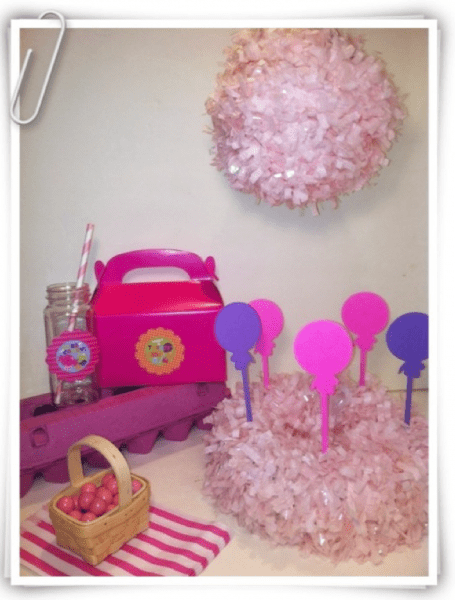
Ta-da! We have created a beautiful centerpiece in minutes and under $5.00. I have used this festooning centerpiece as a cake pop stand and have even glued photos of the birthday girl/boy on sucker sticks placed them in the Styrofoam ring for an easy and economical personalized photo center piece.
Remember the round twig ornament from the first photo? I covered it with festooning using the same method. I was thrilled how it turned out.
You can even cover an inexpensive paper lantern.
Festooning is my favorite decorating material, and so underused. It is inexpensive, re-useable, easy to store and work with and comes in nearly any color you can think of.
Thank you for taking a moment to read my tutorial, I hope you have learned a little about festooning, and plan on making it a part of your next event. Trust me, you’ll be hooked.
Also, to Jillian from Catch my Party, thank you for the opportunity and inspiration behind this tutorial….You have helped put festooning on the map!
Thank you, Jen!! If you’d like to try your hand at festooning some crafts, Jen sells it in her store Jilly Bean Kids for $3.45 a roll. Not bad…
And if you make something with it, please send photos, I’d love to show it off!!
