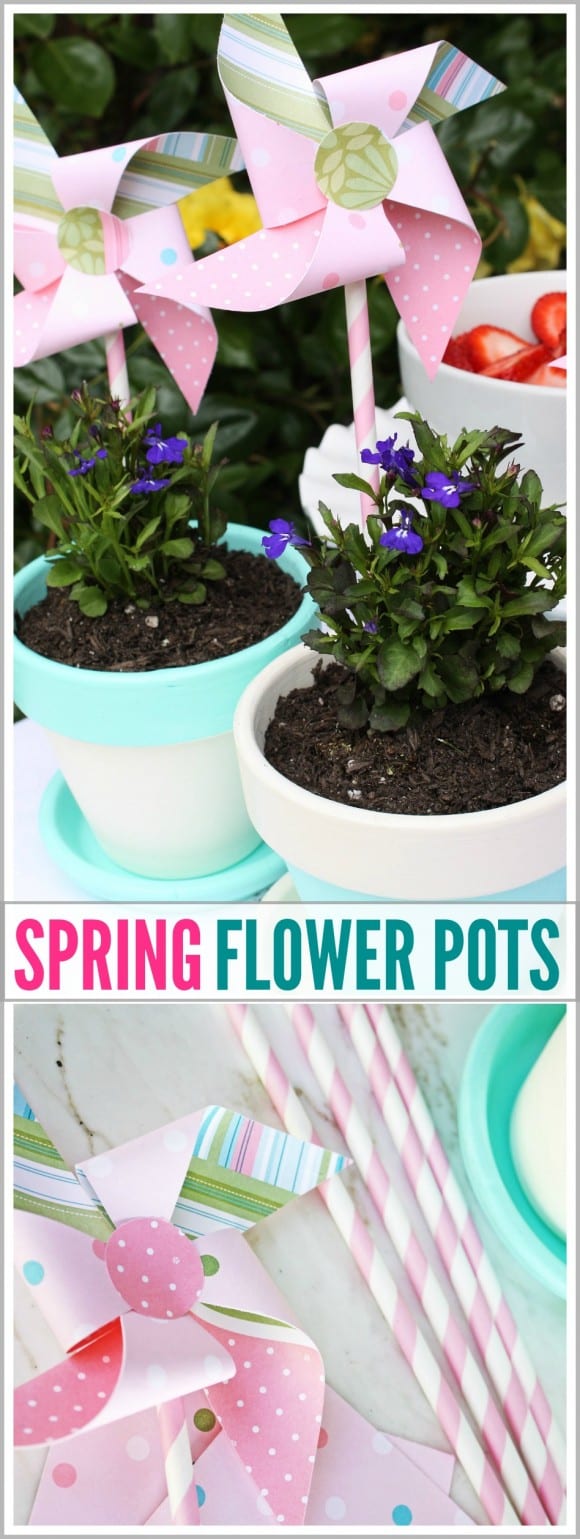
If you’re looking for an end of school teacher gift, spring centerpiece, or something pretty on your windowsill, today we’re share a flower pot and pinwheel DIY. Just looking at these makes me happy!
Hand painted flower pots and paper pinwheels are a perfect way to decorate for spring! The best part is you can customize them any way you’d like.
Supplies:
- Terra cotta pot
- Craft paint
- Foam paint brush
- Mod Podge (matte or shiny)
- Soil
- Plant
- Double-sided scrapbook paper
- Hot glue
- Paper straws
- 1″ circle punch
Directions:
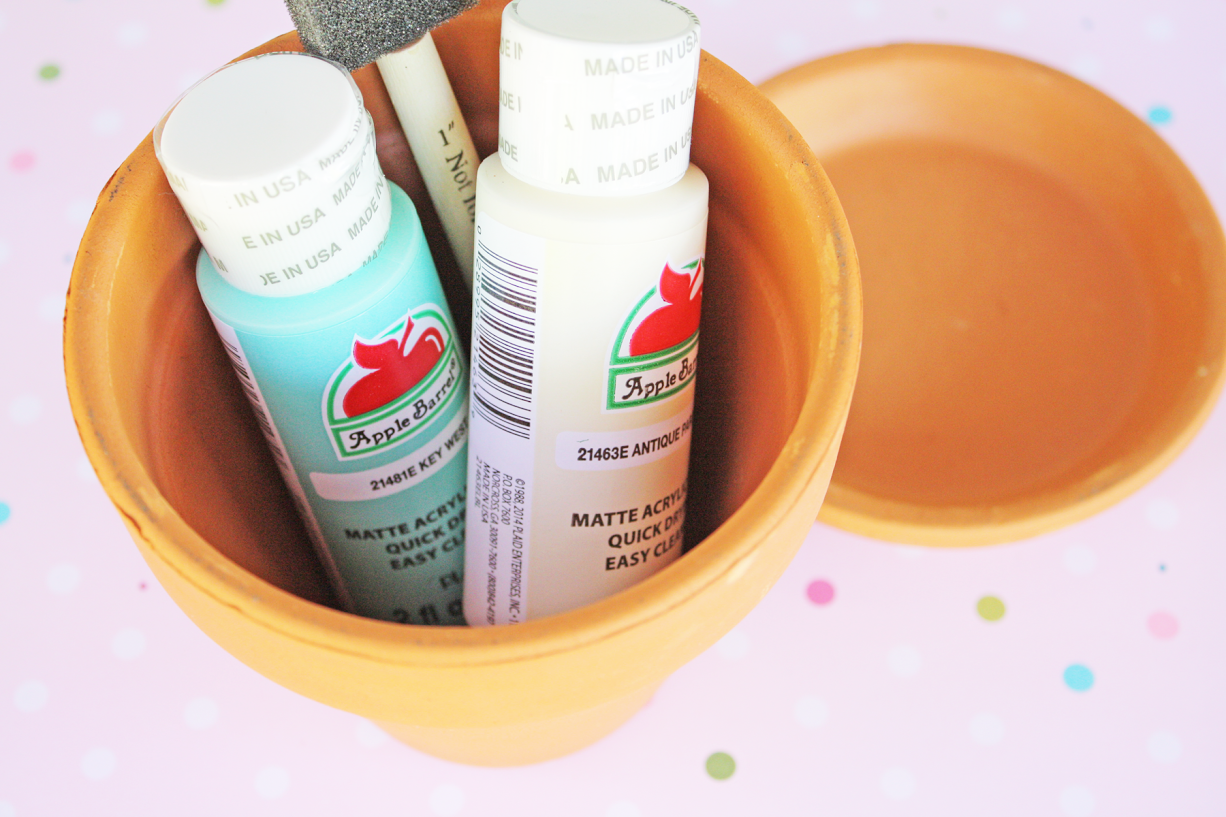
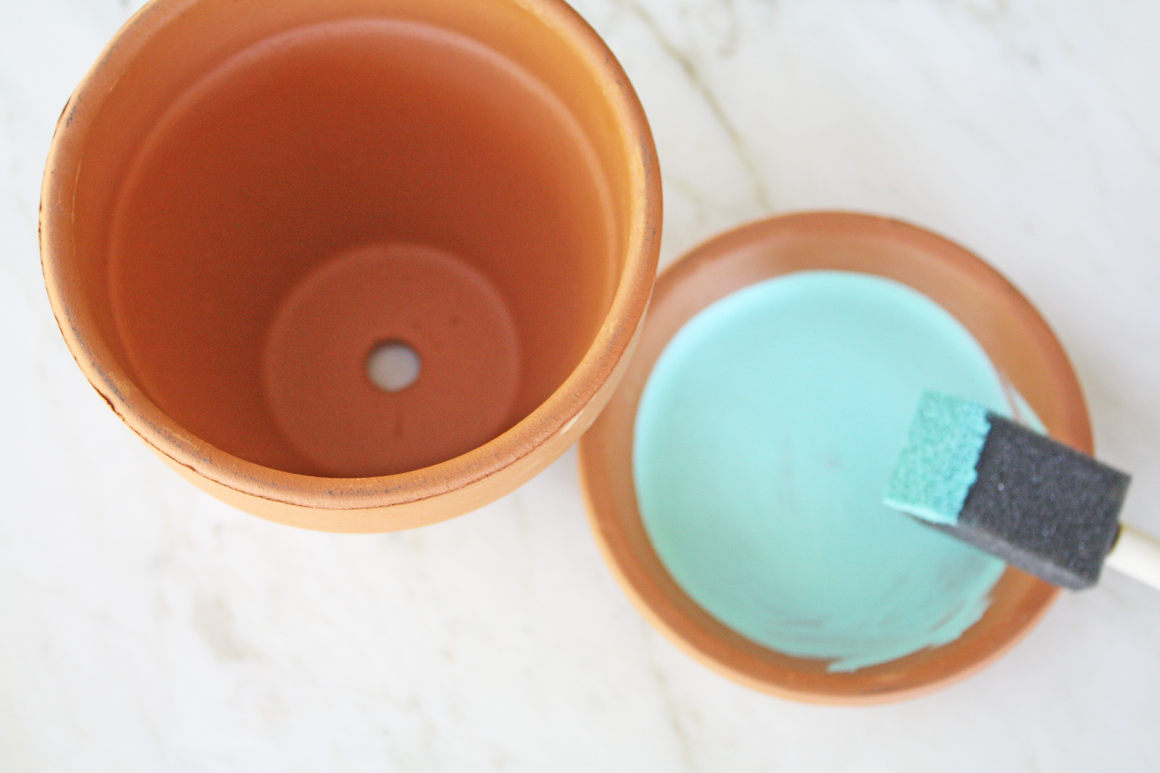
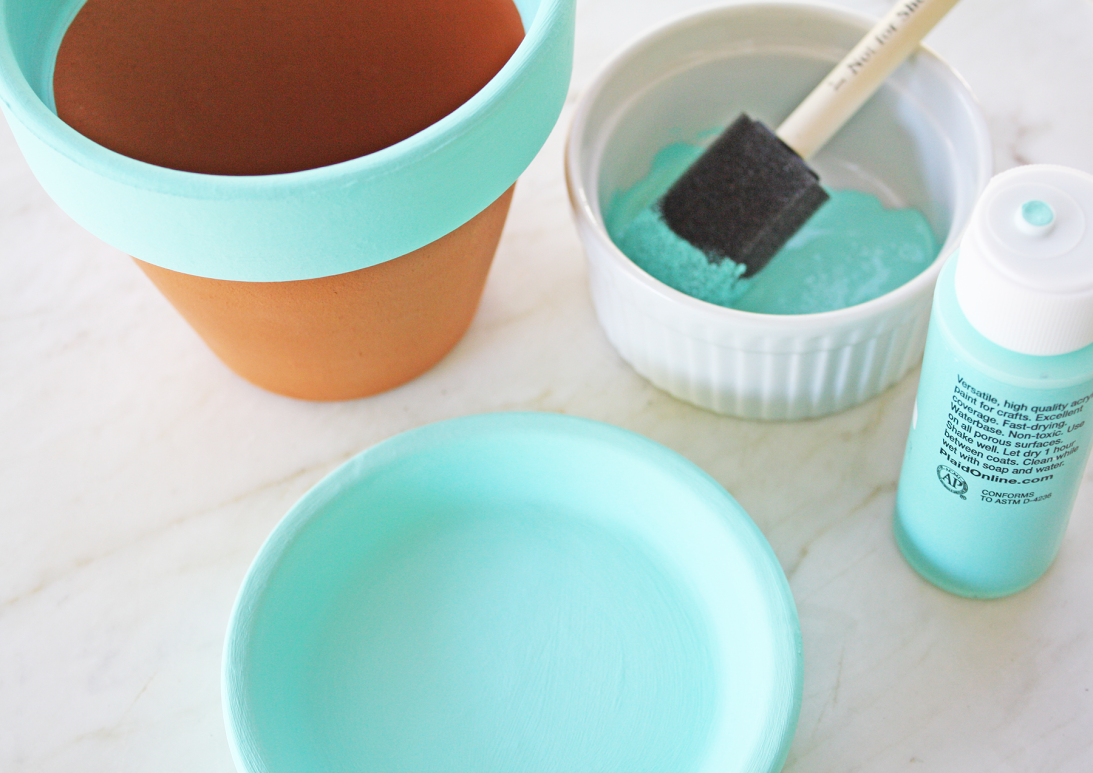
Start by painting your flower pot. The paint dries quickly. It will take 3-4 coats to get an even color.
Use the Mod Podge as a sealer. I used the gloss sealer, but you can also get the matte version. Set aside pots and allow to dry overnight.
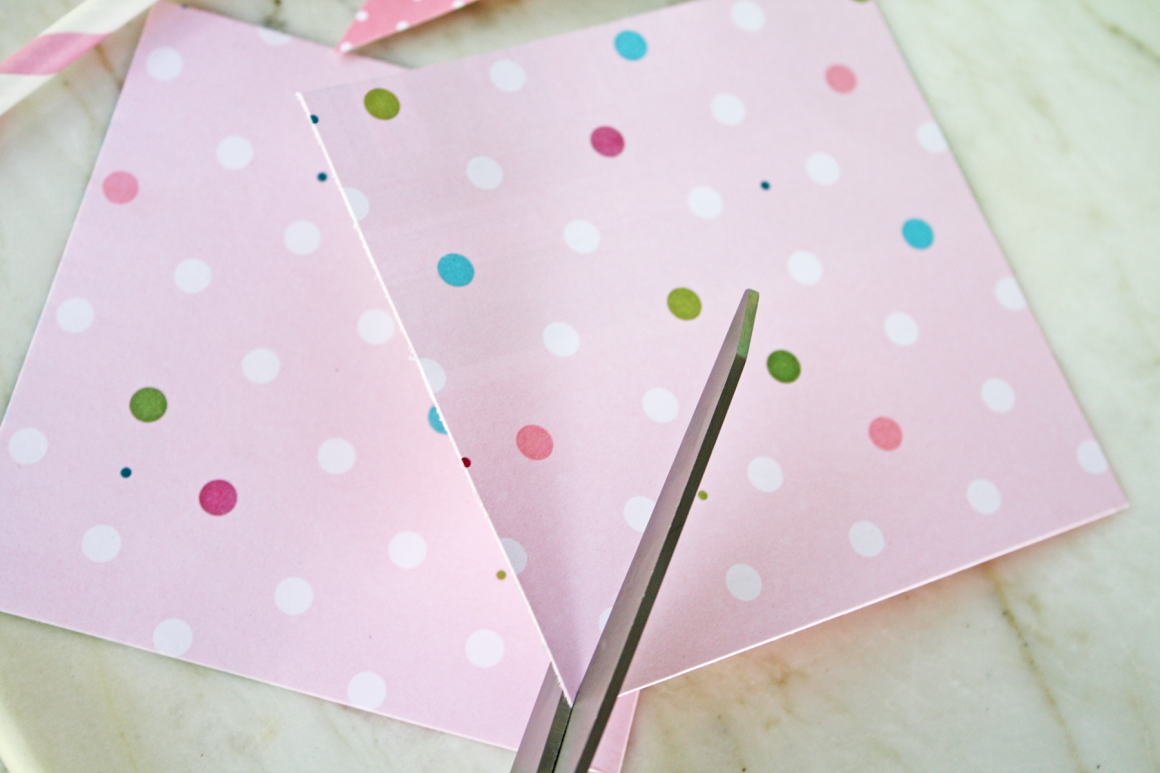
To make the paper pinwheels cut squares out of your double-sided scrapbook paper. The larger the square, the large the pinwheel. I cut my squares at 4″x4”.
Using scissors cut down each corner towards the center of the square but do not cut all the way across. Leave about an inch.
Then do this on each corner of your square.
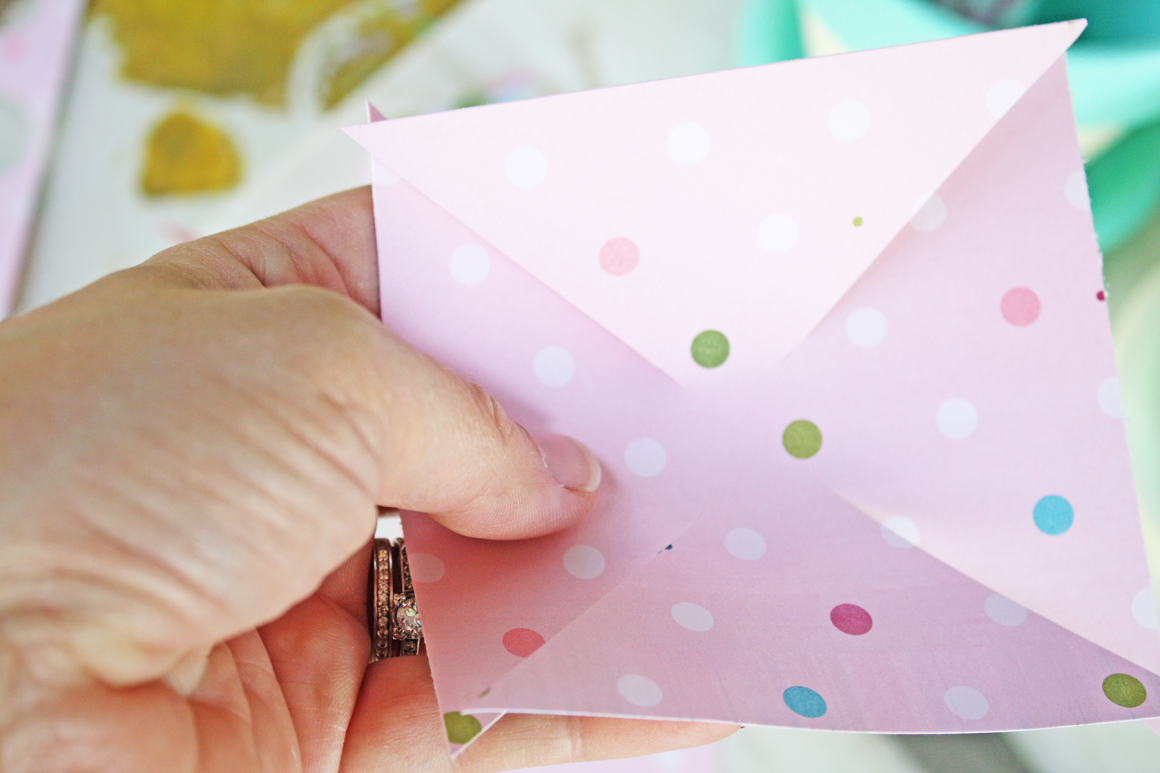
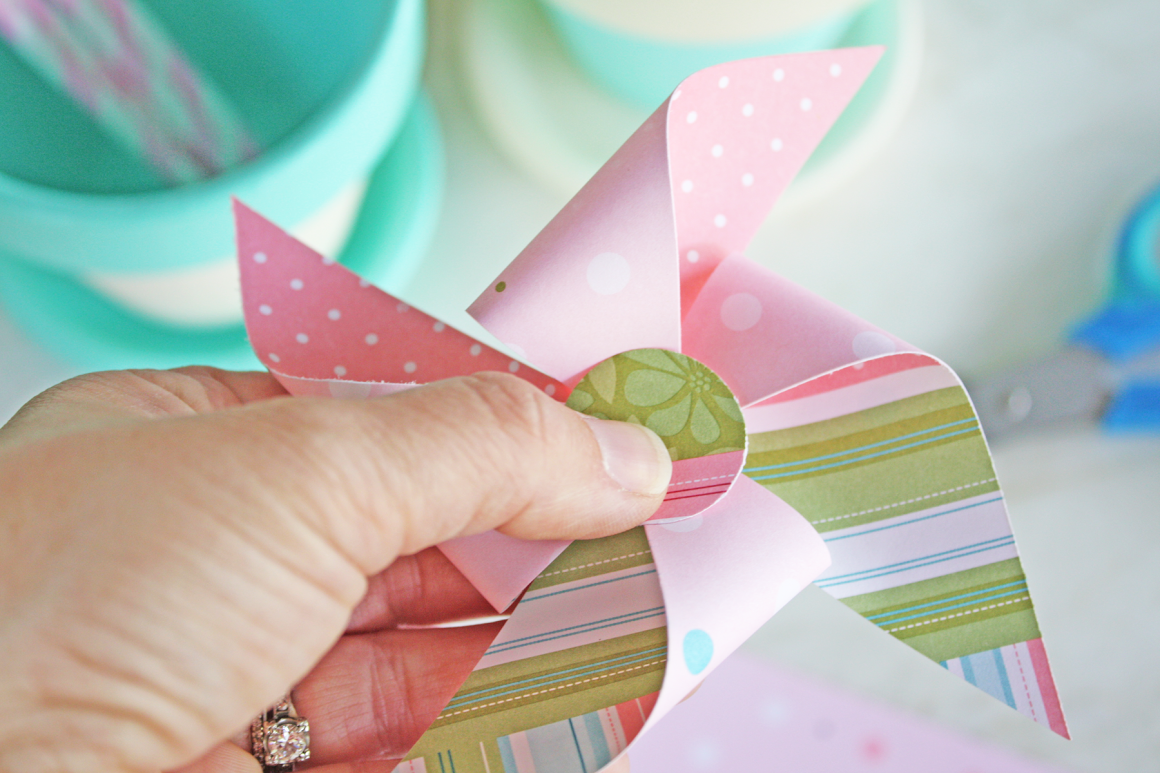
Take one of the corners and fold into the center. Secure with hot glue.

Repeat with every other corner until you have the pinwheel.

Using your 1” circle punch, punch out a circle for the center of your pinwheel. Hot glue the circle in the center.
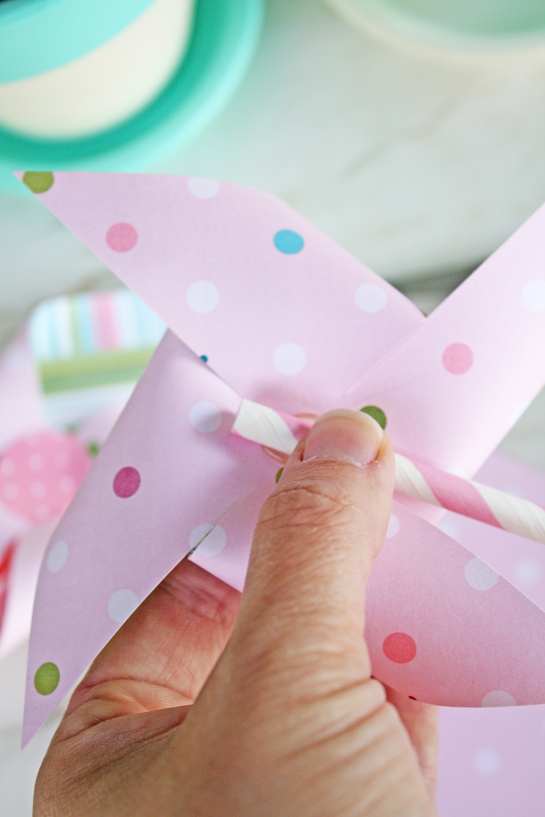
Hot glue the paper straw to the back of your paper pinwheel.
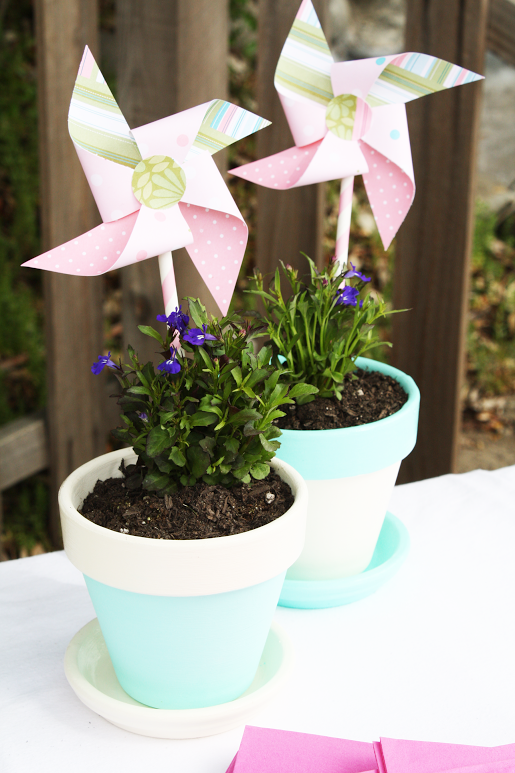
Once your clay pots have dried, add soil and plant. Flowers and herbs work great!
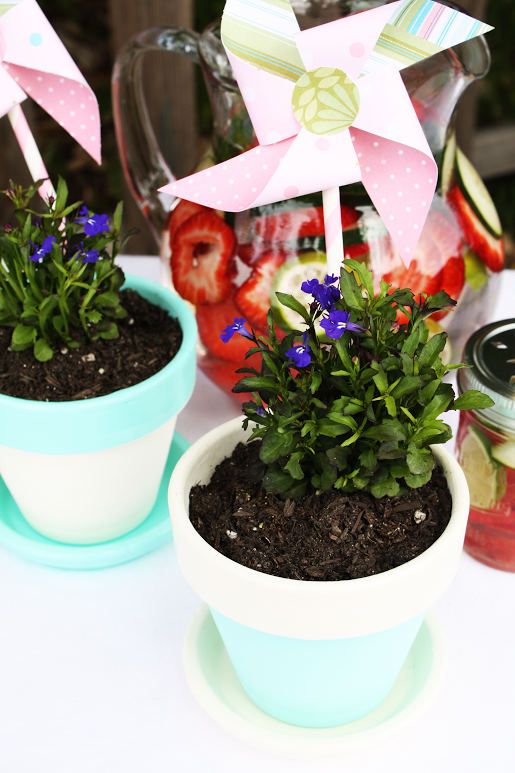
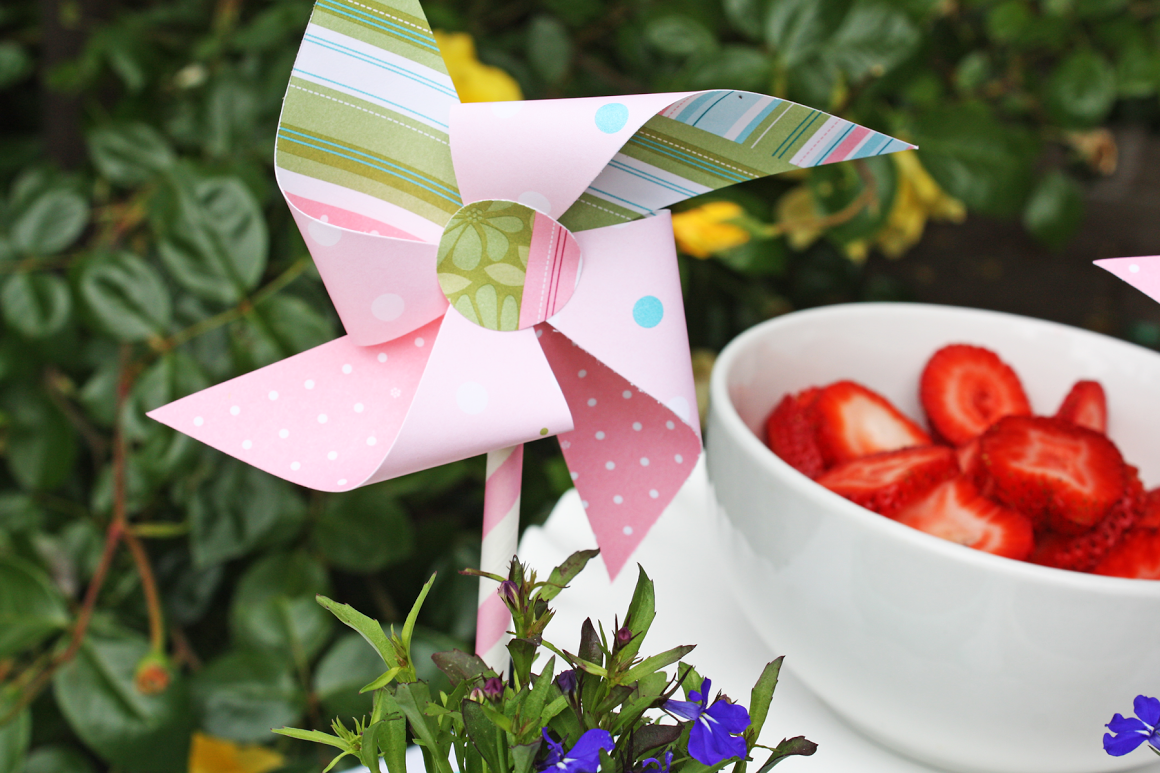
Stick the paper pinwheel in the flower pots and there you have it! Happy spring!