
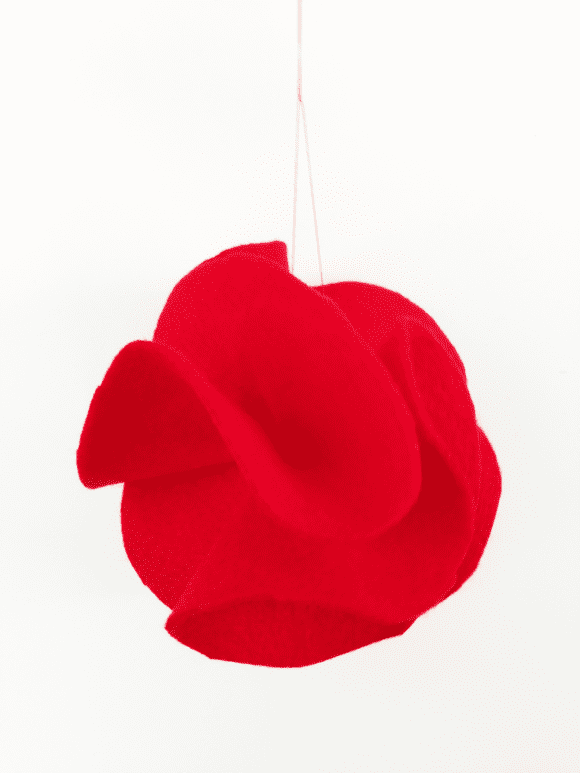
Making ornaments is a fun and creative way to join in the holiday festivities! This DIY holiday felt ornament tutorial is easy and affordable to create.
If you are working with younger kids you can always substitute the needle and thread for quick drying glue. I found a tutorial on Pinterest for these but for the life of me couldn’t find any blog post that connected to it. I created an “actual” tutorial to show you how to make them step by step.
What you need:
- Felt (the colors you choose)
- Needle and thread
- Glass or small ramekin to trace your circle
- Pencil

Directions:
Trace and cut out your circles. You will need 5 circles for each ornament. The larger the circles, the larger the ornament.

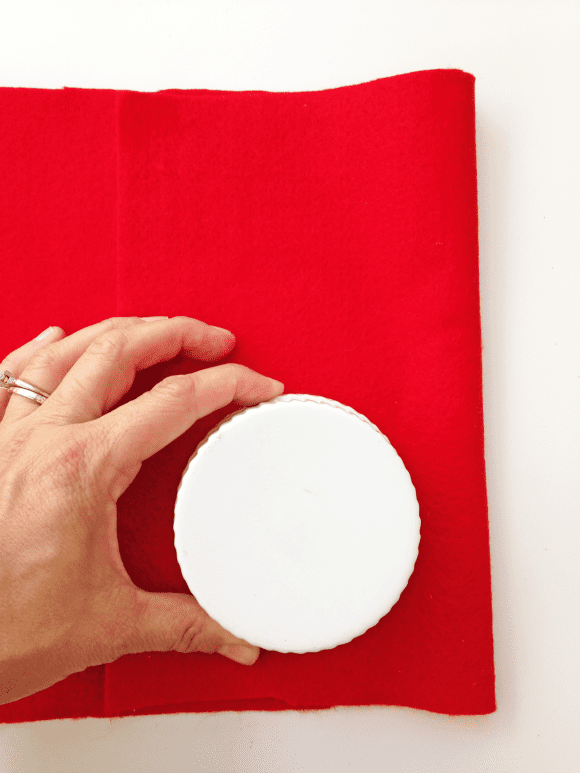
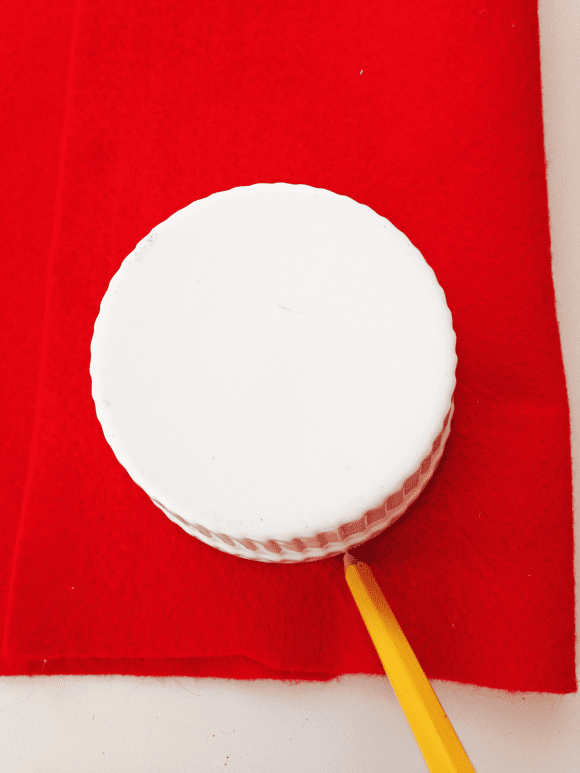
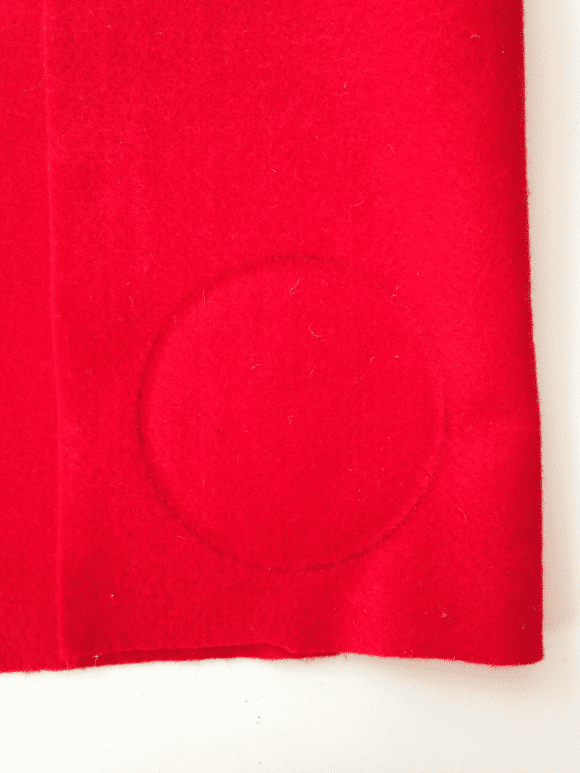
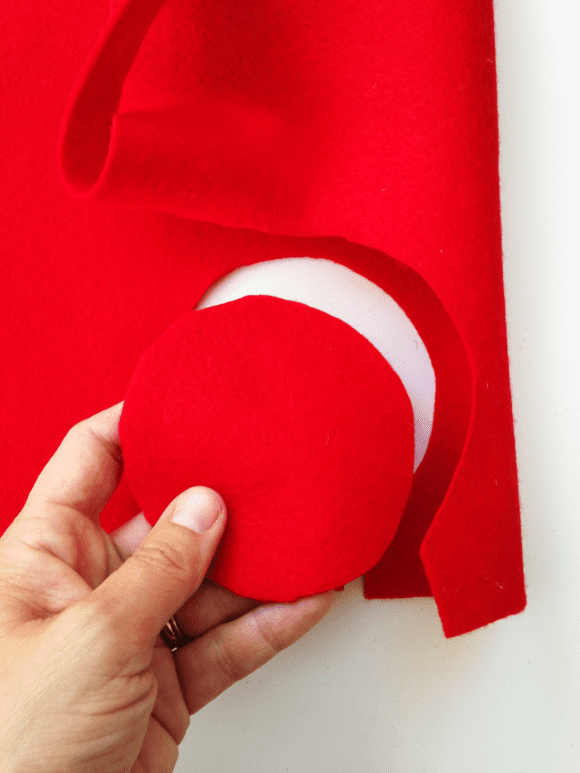
Next, you will need a needle and thread. Sew in the center of one circle to create the handle you will use to hang your ornament.
( see video 1316)
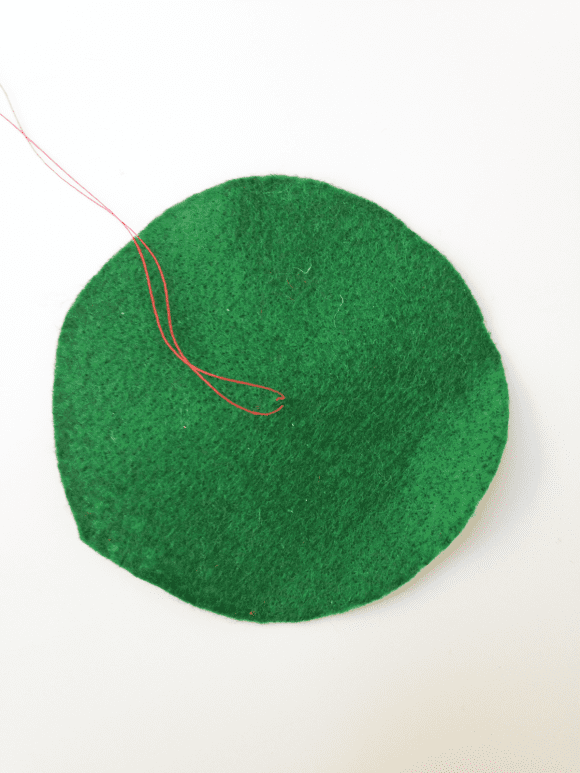
Tie a knot with the two threads to make the hoop.
Lay flat the circle you just threaded. Grab another circle you will now fold into quarters.
First fold in half and then fold in half again. Place on flat circle like a piece of pie! Sew in bottom corner to attach.
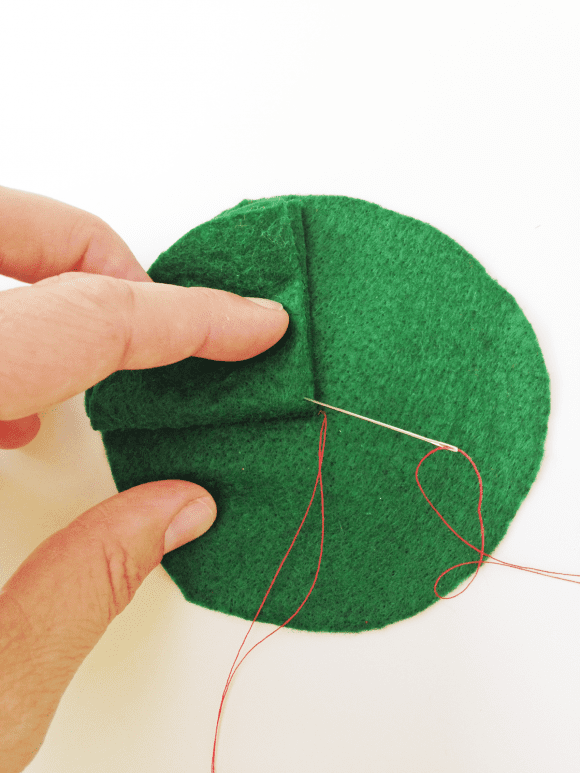
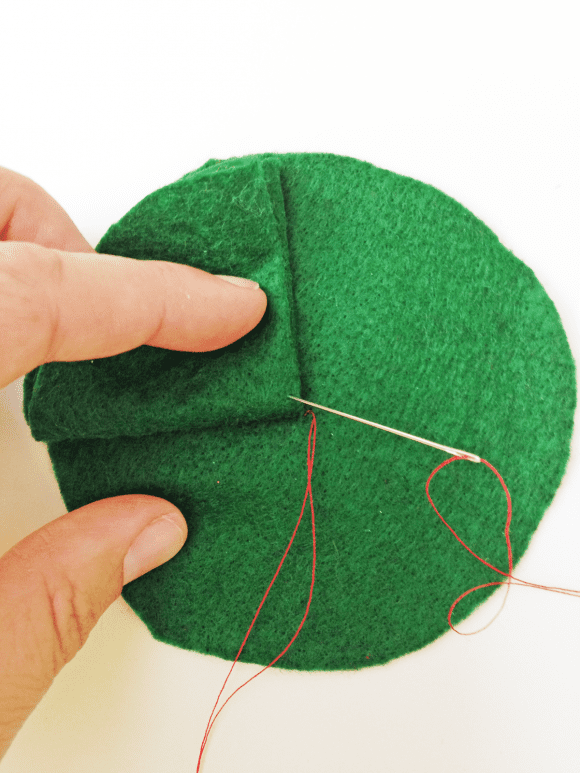
Continue with the remaining circles until all four pieces of your pie are attached.
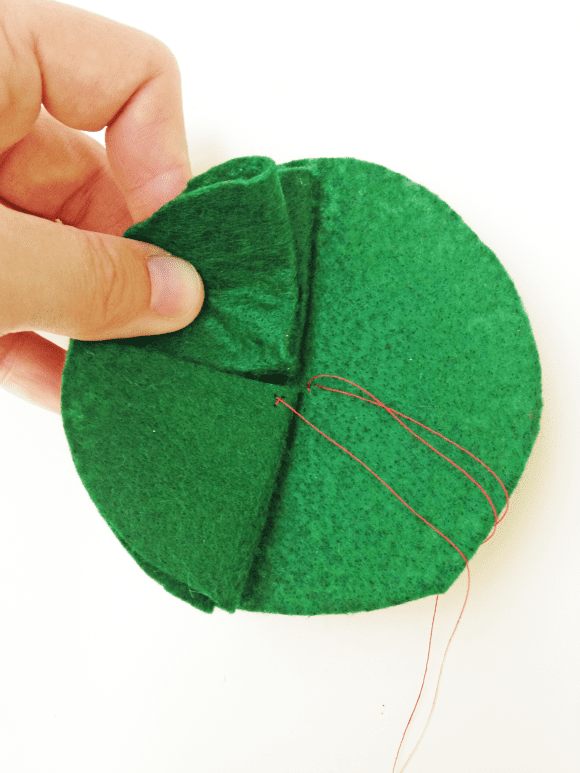
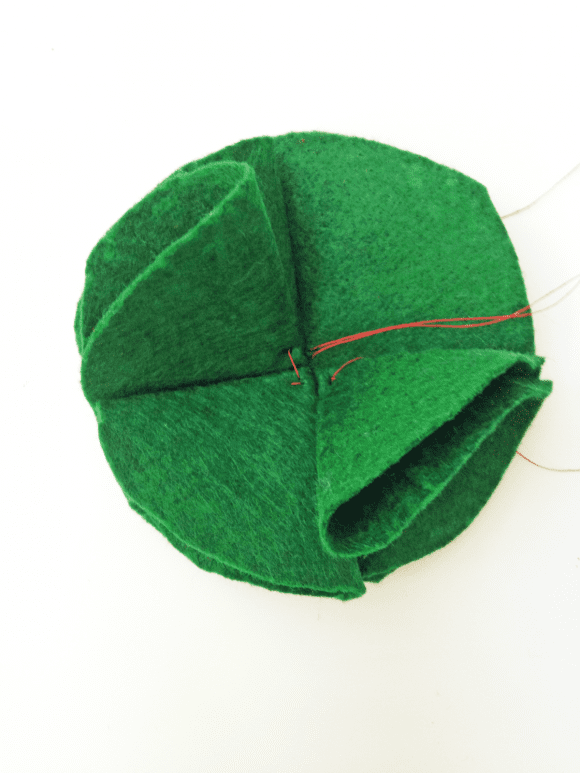
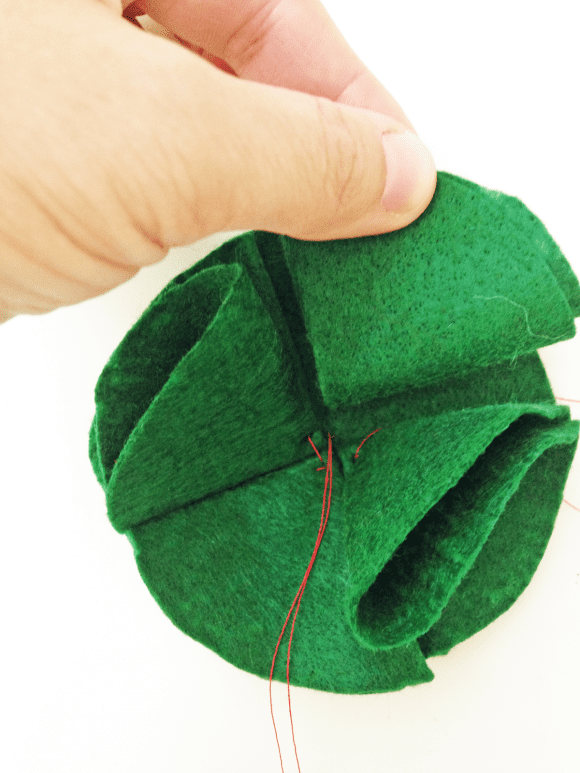
Flip ornament over to the flat bottom.
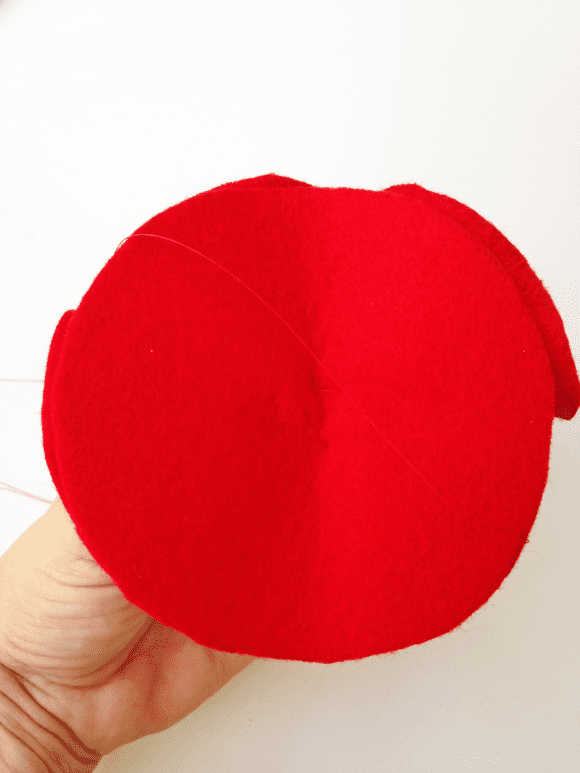
Fold flat bottom in half.

Fold in half again.
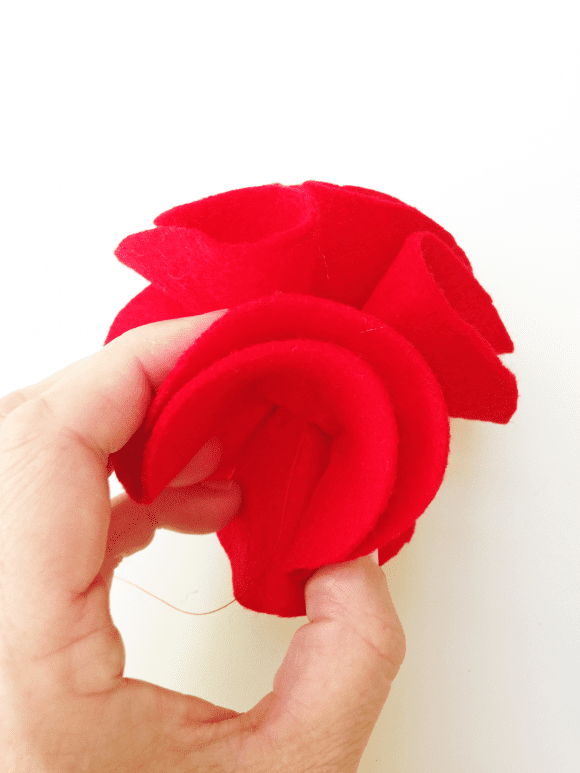
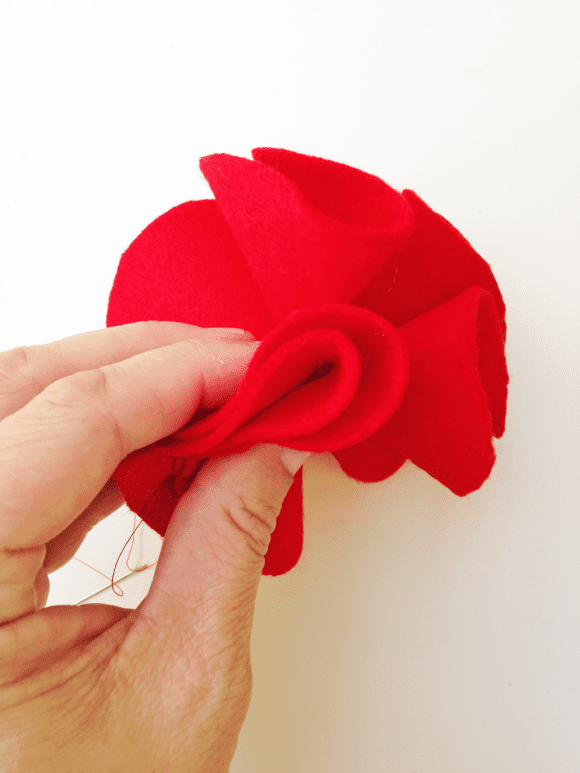
Sew bottom corner into place. Trim excess threads. Make sure not to cut your original loop.
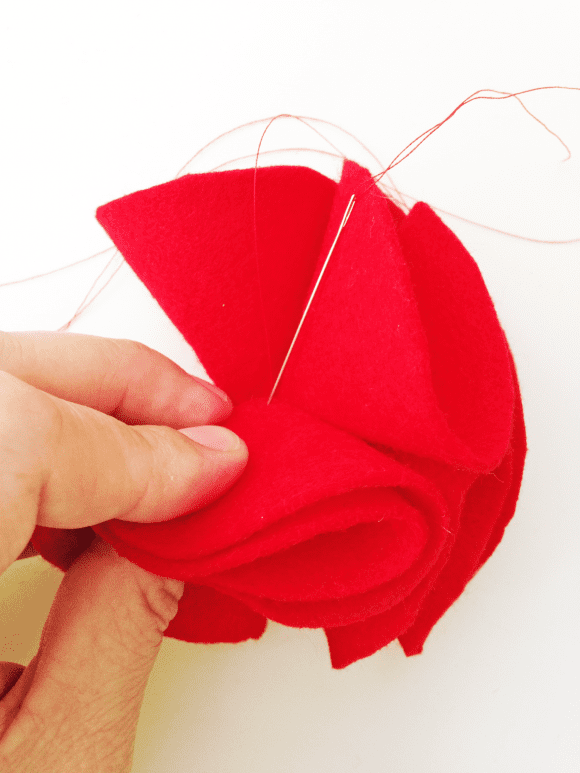
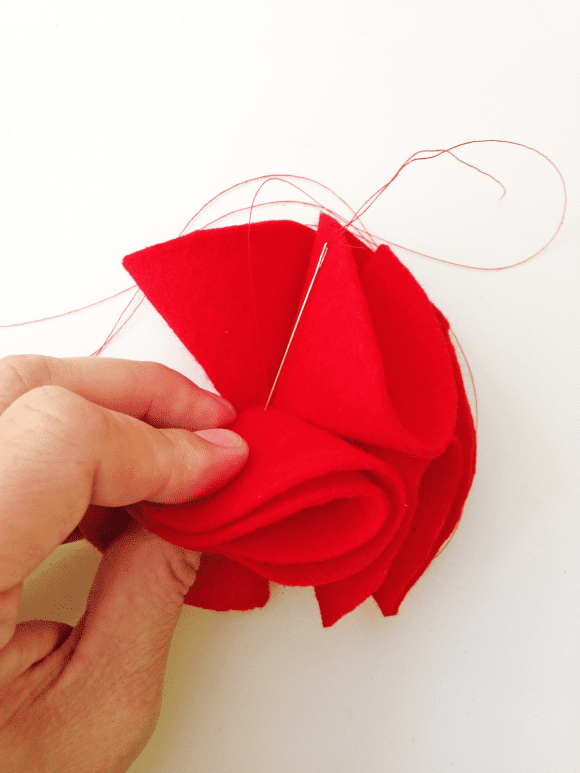
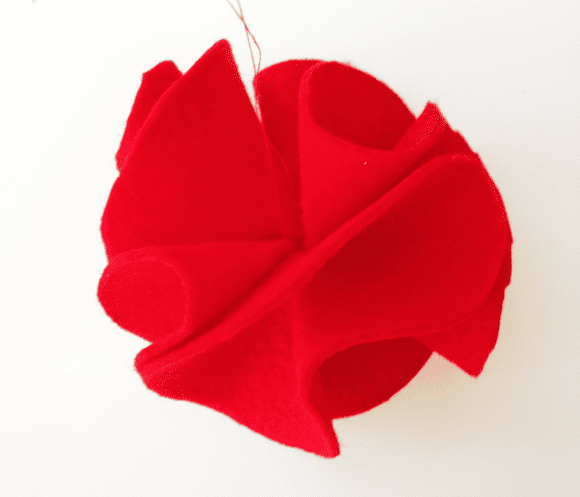
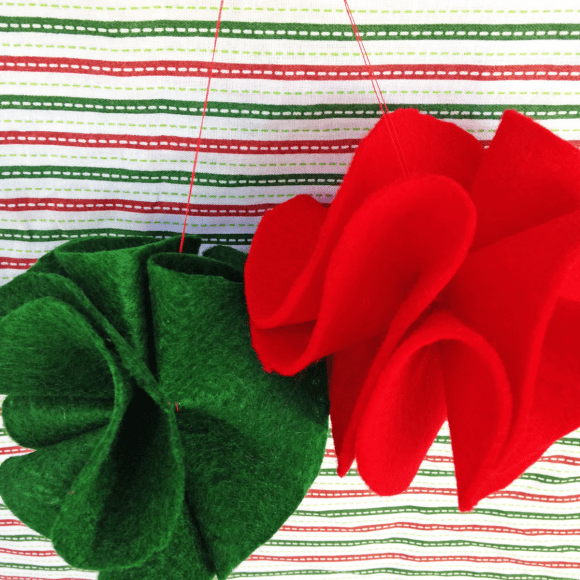
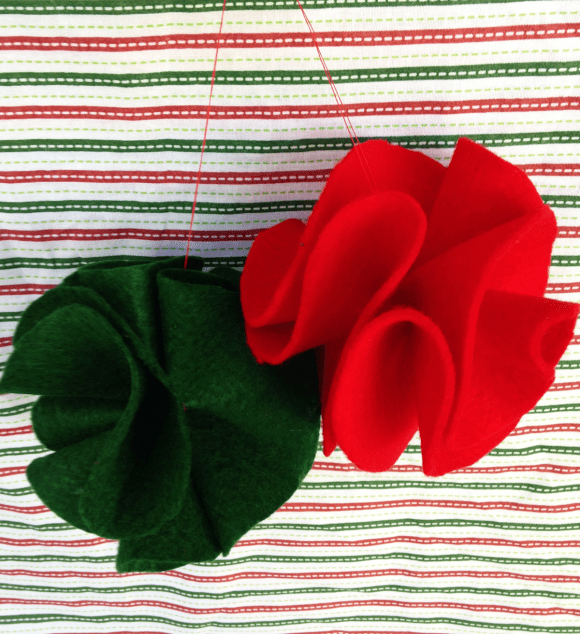
There you have it! A simple yet beautiful ornament to add to your tree, give as a gift or even attach to a gift to spruce it up! Making an extra large version of these would be perfect for hanging party decor! So many options.
Have you seen our last-minute Christmas dessert recipe post? And do you need any free Christmas party printables? We’ve got them!