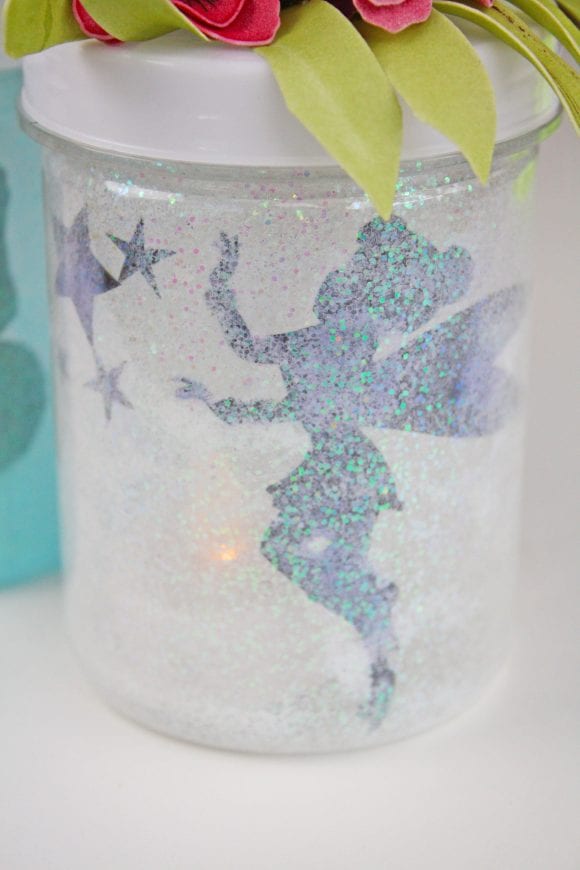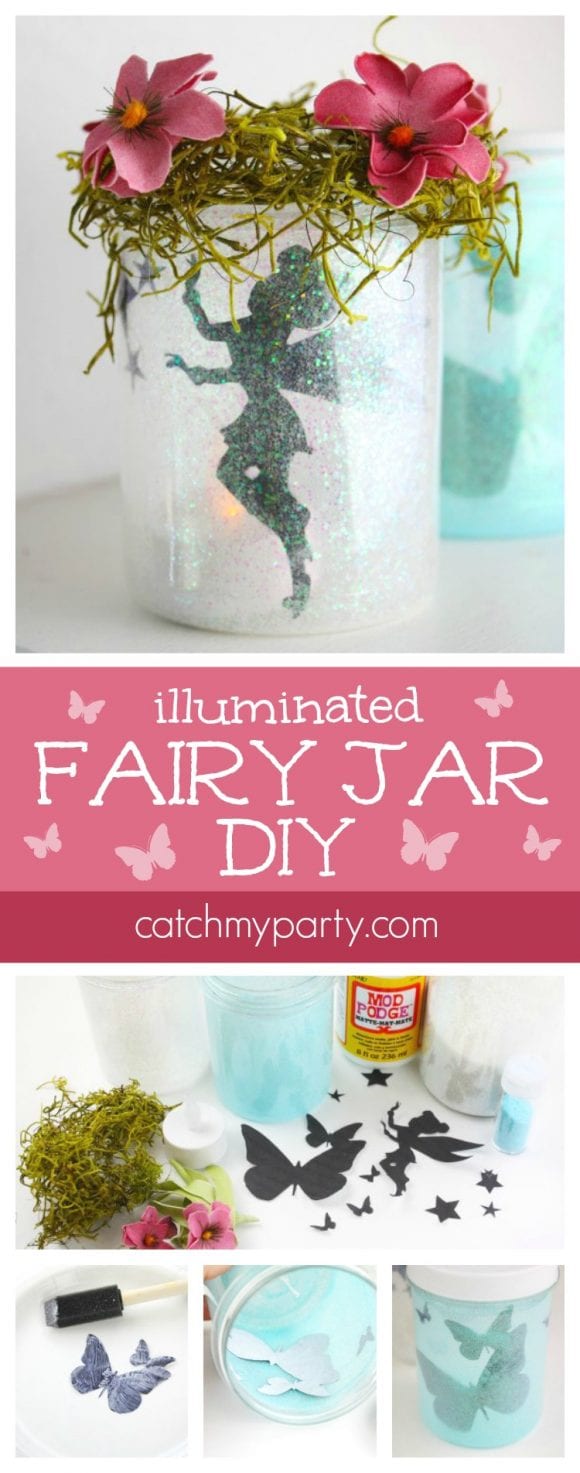
Fairy parties are one of the most popular party themes on Catch My Party. So if you’re planning one, and looking for a fun party activity or party favor for your guests, check out this illuminated fairy jar DIY.
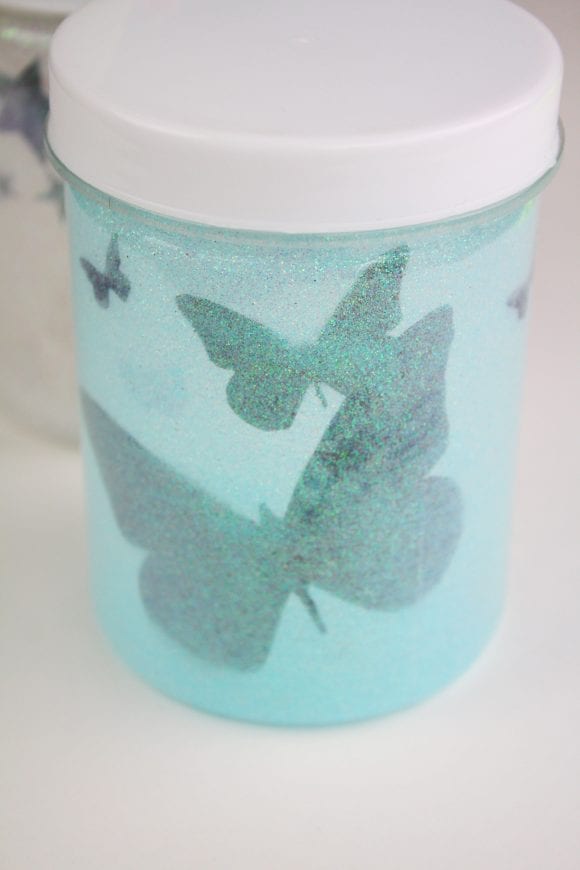
These jars are easy to make and look so stunning when they’re done. You’ll be asking yourself if you really trapped a fairy inside! 🙂
Illuminated Fairy Jar DIY
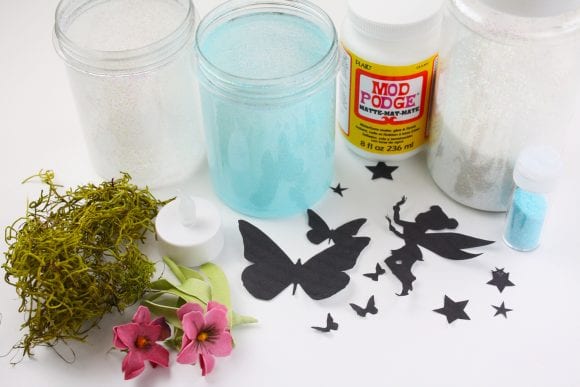
What you need:
- Jars (I prefer plastic storage jars for kids)
- Mod Podge or glue
- Paint brush
- Fine glitter
- Fairy silhouettes
- Moss
- Fabric flowers
- Hot glue
- Tea light battery candles
Step 1:
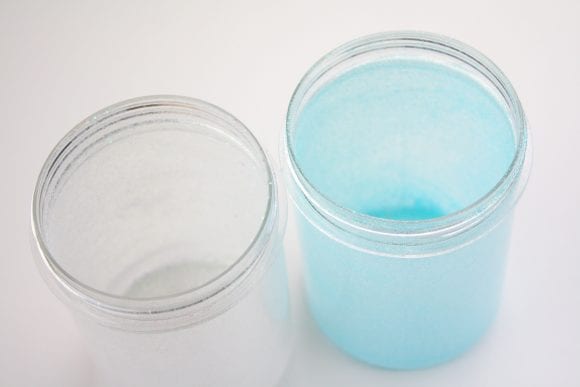
Using a foam paint brush line the inner walls of the jar with Mod Podge, make sure it is a thin layer.
Step 2:
Sprinkle glitter into the jar and close the lid. Shake the glitter until the entire inside of the jar is coated. Discard any excess glitter.
Step 3:
While the inside of the jar dries, print and cut out any silhouette. We used butterflies and a fairy with stars! Just Google the type of silhouette you want to use. Make sure to adjust the print size for each image so that it will fit into your jar (you may need to print at 50-75%).
Step 4:
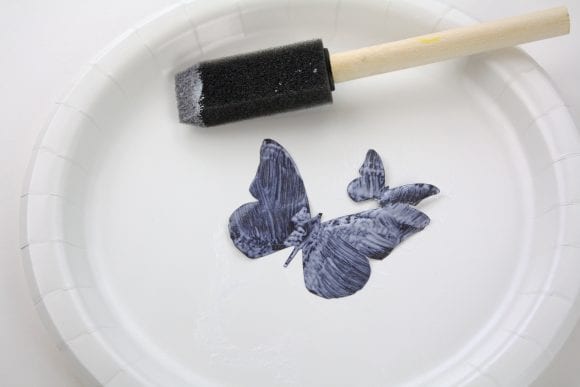
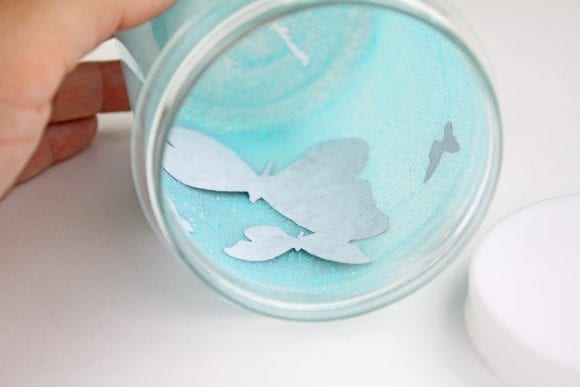
After you cut out the silhouette, spread a thin layer of mod podge over the top of the silhouette. Press the silhouette into the jar. Allow to dry.
Step 5:
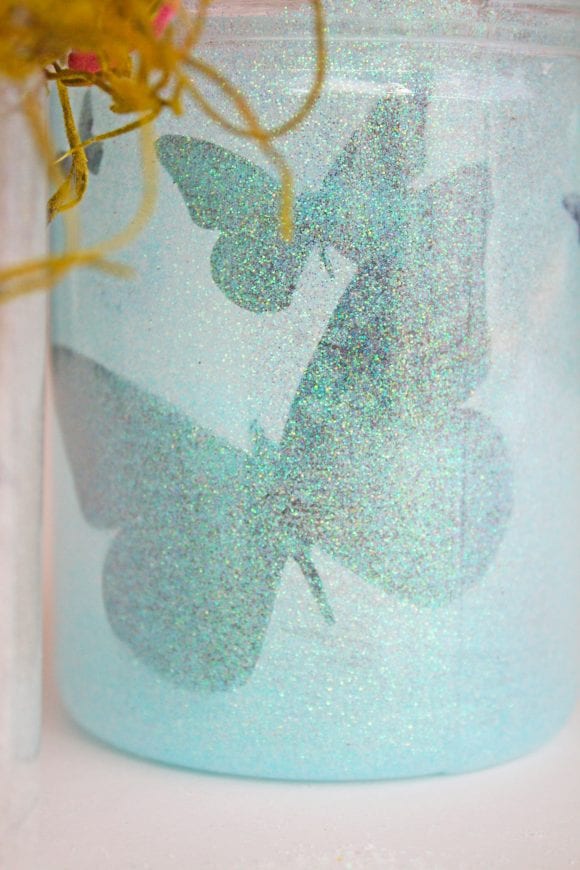
Using hot glue, embellish the jar with moss and fabric flowers!
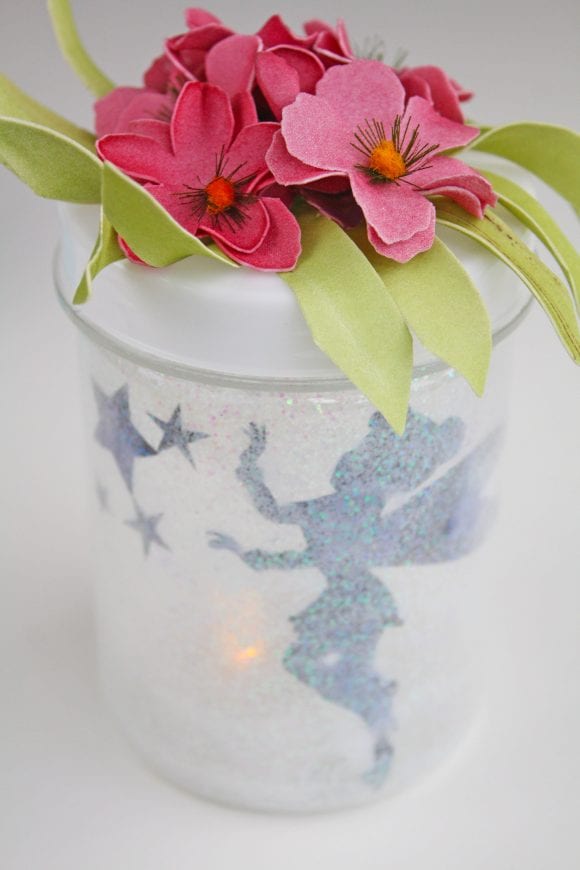
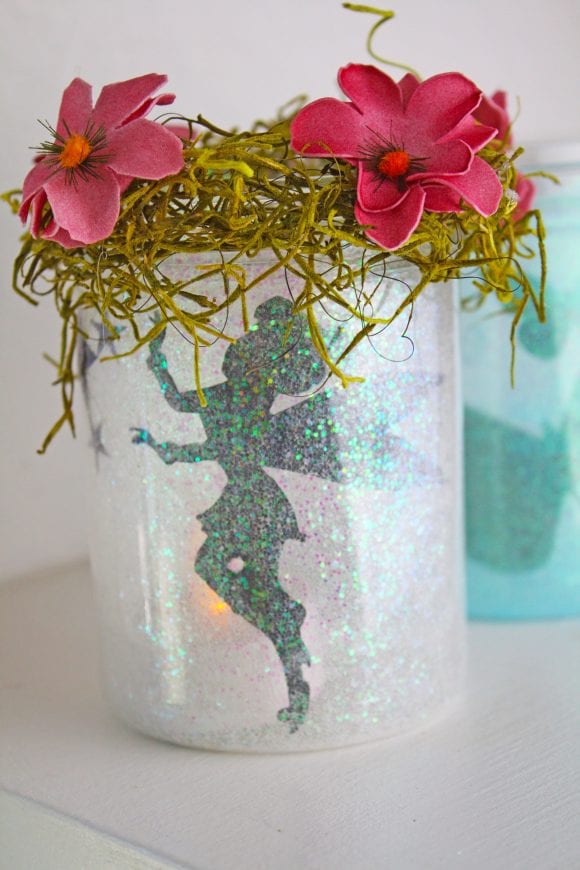
Step 5:
Light the jars in the evening with battery operated tea light candles. So pretty! Your guests will love them!
FREE FAIRY BIRTHDAY PARTY PRINTABLES
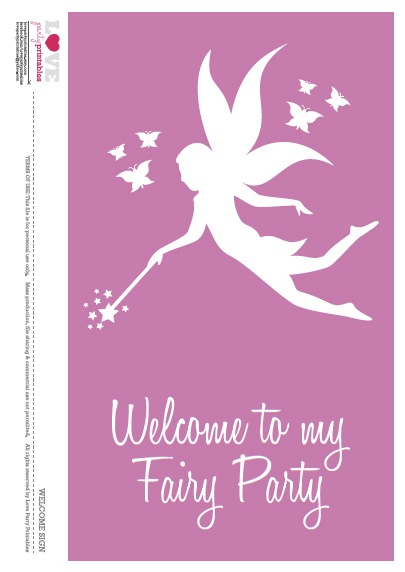
For more inspiration, check out these magical fairy parties on our site and all our fairy party supplies!
