This easy-going Mini Cranberry Apples Pie recipe is party perfect, beautifully balanced with a tart, sweet filling, and buttery layers of pastry on the outside.
At Catch My Party, we are head over heels for all things fall, so take a peek at our fall inspiration to go along with these mini cranberry apple pies.
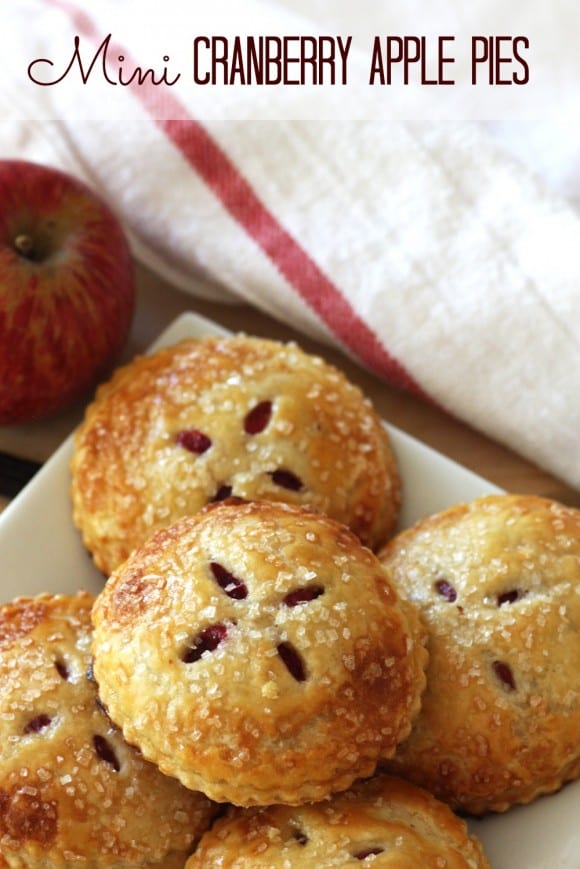
As fall approaches, I’m sure most of us start daydreaming about pies, cranberries, and the autumnal color palate we know and love!
At Catch My Party, we have some seriously cute fall-related themes like our Candy Corn Party and this Autumn Leaves, Pumpkins Please! setup.
Crazy about stationery, our Fall Thank You Cards will have you swooning, and don’t forget to try out a batch of our Fall Harvest Popcorn to really get you in the mood.
Back to the pies…
Contents
Reasons to Fall in love with these Mini Cranberry Apple Pies
- They’re bite-size: everyone loves a mini and bite-size version of a classic recipe, and these are no exception.
- Festive appeal: these, pretty as a picture pies, are fit for a fall festival or party and will get everyone in the mood.
- Taste: perfectly balanced. Think sweet, sour, buttery goodness.
- Easy to make.
- Portable: pack these up and take them to any offsite party or venue.
Ingredients and Supplies
- Flour. All-purpose or cake flour will do the trick
- Butter. Unsalted and chilled. It’s really important that your butter is cold when you’re making the pastry.
- Cranberries. Fresh or frozen are fine; if you’re using frozen cranberries, ensure they thaw out fully.
- Sugar. White, regular sugar or caster sugar is perfectly fine for this recipe.
- Apples. Choose green pie apples.
- Orange zest. This really lifts the filling flavor and nods to fall and all its wonderful flavors.
- Cookie cutters. Round – you can choose to use ones with a frilly border like I have or not. About 3-inch is good.
- Silpat. Use parchment paper if you need to.
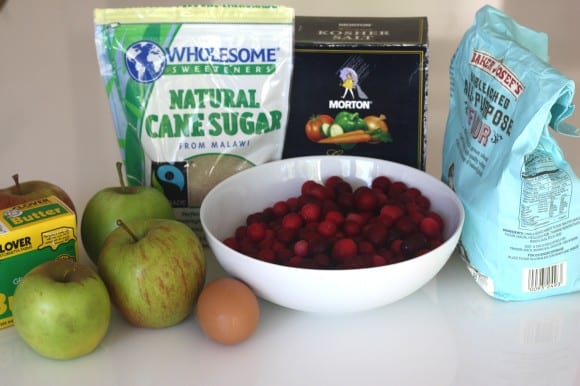
How To Make Mini Cranberry Apples Pies
Step 1: Make the pastry
First, cube the butter and put it in a food processor with the flour, salt, and sugar. Mix for about 30 seconds.
It will have almost a breadcrumb texture. Pour into the chilled mixing bowl. If you don’t have a food processor, you can do this by hand in the mixing bowl. Use a pastry cutter or your hands to blend the butter.
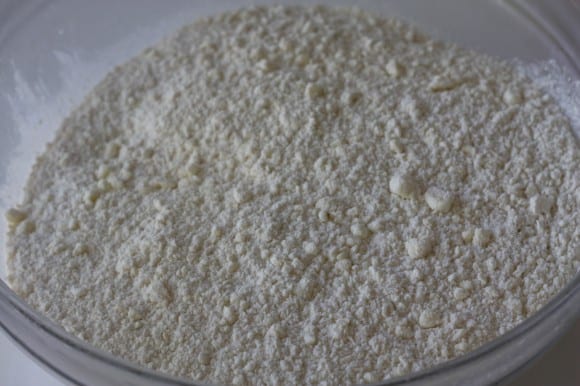
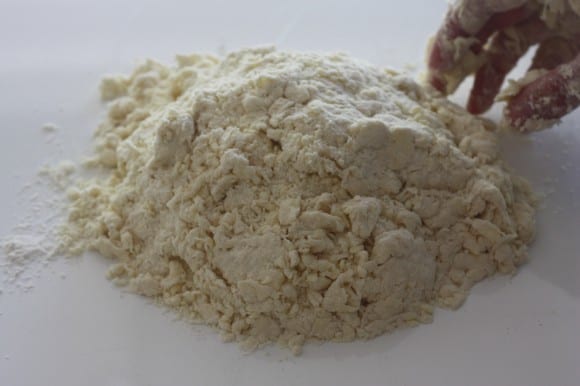
Add 1/4 cup of the cold water, and mix it with your hands. I like to grab and twist, working the bottom and sides of the bowl. When the water is absorbed, add another 1/4 cup of cold water.
That should be enough to pull the dough together. If it still seems crumbly, like in the picture below, work in another couple of tablespoons of cold water.
Sprinkle some flour on your work surface and knead the dough just a couple times to work into a nice smooth ball. Cover it in plastic wrap, and put it in the fridge for at least 30 minutes to rest while you work on the filling.
Step 2: Make the filling
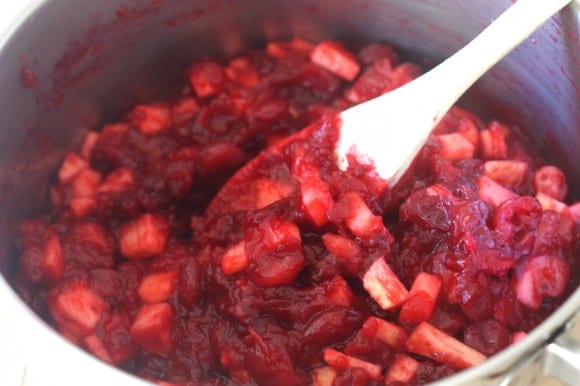
Next, add the cranberries to a saucepan over medium heat. Stir occasionally, and when the berries start to pop, you can add 1/2 cup sugar and the orange zest. Let it simmer on medium-low heat for about 15 minutes until you get a thick jam-like texture.
Peel and core the apples and dice them. Take the cranberries off the heat, and stir in the apples.
Step 3: Assemble the pies
Preheat the oven to 425 degrees.
Take the dough out of the fridge, sprinkle some more flour on your workspace, and roll it out to about 1/16th of an inch thick.
I use a 3-inch biscuit cutter to cut two pieces of dough for each pie (top and bottom). You could also cut it into 3-inch squares with a knife. Put the bottom pieces on a baking sheet covered with parchment paper or a Silpat.
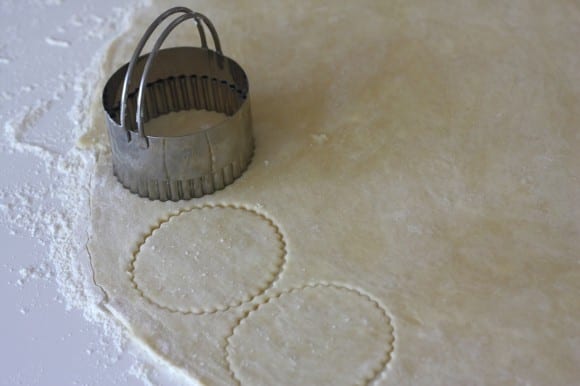
Make your egg wash by beating the egg and adding 1 tablespoon of water. Brush around the perimeter of the bottom pieces to help seal the pie. Spoon about a tablespoon of filling into the center of each bottom piece.
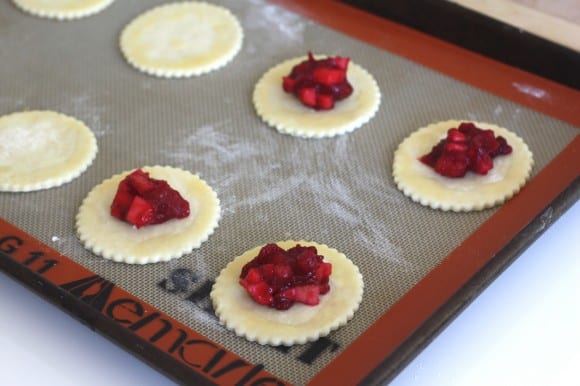
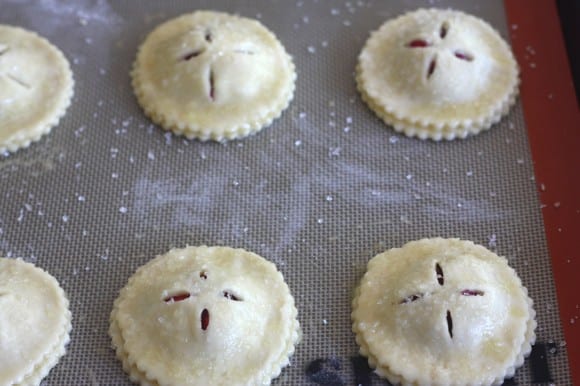
Cut an “X” into the center of each top piece, then lay them over the bottom pieces, gently pressing the edges all the way around to seal.
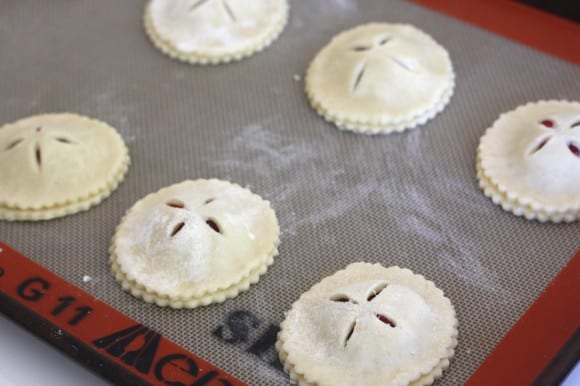
Brush the whole top with the egg wash, then generously sprinkle sanding sugar over the top.
Step 4: Bake the pies
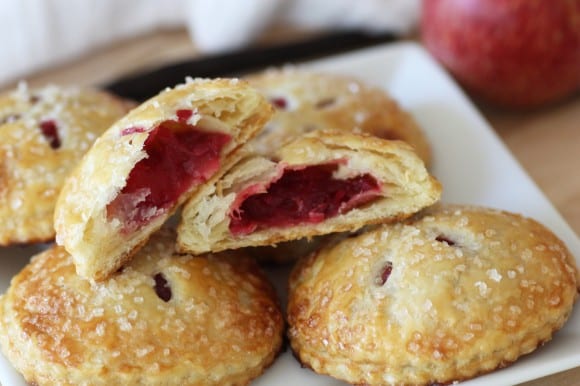
Bake for about 15 minutes, until golden brown. Let them cool before eating, and be careful of the hot, but delicious filling! Serve them with cream!
Tips and Substitutions
- When making your pastry, keep all the elements cool. You can chill your flour until you’re ready to use it; the same goes for the butter.
- If you don’t have apples, use pears instead!
- Substitute cranberries with raspberries if you can’t find any.
- Feel free to add in any spices; cinnamon, nutmeg, allspice, etc.
- Crust; if you don’t have time to make your own, just use store-bought.
FAQs
Your pies could be soggy from adding too much liquid to the filling, under-baking them, or overcrowding them in the oven.
Yes, you can; this will allow the flavors to fully meld.
By not adding a lot of liquid (or any) to the pot while cooking it.
Other Fall Posts You Might Like
- Fall inspiration
- Candy Corn Party
- Autumn Leaves
- Pumpkins Please!
- Fall Thank You Cards
- Fall Harvest Popcorn
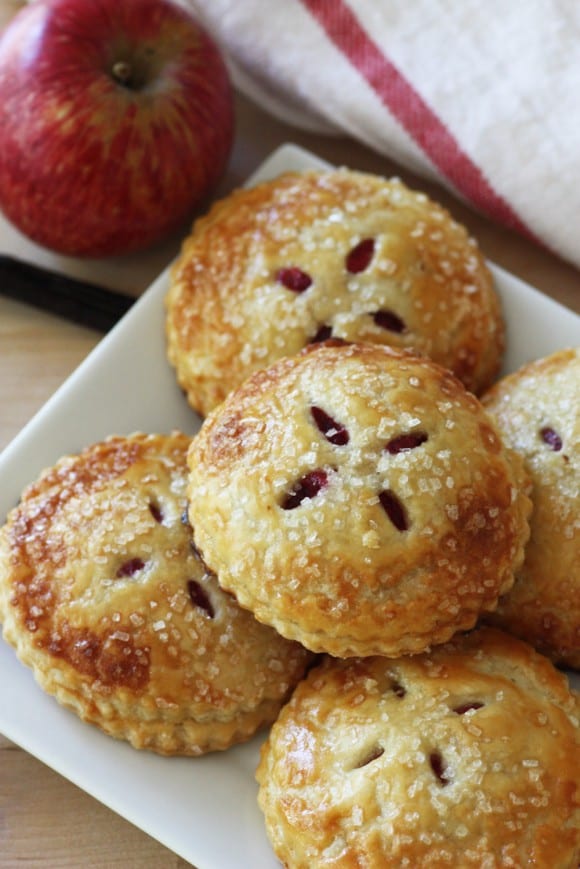
Bursting with pretty fall colors and flavors, these mini cranberry apple pies are the perfect fall treat you’ll love.
Don’t forget to catch all the fall inspiration on our site and grab your free printables to get you set for your next event.
Ingredients
- Crust
- 2 ½ cups of flour
- 2 teaspoons of sugar
- 1 cup butter 2 sticks
- ½ teaspoon of salt
- ½ cup cold water
- Filling
- 2 cups cranberries
- ½ cup sugar
- 2 apples
- Zest from one orange about 2 teaspoons
- Assembly
- 1 large egg
- 1 tablespoon water
- Coarse sugar
Instructions
- Start by preparing the dough for the pie crust. If you want to use pre-made crust, you can skip ahead, and probably finish the whole recipe in about 20 minutes. But crust is pretty fun to make. The main trick to making a pie crust using butter, is keeping it as cool as possible while you make it. I store our flour in the freezer, and about 15 minutes before we start, I also put the mixing bowl in the freezer.
- Cube the butter, and put it in a food processor with the flour, salt, and sugar. Mix for about 30 seconds. It will have almost a breadcrumb texture. Pour into the chilled mixing bowl. If you don’t have a food processor, you can do this by hand in the mixing bowl. Use a pastry cutter or your hands to blend the butter.
- Add 1/4 cup of the cold water, and mix it with your hands. I like to grab and twist, making sure to work the bottom and sides of the bowl. When the water is absorbed, add another 1/4 cup of cold water. That should be enough to pull the dough together. If it still seems crumbly like in the picture below, work in another couple tablespoons of cold water.
- Sprinkle some flour on your work surface and knead the dough just a couple times to work into a nice smooth ball. Cover it in plastic wrap, and put it in the fridge for at least 30 minutes to rest while you work on the filling.
- Add the cranberries to a saucepan over medium heat. I don’t add any water because I want a thick filling. Stir occasionally, and when the berries start to pop, you can add 1/2 cup sugar, and the orange zest. Let it simmer on medium-low heat for about 15 minutes until you get thick jam like texture.
- Peel and core the apples, and dice them. Take the cranberries off the heat, and stir in the apples.
- Preheat the oven to 425 degrees.
- Take the dough out of the fridge, sprinkle some more flour on your workspace and roll it out to about 1/16th of an inch thick. I use a 3 inch biscuit cutter to cut two pieces of dough for each pie (top and bottom). You could also cut it into 3 inch squares with a knife. Put the bottom pieces on a baking sheet covered with parchment paper or a silpat.
- Make your egg wash by beating the egg and adding 1 tablespoon of water. Brush around the perimeter of the bottom pieces to help seal the pie. Spoon about a tablespoon of filling into the center of each bottom piece.
- Cut an “X” into the center of each top piece, then lay them over the bottom pieces, gently pressing the edges all the way around to seal.
- Brush the whole top with the egg wash, then generously sprinkle sanding sugar over the top.
- Bake for about 15 minutes, until golden brown. Let them cool before eating, and be careful of the hot, but delicious filling!
Notes
Nutrition
This post may contain affiliate links that won’t change your price but will share some commission. We are participants in the Amazon Services LLC Associates Program, an affiliate advertising program designed to provide a means for us to earn fees by linking to Amazon.com and affiliates.