I saw Brenda F’s Backyard Carnival Party and almost flipped. The attention to detail was amazing. Then I discovered she pulled the whole thing off on a budget of $464 for 70 people. That’s about $6.50 per person.
Of course I had to learn her secrets, so here are Brenda’s top 5 tips on saving money throwing an amazing party. Take it away, Brenda…
TIP 1 – Don’t be Shy
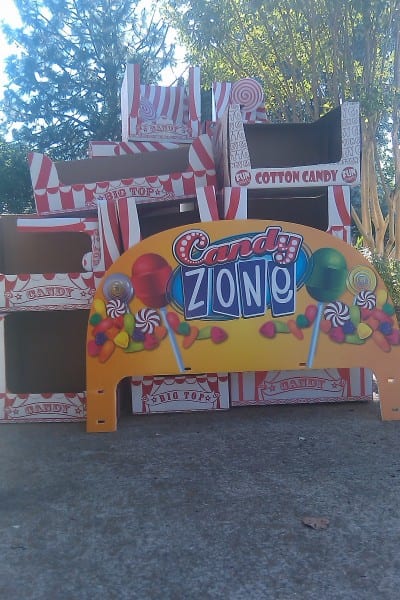
Because I knew my theme early on, I was able to talk to the manager of our local Dollar Tree store about a “Big Top” promotion they were having in their candy department throughout the summer and requested that they give me the empty boxes.
Once I was given the go-ahead for pick up, I was able to fill up my SUV with these adorable red & white striped boxes AND she threw in a colorful plastic sign that said “Candy Zone.” It worked perfectly at our candy buffet table. These items were FREE, and were going to end up in the trash if I hadn’t spoken up.
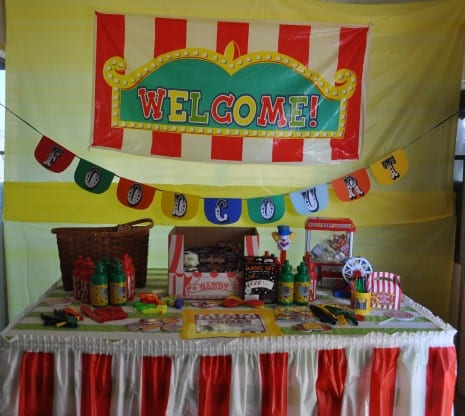
When a Facebook friend who lives locally posted pics from her grandson’s carnival party, I immediately sent her a message to ask if she wouldn’t mind letting me borrow some of her decorations before I spent money on purchasing those very same items myself. She was happy to loan them to me, as they were just going to sit in a box in storage otherwise.
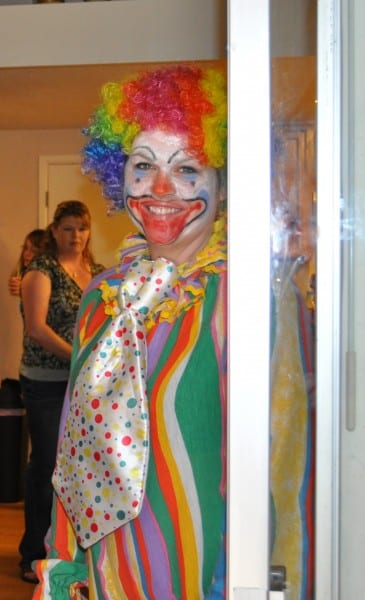
Because I didn’t have the extra money to hire professional

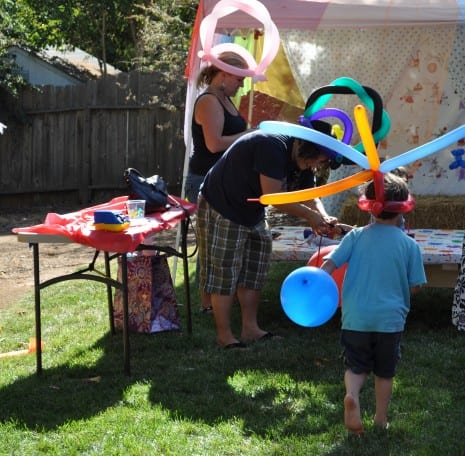

I called our local feed store to ask about their pricing on hay bales and asked if they were available to rent instead of purchasing. As it turns out, we were able to purchase them upfront and return them later, undamaged, and we received all of our money back. I loved the old-time look that the bales provided, and they also doubled as extra seating. Ultimately, they didn’t cost us anything and because of the significant savings, we will be using them a lot in the future!!
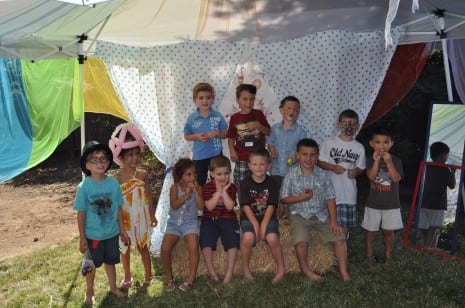
From other friends, I received an old fashioned popcorn maker to use for the day, a candy claw arcade game, and I was also offered two cartons of flossing sugar, cotton candy cones, and paper popcorn bags.
All other tables and chairs were borrowed items as well.
I know it seems like a lot to borrow from others but when you really need to save money, take whatever is being offered and it never hurts to ask for help. Most people are happy to oblige!
Tip 2 – Use What You Already Have and DIY Whenever Possible
Collect items around your house that may fit into your theme, including bowls and serving dishes. Sometimes you have to think outside of the box to repurpose items, but you will be surprised at what you won’t have to purchase.
Search the web for free printables and royalty free clip art. You can use Microsoft Office and your free basic photo editing software to customize your own invitations, labels, banners, and other party decorations instead of purchasing them at party supply stores. The DIY custom touches are what really “wow” your guests! It doesn’t matter what your skill level is with crafting, there IS always something that you can find to do yourself. Sometime’s it is just as easy as hitting the print button.
I purchased a DIY printable package from an Etsy shop: Bee and Daisy. I searched until I found the best deal. It was $12 for the blank invite, pinwheel patterns, cupcake toppers and wraps, napkin rings, labels, a tee shirt transfer, and a banner sign. All other printables used were found online and were FREE. But don’t allow yourself to get carried away with printing. Ink is expensive and this ate up much of our budget.
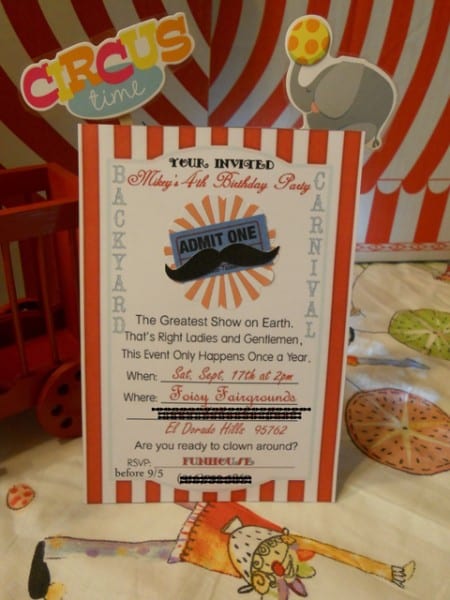
I bought a T-shirt at Target at $4.99 and I already had the iron-on transfer sheets lying around, so I printed out the image, and in 1 min. his birthday shirt was complete!!
And to think that I was originally going to buy him a custom T-shirt with a $29 price tag + shipping. Ouch!
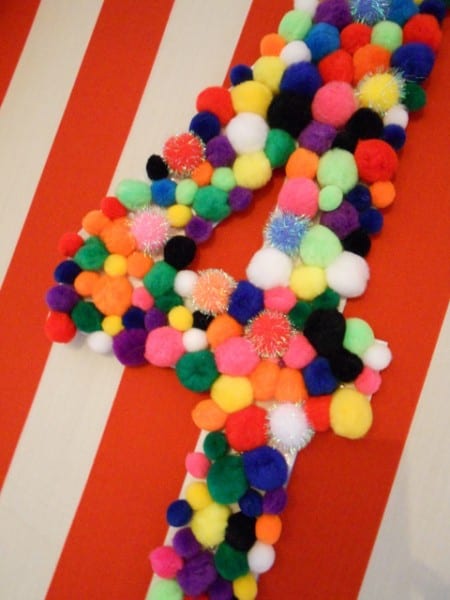
I fell in love with cotton pom-pom’s this year and created a #4 to decorate the dessert table backdrop. Using cardboard from an empty cereal box, I traced out the number, cut the shape out, and filled it in with small and medium sized colorful pom-poms and I used the jumbo pom-poms for making the fun garland by using a travel sewing kit and attaching each pom pom to thin ribbon. A hot glue gun would work just fine, too, but I really wanted this one to last so that I could re-use it again in the future.
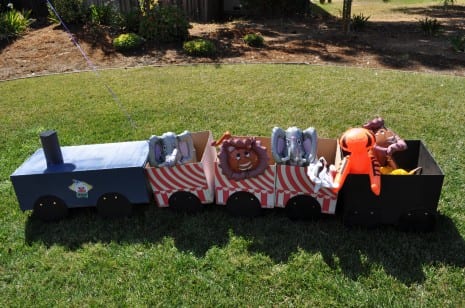
Using some of the “Big Top” boxes that I received from the Dollar Tree, I made a circus train, and used inflatable animals, that we already owned, to sit in the train cars and welcome guests as they walked up to our front door.
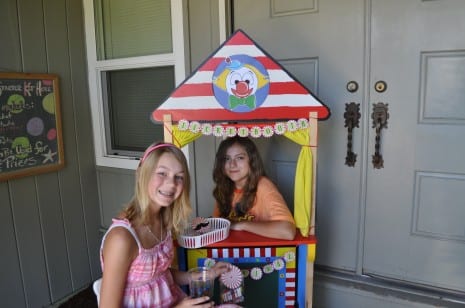
I transformed my son’s puppet stage as the “Ticket Booth” just by blocking out the painted clock with a picture of a clown and stringing a small banner on it.
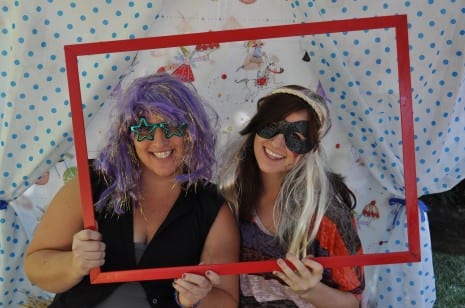
For the photo booth: I collected our own sheets and bought cheap curtain panels to use as the backdrop and placed old Halloween costumes into a storage trunk to be used as photo booth wardrobe props. Easy!
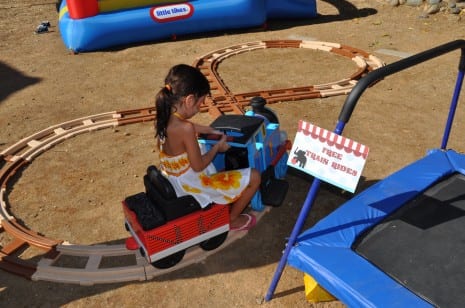
Before selling old toys on Craiglist, or donating them to Goodwill, I decided to give them one last go ’round and I incorporated them into our theme as well. Our son’s battery operated Thomas the Train Railroad was set up and we also used both his rocking horse, and stick horse for some “Pony Ride” fun!
TIP 3 – Buy Decor That May Possibly Fit into Other Parties in the Future and Always Hit the Clearance Section First
I find that it is best to stay clear of any party theme that is commercialized or too theme specific. It is almost impossible to use those same supplies in the future, lending them to the “one-time only” option. Example: When looking to purchase a printed cardboard cutout, I opted to buy the Hot Dog Concession Stand instead of buying the Carnival Barker because I can get so many more uses out of it.
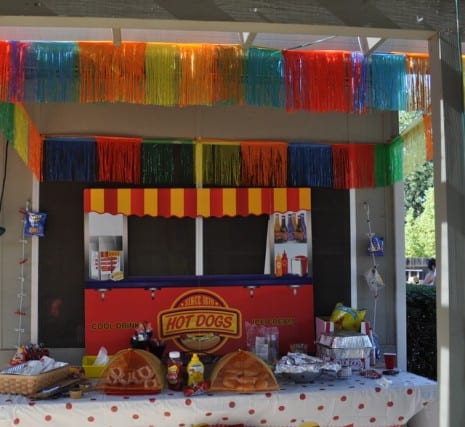
Try to use color combinations that are easy to find and that can be used again. I like red, white and blue. The best reason I can give for this is because after every Memorial Day, Fourth of July, and Labor Day, party supplies in those colors are found extremely discounted. It is then that I stock up! This same combination also worked great for our son’s train and baseball parties that we have done for him in the past.
Also, when looking for possible favor bag items, I always look in the clearance section of stores first. It is not uncommon to find great favors there that are well made, allowing us to gift our guests with something more than the same junky toys that are usually found in favor bags, and that every parent hates! This year, those items found did not cost any more than $0.49 each and they were used at our Prize Table.
TIP 4 – You’re Not Feeding the Army
Outside of hosting a dinner party, you are not promising your guests that they leave with full stomachs. I always keep this theory in mind and inevitably, I am always left with extra food. To save additional money this year, I offered party guests food and snacks that gave me more quantity with lower costs.
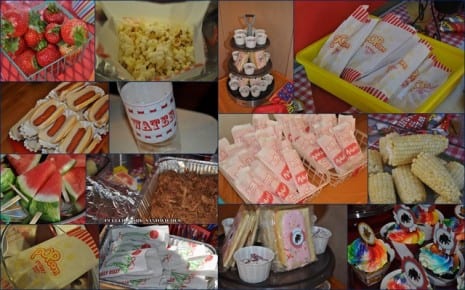
For example, we served corn dogs that gave 16 servings for $5.00. I purchased one large watermelon instead of a fancy fruit tray and served corn on the cob at 10 ears for $1.00. I spent $2.00 on bags of small carrots instead of serving a veggie tray that would only get half eaten.
I also purchased Goldfish crackers and gumballs that I individually wrapped into small portions, using clear bead bags that I got from the craft store. It allowed us to stretch the servings better than using the pint size snack bags and instead of over-filling the peanut bags with loose peanuts, I stuffed those into small snack bag first, to help keep them fresh, and to assist in filling up the paper sack, which allowed me to to use only one bag of peanuts and not having to purchase any more.
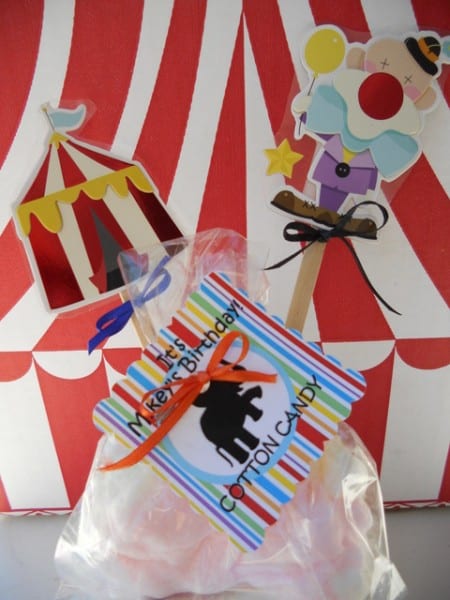
I also decided to use small cellophane bags again to showcase the cotton candy, instead of using the cones, because it required less product per serving and we had less waste.
TIP 5 – Plan Ahead
The first money saving tip will always be to plan ahead.
When your theme is chosen early, you have the time to search out party decorations and supplies at a reasonable cost, and/or either make them yourself.
Because I started planning our Backyard Carnival early and had an idea of what props I wanted, I went to children’s consignment stores first and placed all the items on their “Wish List” and they contacted me when those items came in.
This was a huge time saver too! I did not have to visit these stores more than once and several of the items wouldn’t be something they would have taken otherwise, because they aren’t a high demand item, or that they were in less than perfect condition.
Simply put, if they weren’t on the list, it would have been a missed opportunity. I was also able to negotiate better prices this way because they were making money on things that they never had to place on a shelf.
Secondly, I asked my friends that frequented thrift stores and yard sales to be on the lookout for certain items. They found me a brand new, never used, cotton candy machine for only $6, a baby sized pool and an entire shopping bag of rubber duckies for only $0.50 (to be used for one of the carnival games), a new face painting kit, and a crystal cake plate for only $1.50.
BREAKDOWN OF EXPENSES
Our party expenses totaled $464 for expecting 70 guests.
Food- $165 (includes drinks, snacks, candy for buffet table, and birthday cupcakes)
Printing- $60 (includes cost of printable package and paper too)
Party Props- $27 (includes hot dog stand, circus canopy, and dessert table decor)
Oriental Trading Co.- $49 (includes all misc. party supply supplies but I got free shipping)
Craft supplies-$50 (includes paint, glue, tape, paper lollipop and wooden craft sticks, fabric and ribbon.)
Serving pieces- $34 (includes paper plates, cups, utensils, peanut and pickle bags, paper straws, and 2 large netted style outdoor food covers)
Prize and Party Favors- $44 ( includes cost of prizes provided at each carnival game station, the Prize Table for every guest and custom party favor bags for the children only)
Helium Tank Rental- $35
*I could have saved even more money if I didn’t insist that every part of the house was decorated….that is Tip #6. lol
Thank you Brenda, for these smart and creative tips. Your party looked amazing!!
If you haven’t seen the whole party, please check out all the photos. It’s worth a serious look!