This is a new feature I’m starting where I find a gorgeous party on our site done on a tight budget, and I ask the Catch My Party member how she pulled it off.
This Ice Cream Social Surprise Birthday was put together by Shelley K. When I read on her party page that she put it together for a little over $100 I had to know how she did it.
First the beautiful party…
Now really, Shelley, how did you do it?
My party cost a little over $100. Mostly because I used cake plates, dishes etc. that I already had around the house.
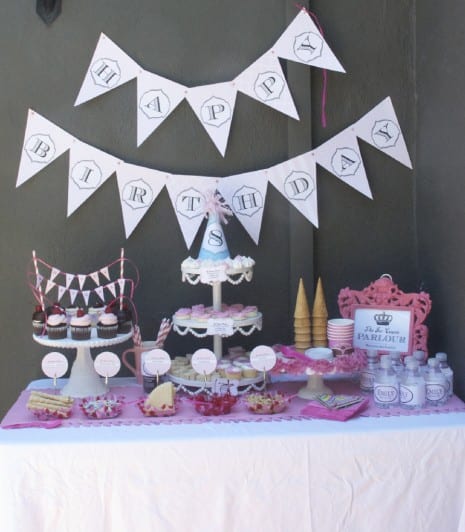
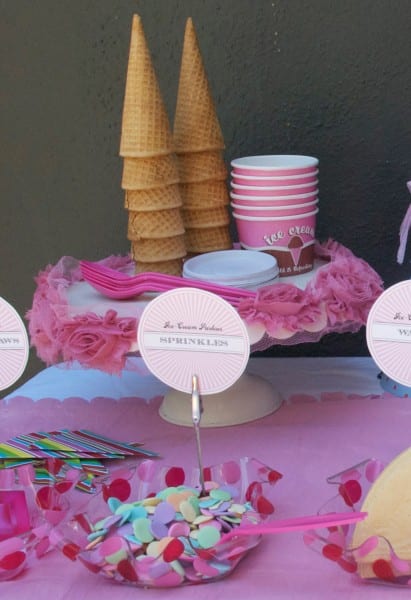
I used a gauzy flower ribbon and glue-dotted it to one of my cake plates to give it a vintage feel.
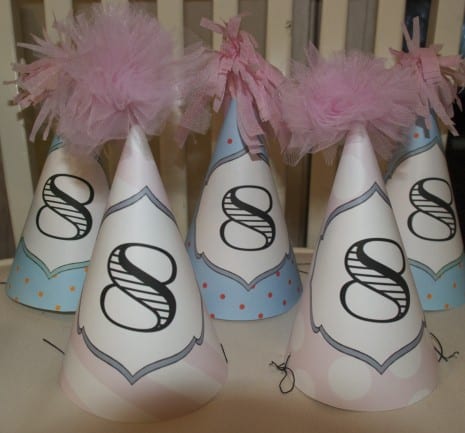
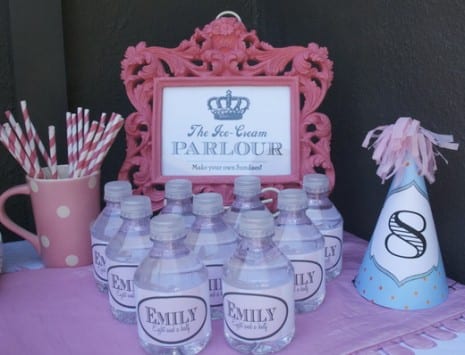
I designed paper hats and used crepe paper for the pom poms on top.
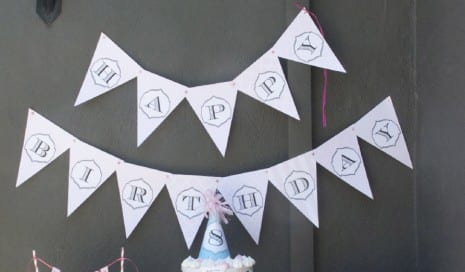
I created a banner and printed it out on heavy card stock and used brads to hold it together then glue dotted it to the wall.
I bought water bottles and made the labels match the rest of my theme with the birthday girl’s name.
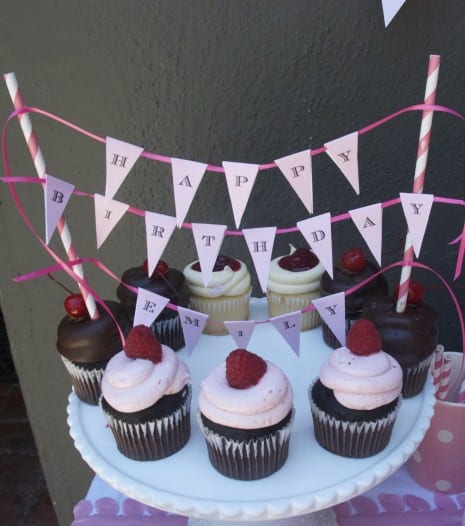
The cupcake bunting was also made on the computer and was super easy as it was just plain pink with the letters “Happy birthday Emily.” I used pink string and 2 paper straws to hold it together. Again, more glue dots!!!! Love the glue dots!
The frame is what actually inspired the design of this party. I found it at TJ Max for $9 and decided right there that I was going to have an ice cream social with the main event printed inside. All the printables for the toppings and the cake stand are by Eat, Drink, Chic by Amy Moss and can be downloaded FREE here.
I used anything I could that was around the house. I had an earring holder that was shaped like a body and I printed up a sign for the top of it and hung the favor bags from the necklace hooks.
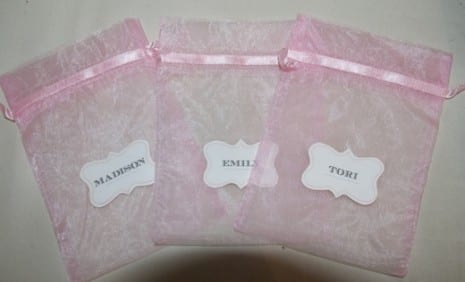
The favor bags were made of pink tulle and I printed up the free download from Eat, Drink, Chic and just adjusted it to fit the kids names.
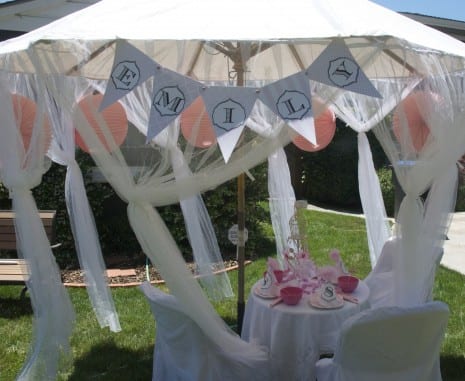
The kids table was set for 3 girls. The 3 boys had a separate table in blue with the blue hats and chocolate mustache suckers which my daughter made by picking up a mold at the craft store for $2. I can’t believe how easy it was and she is only 9!
The tiny dishes that held the toppings were purchased also at the craft store for $1.99 each and had pink polkadots so I was pretty happy. The pink bowls were purchased at the dollar store as were the napkins. The ice cream paper bowls came with lids and wooden spoons, also $1.99 for 6 at Michaels craft store.
I bought the food mostly at World Market which is an import store. We served lemon wafers, mini macaroons, vanilla wafer straws, cherries, nuts, cone wafers, tons of assorted sprinkles, whipped cream, chocolate, caramel and strawberry sauces.
The cupcakes were a great find at the local grocery store and were 2.99 a piece and we ordered 9 since there were only 6 people. There was chocolate truffle, cream cheese strawberry and strawberry chocolate.
The cotton candy cookies and strawberry mini cupcakes were from Target for a respectable $10. I think I spent the most on the paper straws than I did anything else! They were $15 for 50.
Here is my total breakdown:
- Crepe paper …$2.00
- Brads for banner …$2.50
- Ribbon…..4.99
- Water bottles…$6.00
- Glue dots…$5.00
- Pink frame… $9.00
- Favor bags …$3.00
- Mini pink flower lip gloss for favor bags…$4.50 for 3
- Chocolate mustache mold with chocolate chips for melting…$6.00
- Straws…$15.00
- Grocery store items…$60.00 which included all the ice cream etc. with the toppings
- Paper ice cream bowls…$2.00
- Cupcakes…$27.00
- Pink bowls …$3.00
- Imported wafers…$25.00
The total price for this entire party was approximately $175.00.
The best part was that I didn’t spend a month planning this party. It was thrown together in 2 days thanks to the pink vintage frame which sparked the idea as well as the free downloads which saved me from creating my own.
To finish the post, I ask each member what their top 5 money saving tips are…
Oh, I guess my 5 things would be:
- Own a computer for printing up labels, banners, hats, etc.
- Shop at the thrift stores and dollar stores.
- Use items around the house and embellish them to fit your party theme.
- Glue dots work for everything… and I mean everything.
- Presentation. Make it pretty. My table only had 3 cake stands, 5 small dishes and a frame. Not a lot all by itself. Pretty them up and you have yourself a party!
Thank you, Shelley, for all these wonderful tips and details. Your creativity is amazing and you are truly a money-saving inspiration! 🙂
