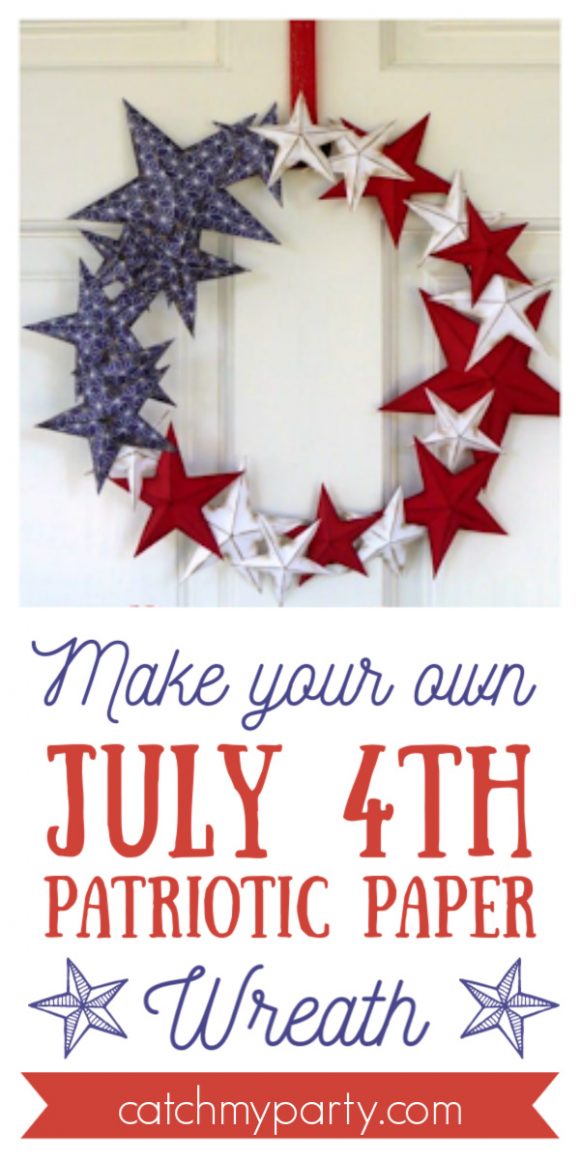
Are you looking for a way to add some patriotic flair to your front door or wall this upcoming July 4th? Look no further than this fun and easy paper wreath! With just a few supplies and simple instructions, you can create a festive decoration that will impress!
Plus, it’s a great activity to do with friends and family leading up to the holiday, as is our July 4th Patriotic Scrap Fabric Banner DIY.
Looking for more July 4th party ideas? Check out our site for a bunch of FREE July 4th party printables and be sure to try our delicious July 4th cookie ice cream sandwiches, July 4th ice cream cone cupcakes, patriotic July 4th cookies, and our last-minute 4th of July cupcake recipe.
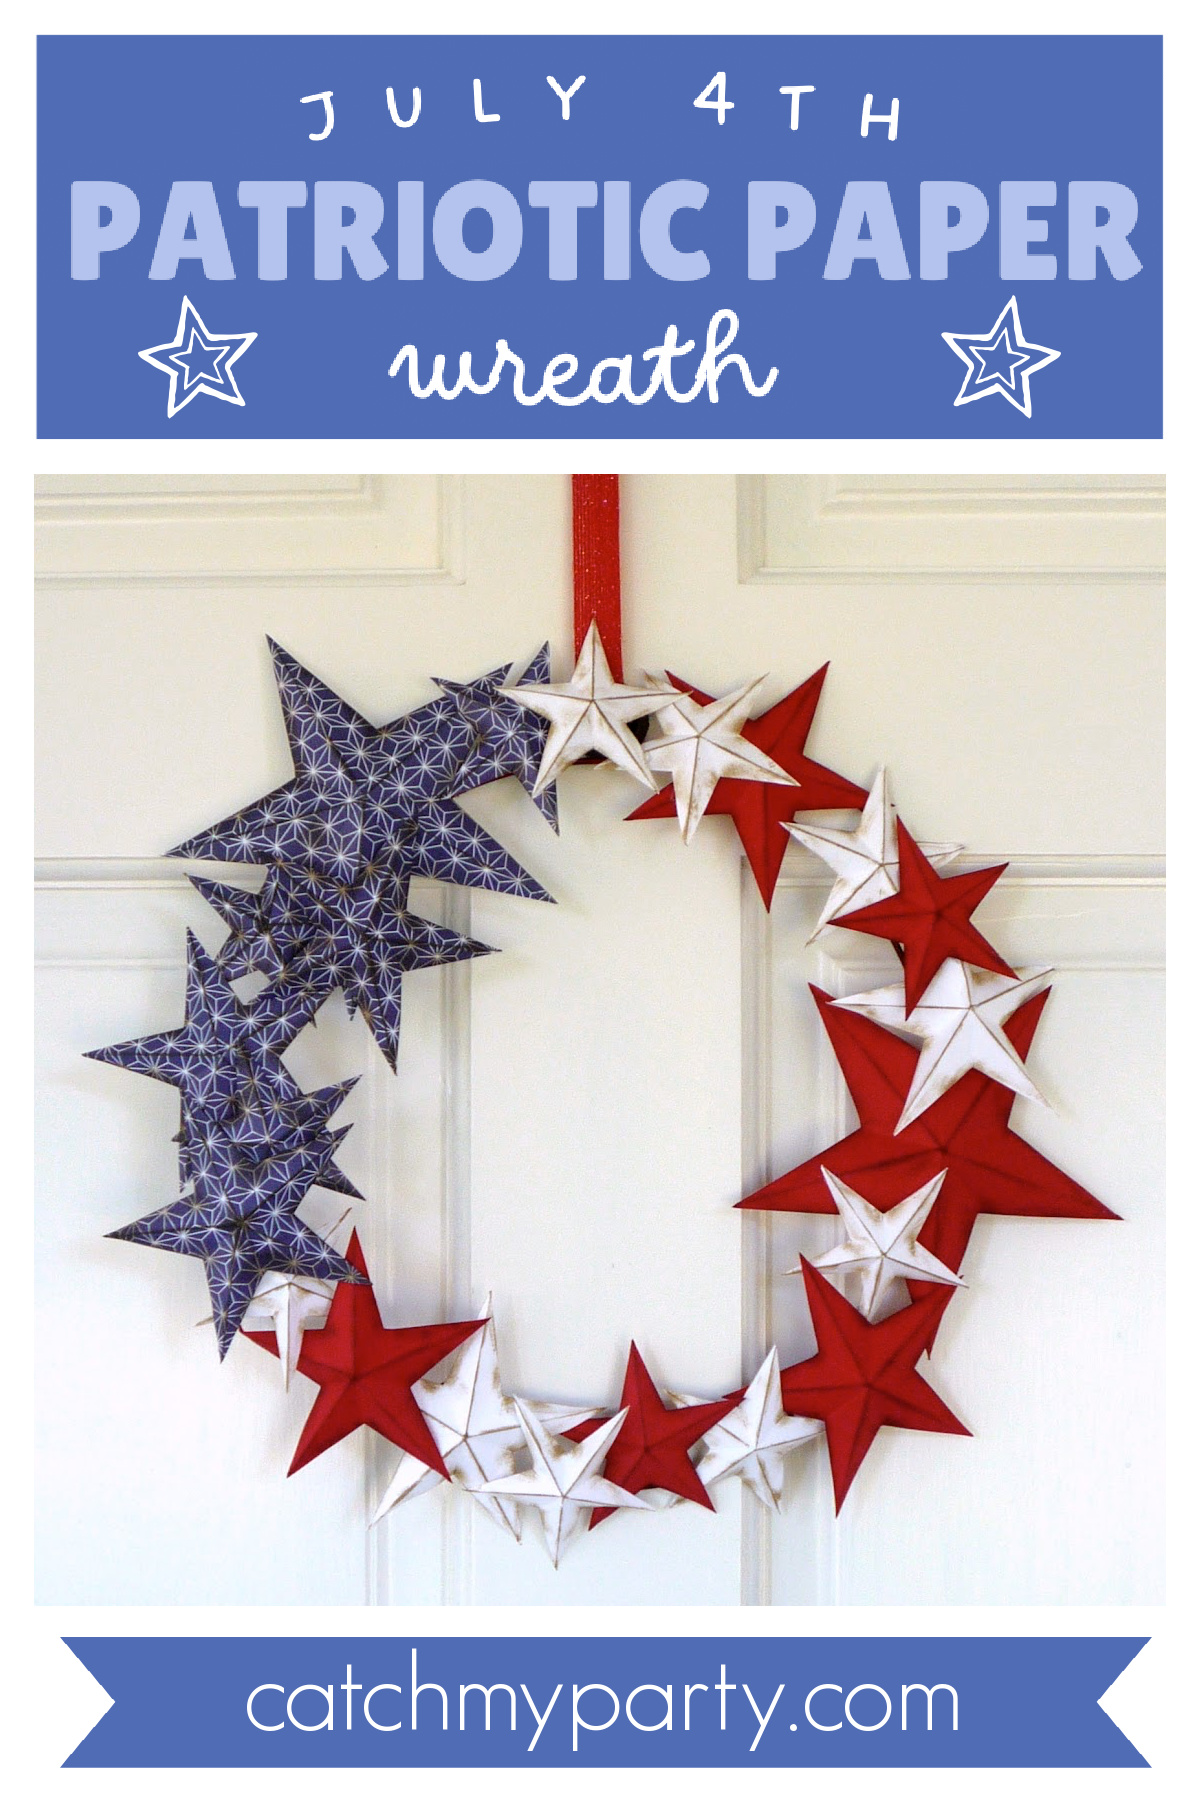
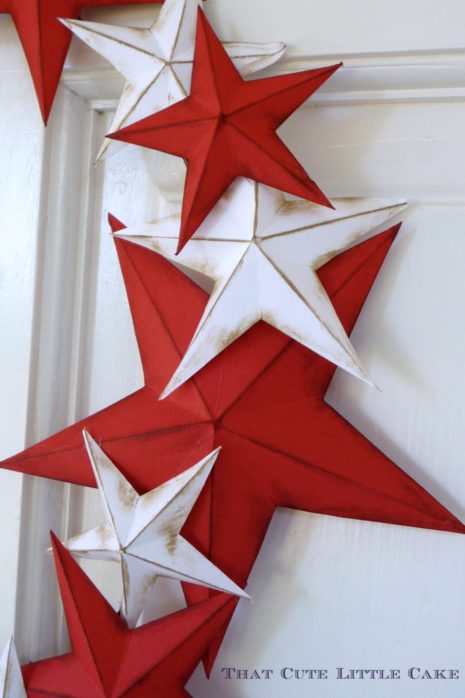
Using red, white, and blue cardstock, you can create stars of different sizes and attach them to a wireframe using hot glue. The 3D effect of the stars offers a unique touch, and a red burlap ribbon makes it easy to hang up. Best of all, this project is perfect for all ages and skill levels – no crafting experience is necessary!
Contents
Why You’ll Love This July 4th Patriotic Paper Wreath!
- Easy and Fun: Making the wreath is a fun and easy craft project that anyone can do. You don’t need any special skills to create it.
- Affordable: The materials required to make this wreath, including cardstock, wireframe, and ribbon, are inexpensive and easy to find in most craft stores.
- Versatile: You can use the wreath to decorate your front door or wall. It’s the ultimate party decoration and perfect for displaying your patriotism during US national holidays.
- Customizable: The wreath can be customized using different color combinations or by distressing the stars to give them a vintage look. You can also experiment with different types of ribbons to hang the wreath.
- Provides a Welcoming Aesthetic: A wreath provides a welcoming feel to your home. The patriotic paper wreath craft brings the same welcoming feel while showcasing your love for the nation.
Key Supplies:
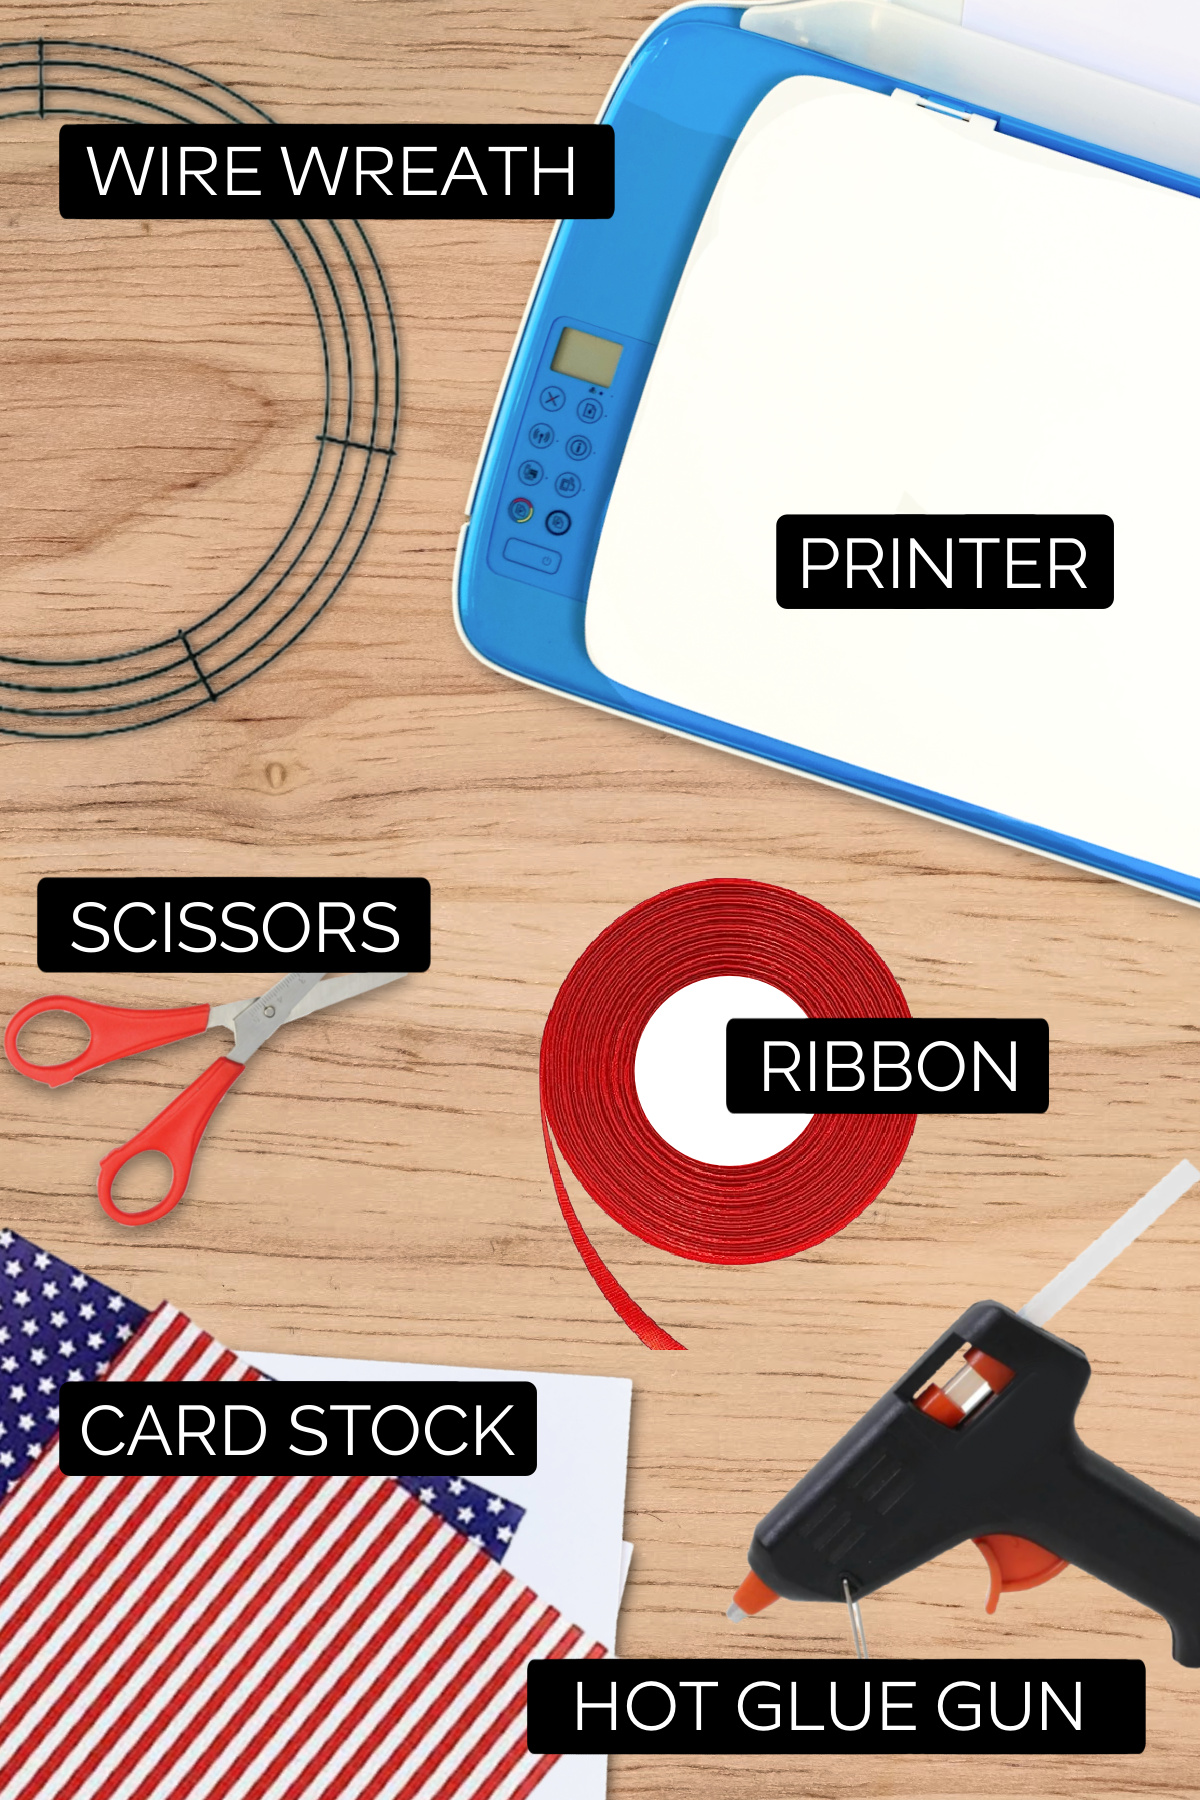
- Wreath (I used a wire wreath but took out the inner and outer rings to make it thinner)
- Red, white, and blue card stock
- Star template download
- Scissors
- Hot glue gun
- Ribbon
- Optional: A scorer for easier folding
- Optional: Distress Ink (I used the Frayed color Burlap)
How-To Steps
Step 1
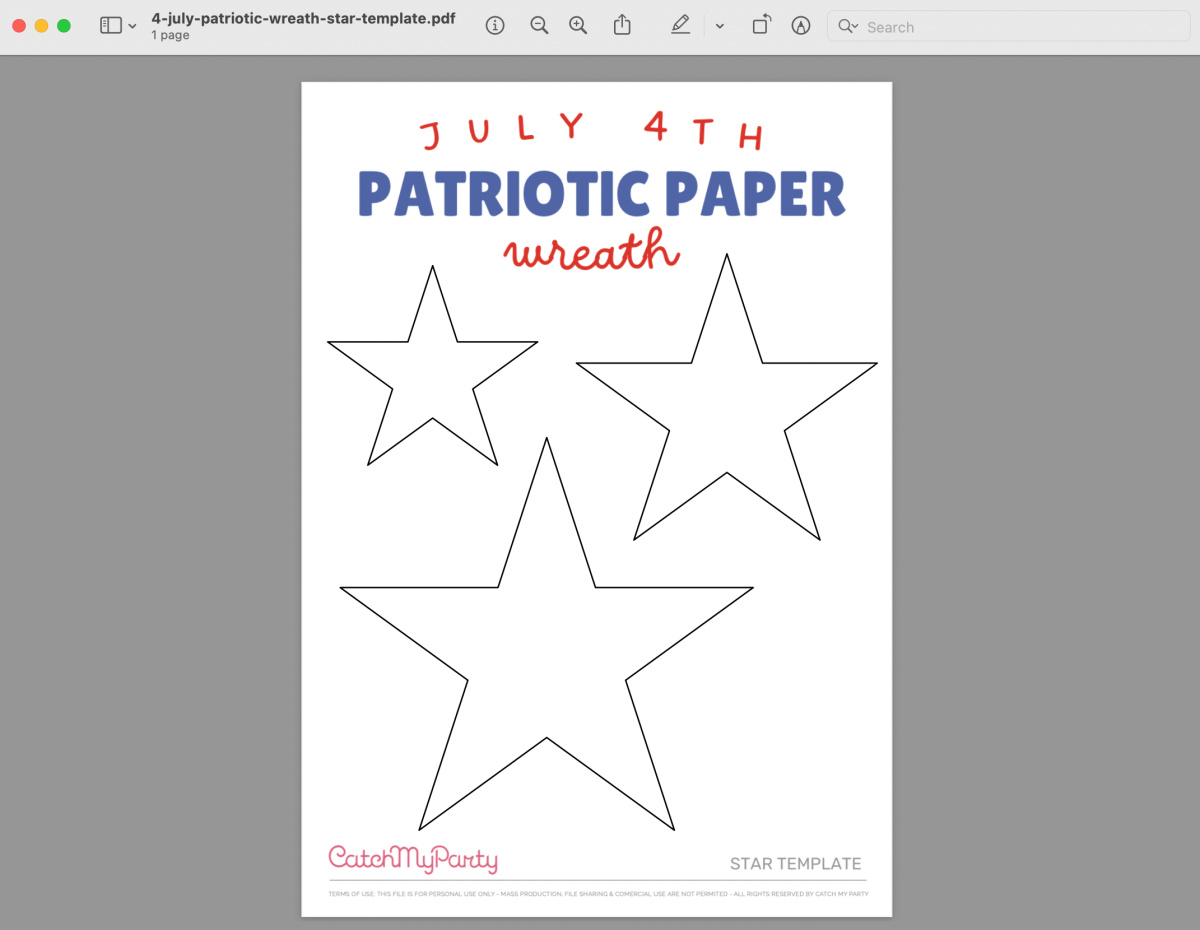
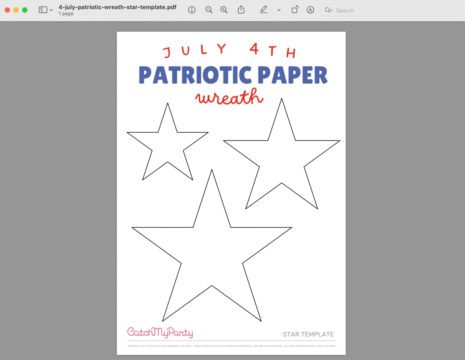
Click to download the ‘4-july-patriotic-wreath-star-template.pdf‘ file and save the file on your computer.
Step 2
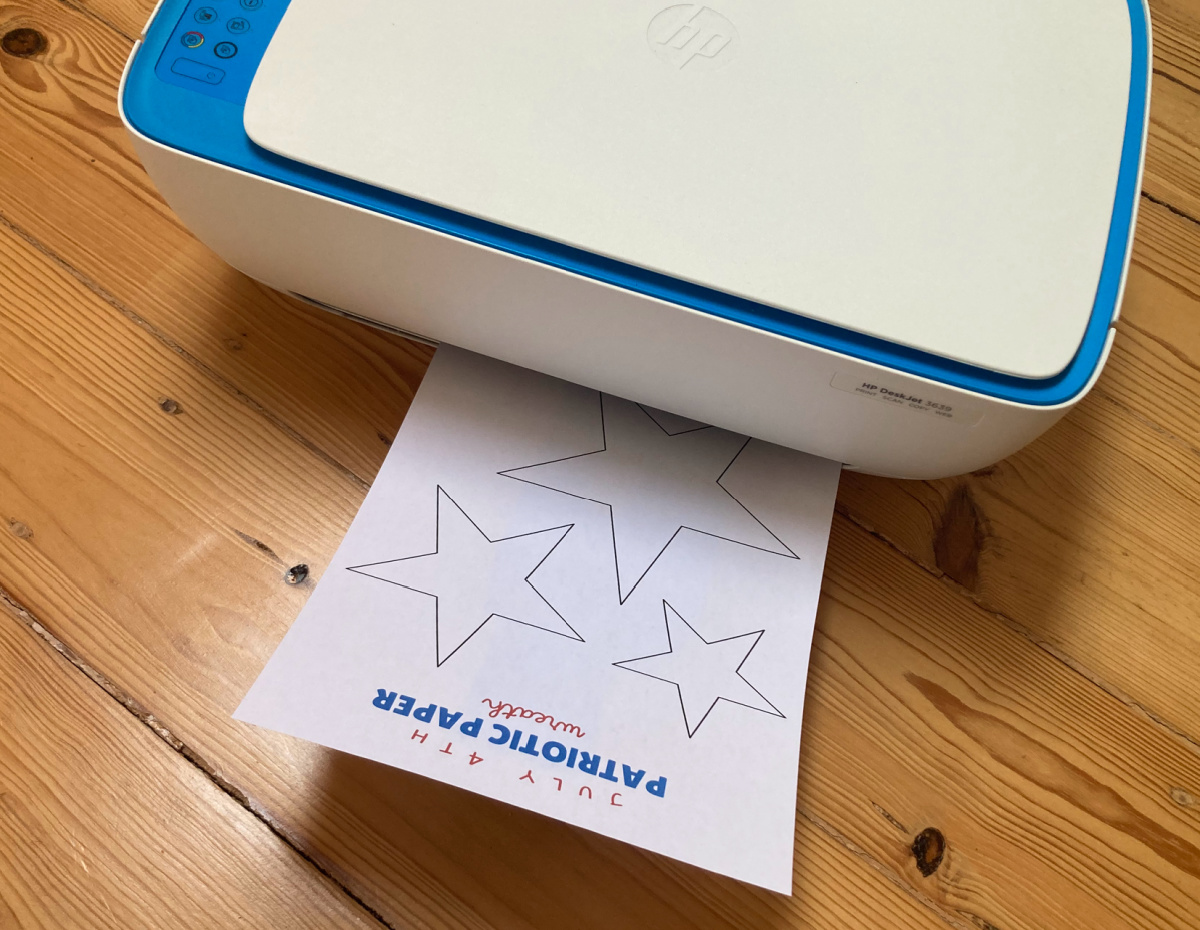
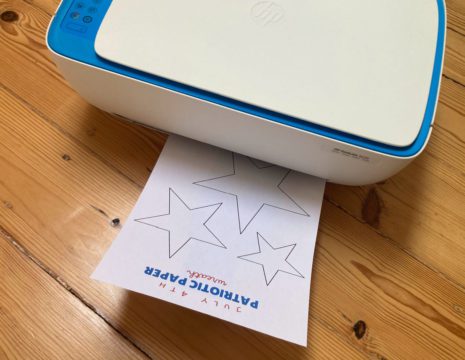
Open the file on your computer and print the page using your color printer and some 8.5×11 inch card stock.
Step 3
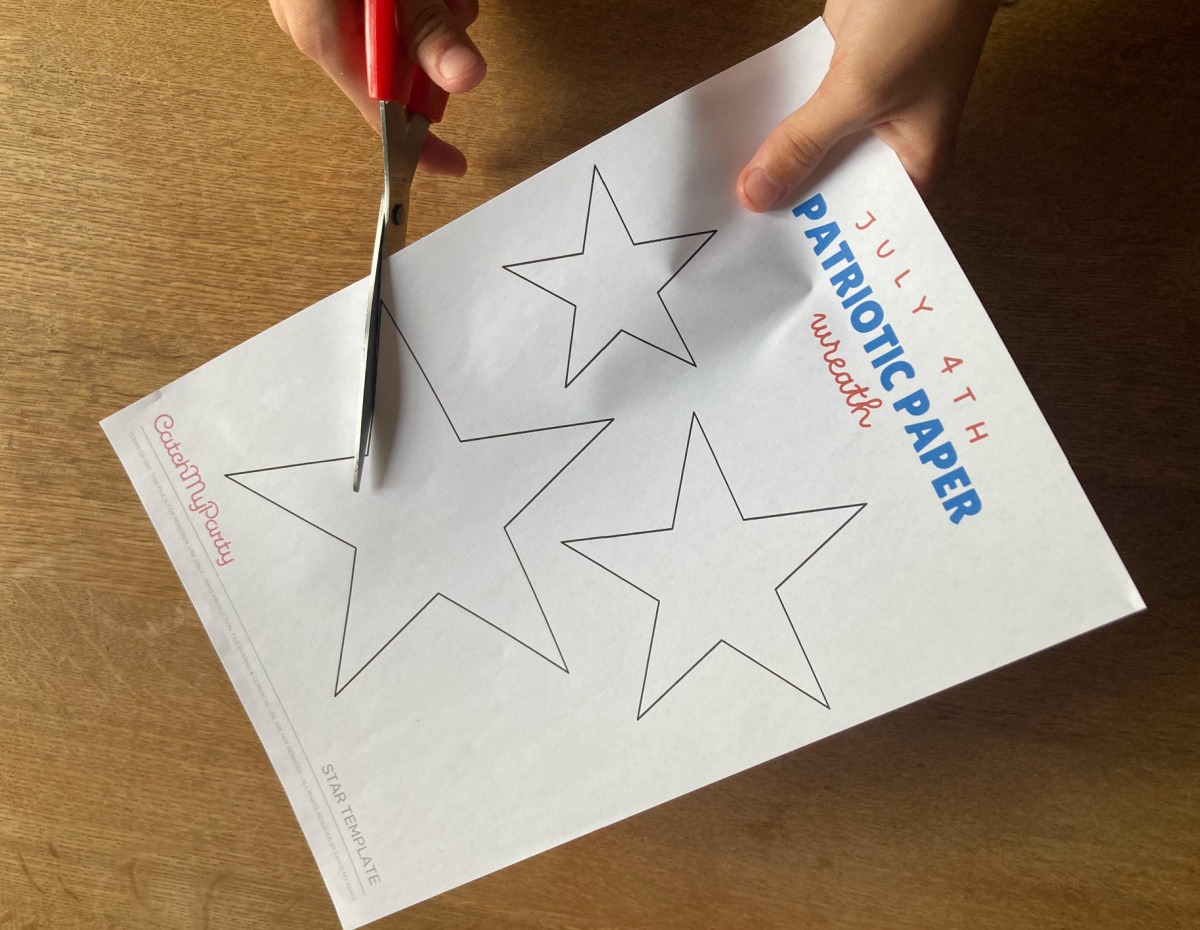
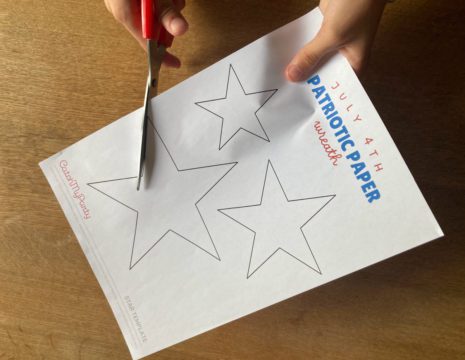
Use the template to cut out stars in three different sizes.
Step 4
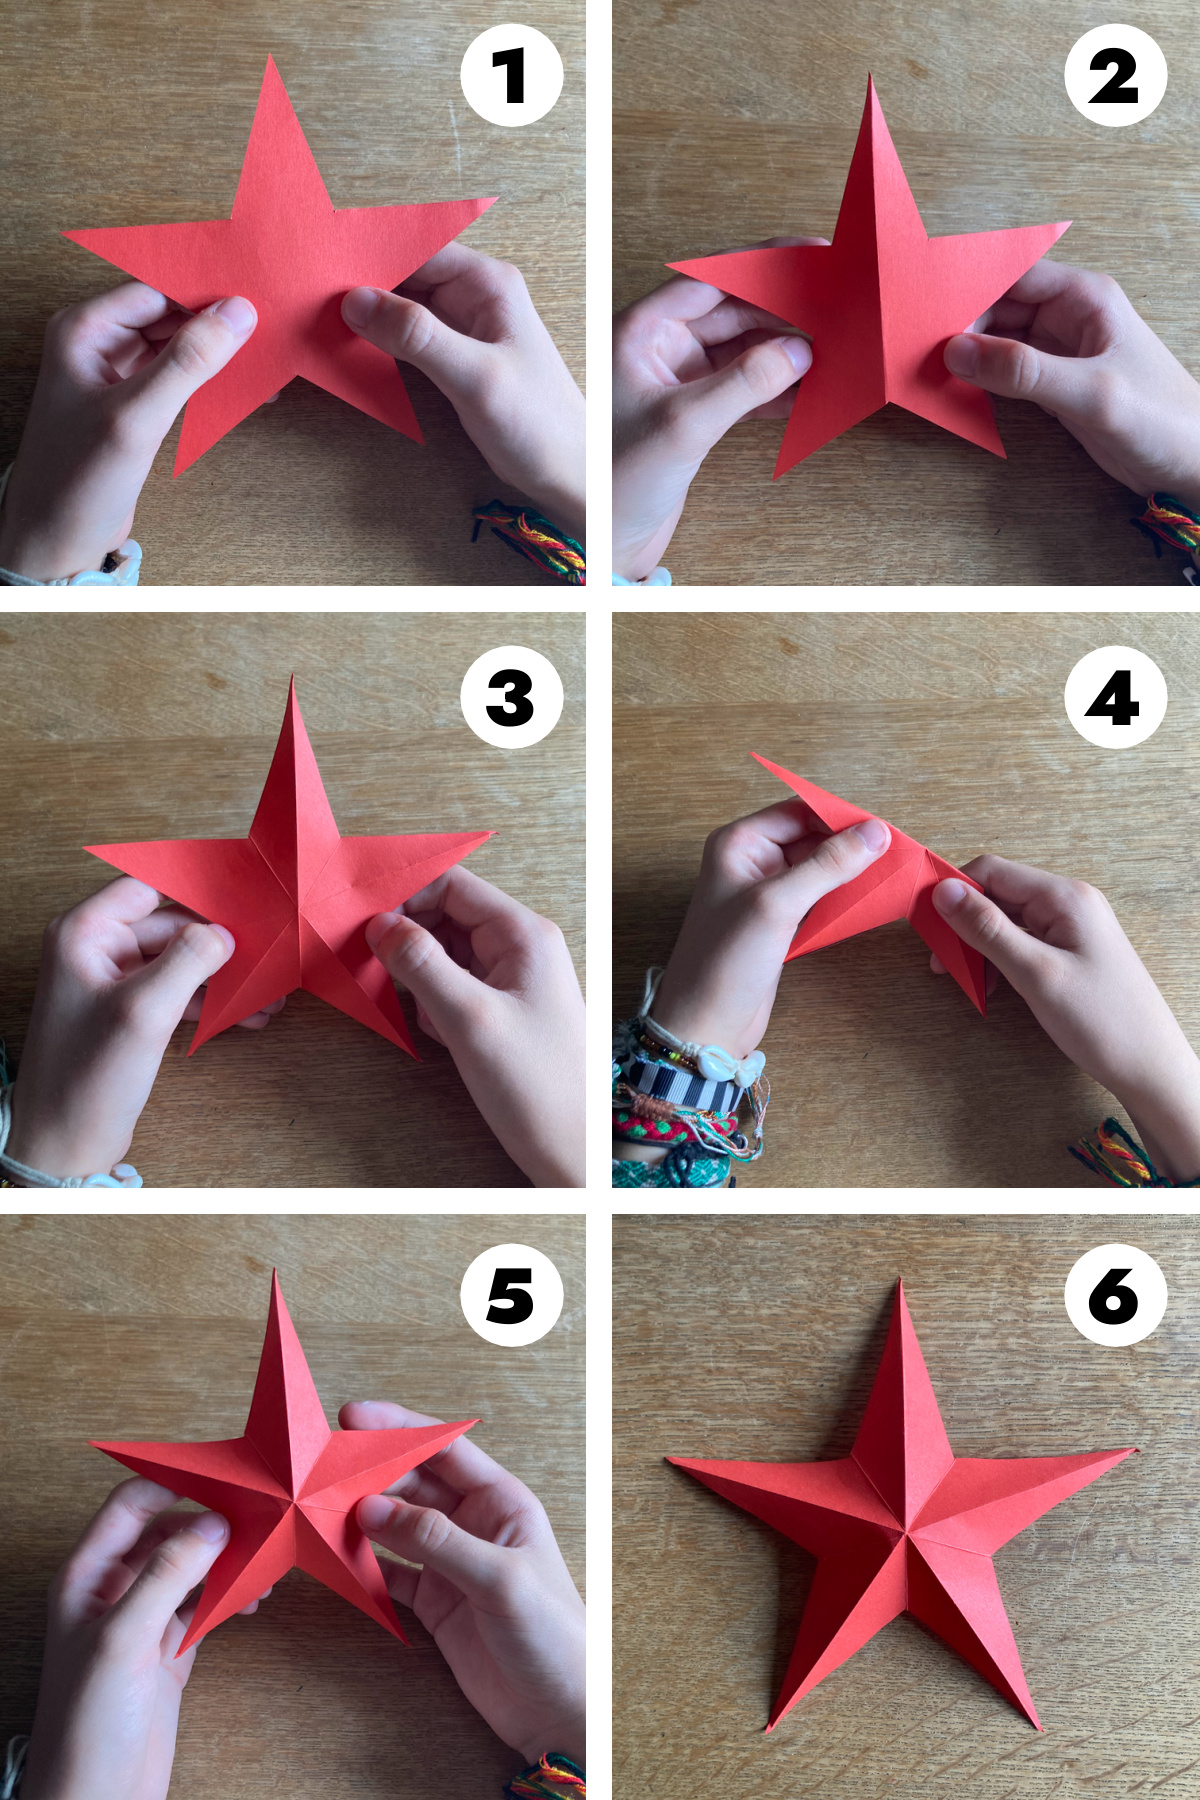
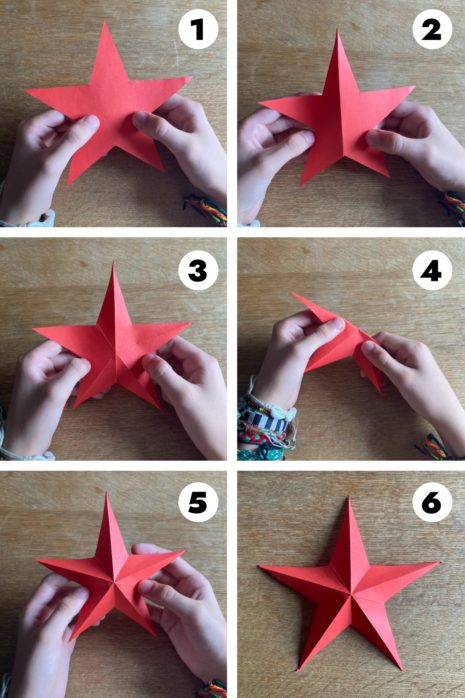
To assemble each star, score from one point to the opposite inner angle as shown by the line. Repeat for all 5 points. Fold on every line.
Pinch each point to get the 3D effect (it helps to pinch the points two by two).
Step 5
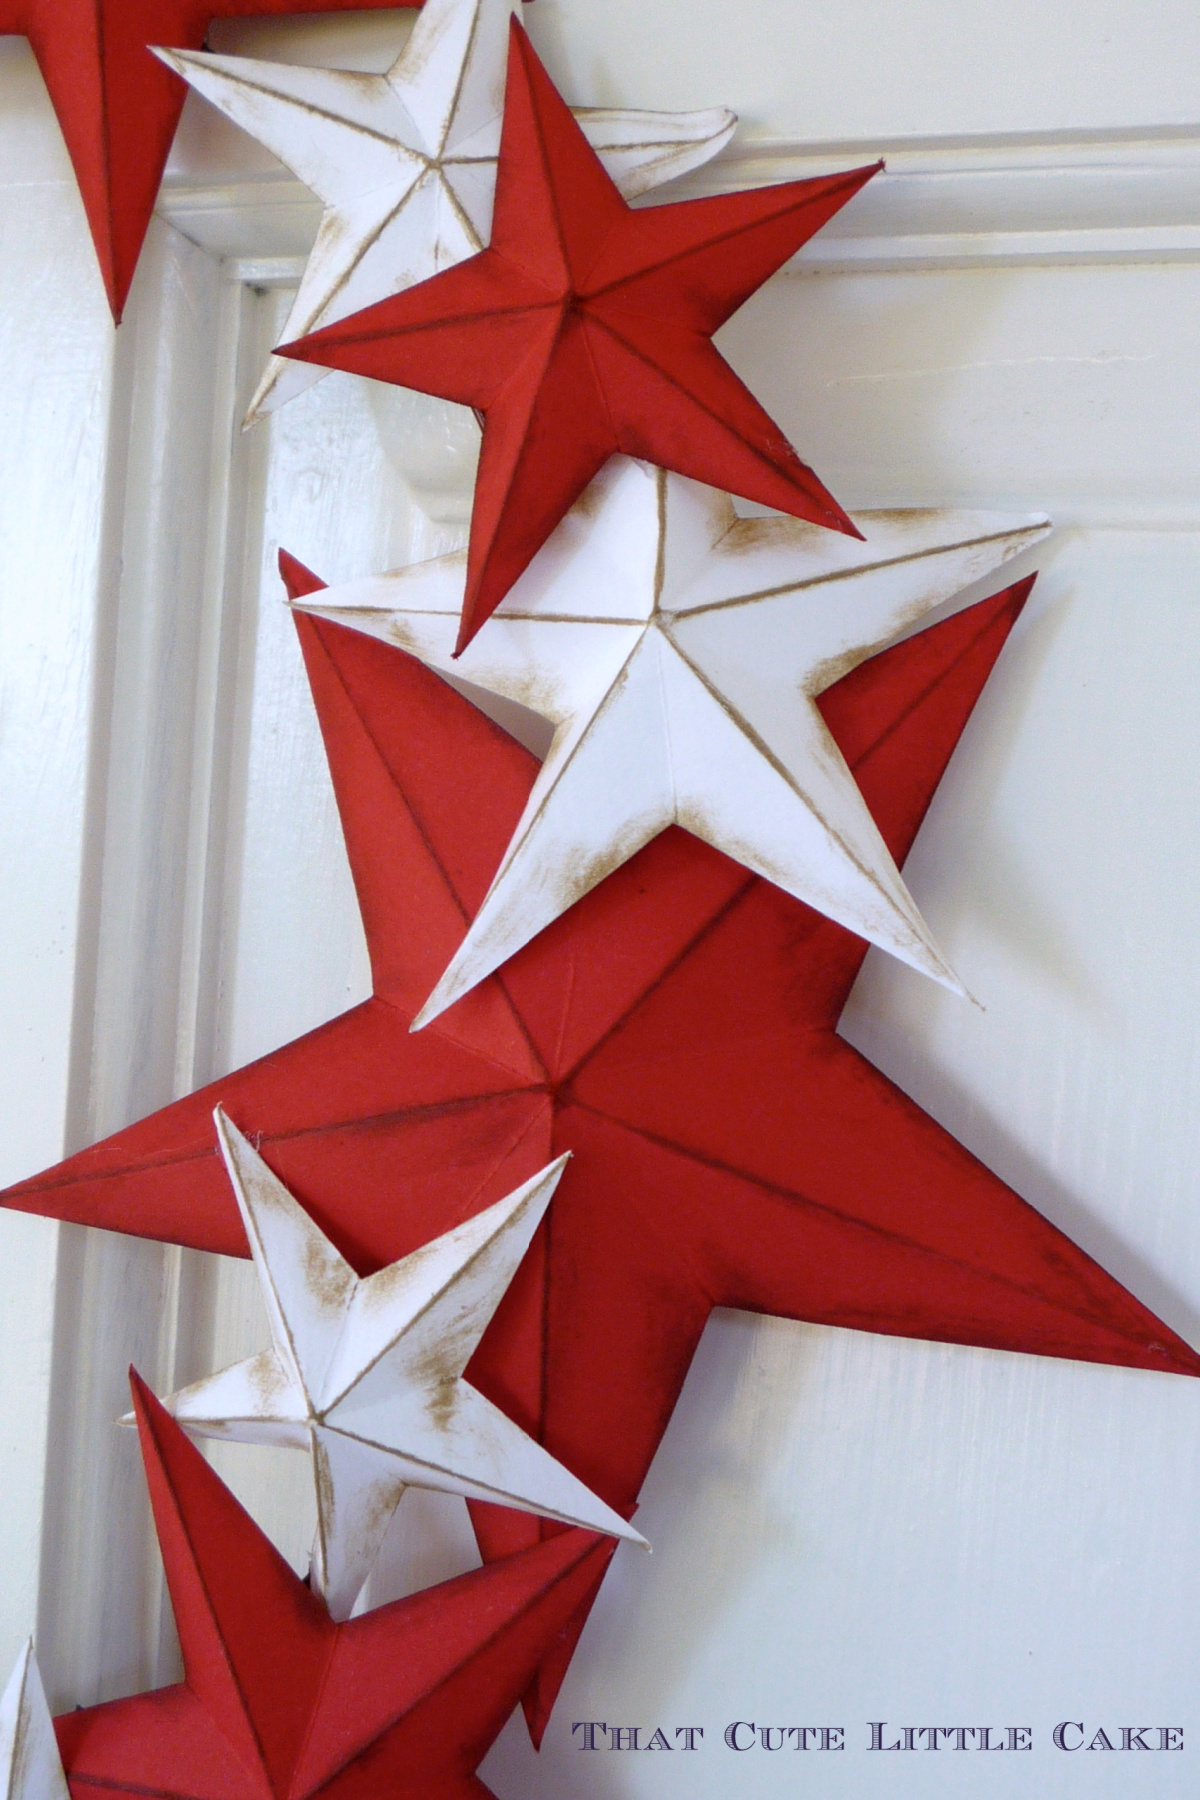
Once you have a selection of stars ready, you can hot glue them to the wireframe. Use a ribbon to hang (I used red burlap).

Tips and Substitutions
- Use patterned paper or cardstock in different shades of red, white, and blue. This will add more depth and variety to your wreath.
- Try experimenting with different color schemes, such as using metallic or pastel colors, to give your wreath a unique twist.
- To simplify the project, consider using pre-cut star shapes or using a large star-shaped punch to speed up the cutting process.
- Consider using a different type of ribbon, such as a striped or patterned ribbon, to add some extra flair to your wreath.
- Instead of using a circular wireframe, try using a star-shaped or heart-shaped wireframe for a unique twist on the classic wreath shape.
July 4th Patriotic Paper Wreath FAQs
Simply use a small sponge or applicator to apply the Distress Ink. I started by making the fold lines dark and then applied some lighter stains in between the points.
Yes, it is perfect for both beginners and crafting enthusiasts of any age.
Yes,it will help, so you can print the star template that is provided in the post.
The time it takes to complete the project depends on individual crafting skills, but it should take around 1-2 hours.
Attach a ribbon to the back of the wireframe, measure the desired length from the wreath to the hook or nail, cut the ribbon, attach it to the wall using a hook or nail, then hang the wreath on the ribbon loop.
For more party ideas, check out these incredible July 4th party ideas!
Need more July 4th party ideas?
- 8 Great July 4th Party Ideas For This Weekend
- Patriotic July 4th Cookies
- July 4th Cookie Ice Cream Sandwiches
- July 4th Ice Cream Cone Cupcakes
- 12 Patriotic July 4th Party Supplies
- July 4th Patriotic Scrap Fabric Banner DIY

Equipment
- 1 Home printer
- 1 Hot glue gun
Supplies
- 8 Page Cardstock 8.5″ x 11″ Red, White, and Blue
- 1 Wire Wreath
- 1 Pair Scissors
- 1 Roll Ribbon
Instructions
- Click to download the 'free-patriotic-wreath-diy-stars-template.pdf' file and save the file on your computer.
- Open the file on your computer and print the page using your color printer and some 8.5×11 inch card stock.
- Use the template to cut out stars in three different sizes.
- To assemble each star, score from one point to the opposite inner angle as shown by the line. Repeat for all 5 points. Fold on every line.Pinch each point to get the 3D effect (it helps to pinch the points two by two).
- Once you have a selection of stars ready, you can hot glue them to the wireframe. Use a ribbon to hang (I used red burlap).
Notes
- Use patterned paper or cardstock in different shades of red, white, and blue. This will add more depth and variety to your wreath.
- Try experimenting with different color schemes, such as using metallic or pastel colors, to give your wreath a unique twist.
- To simplify the project, consider using pre-cut star shapes or using a large star-shaped punch to speed up the cutting process.
- Consider using a different type of ribbon, such as a striped or patterned ribbon, to add some extra flair to your wreath.
- Instead of using a circular wireframe, try using a star-shaped or heart-shaped wireframe for a unique twist on the classic wreath shape.
