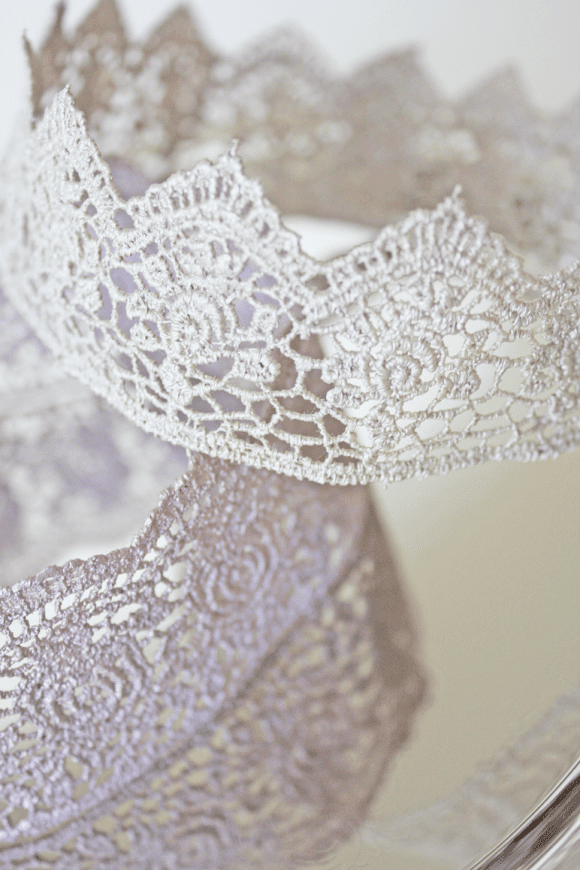
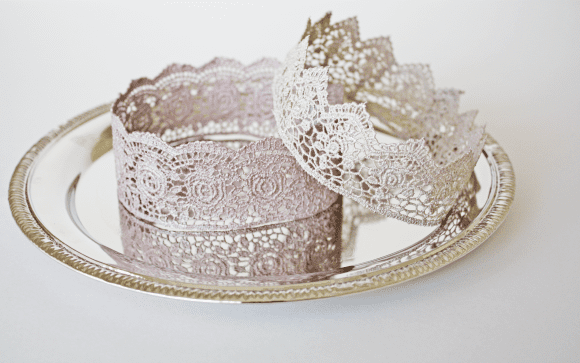
I am so in love with these lace crowns! If you are looking for a beautiful detail to take your princess party to a whole new level, I recommend you try your hand at this princess lace crown DIY.
Your little guests can wear them at the party, then take them home at the end as a party favor.

They also make beautiful photo props for weddings and child/baby portraits. But the best part about the crowns is how stunning they look, and how inexpensive they are too make.
Supplies: (I’ve included affiliate links which don’t cost you anything but help us continue to bring you posts like this. :))
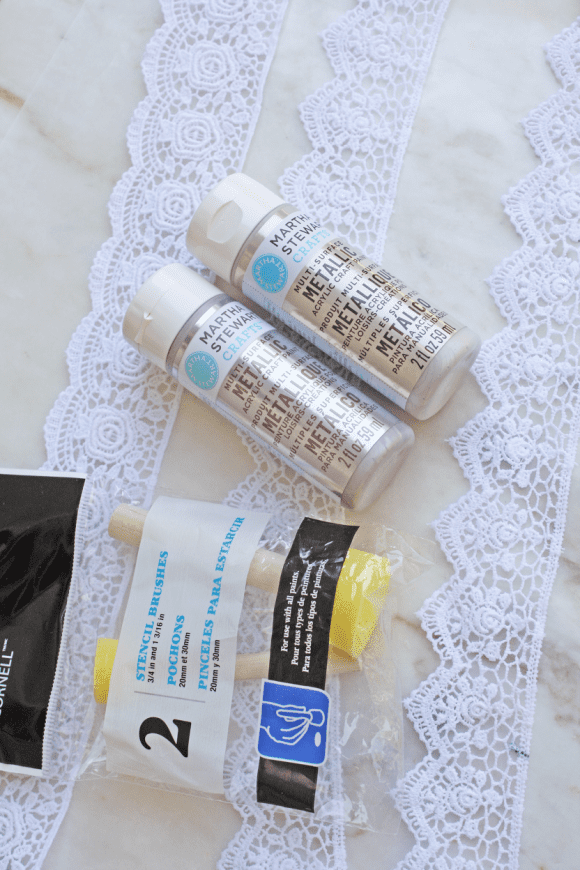
- Lace, various patterns and lengths (mine were 13-15”)
- Mod Podge fabric stiffener
- Acrylic paint (I used metallic champagne and rose Martha Stewart paint)
- Foam stencil paint brushes or regular foam brushes
- Hot glue gun
- Wax paper
Instructions:
1. Prep your work area with wax paper. Cut lace into 13-15” pieces.
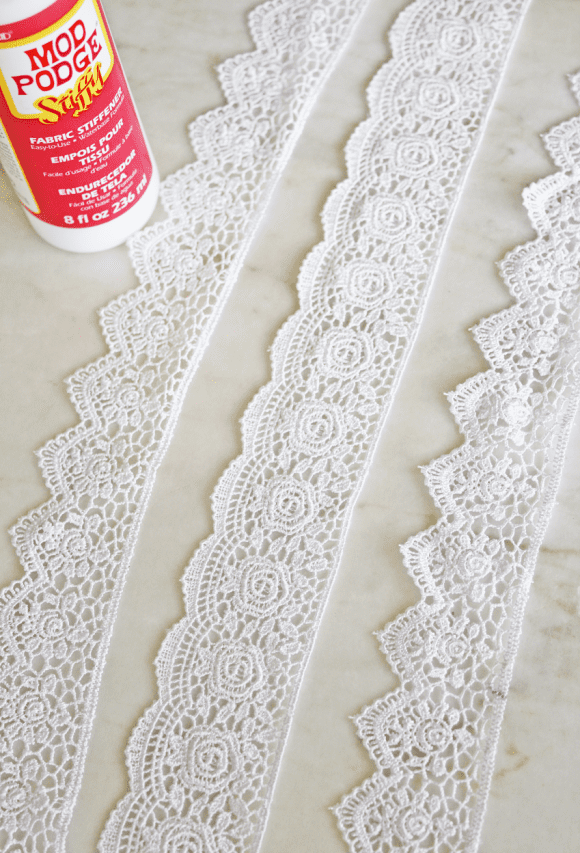
2. In a plastic tupperware bowl pour the fabric stiffener. One at a time place each lace piece in the fabric stiffener. Work the liquid into the fabric. Make sure to wear plastic disposable gloves. The lace should be completely saturated with the liquid.
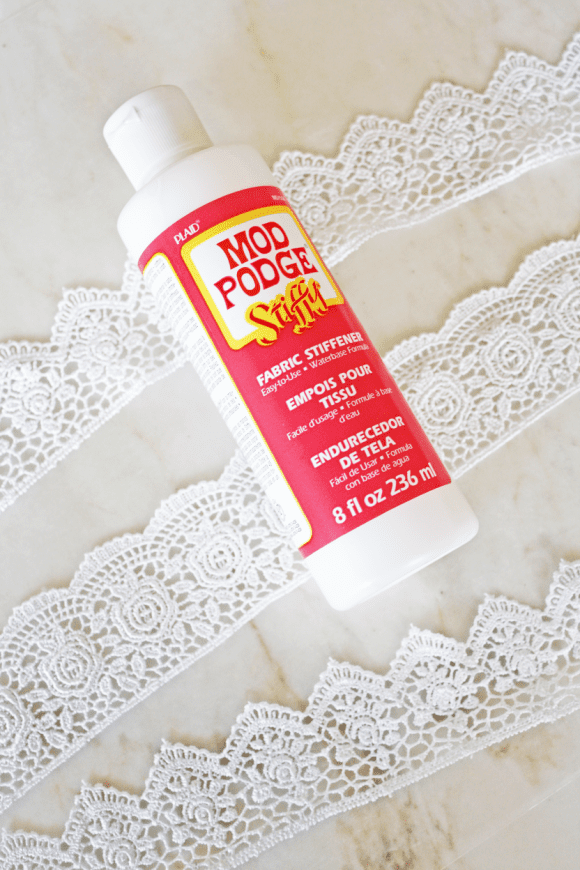
3. Place the lace on the wax paper surface to dry overnight. Turn the lace multiple times to avoid getting “windows” with the liquid solution when it dries.
4. The lace will stiffen overnight. Once dry you can begin painting the lace pieces. Start with one side and allow to dry. Repeat with paint on the reverse side of the lace. Dry completely.
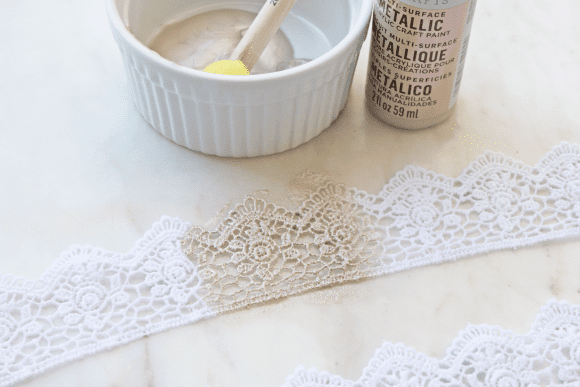
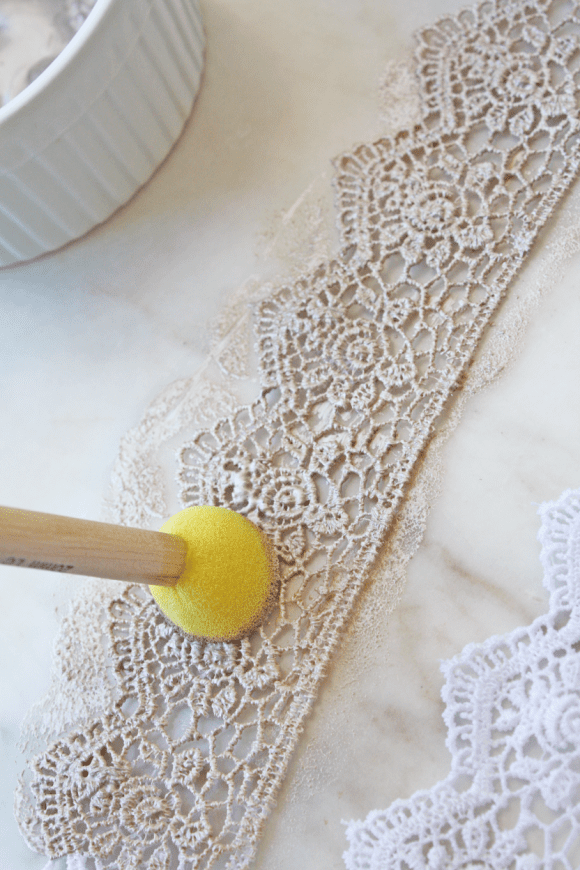
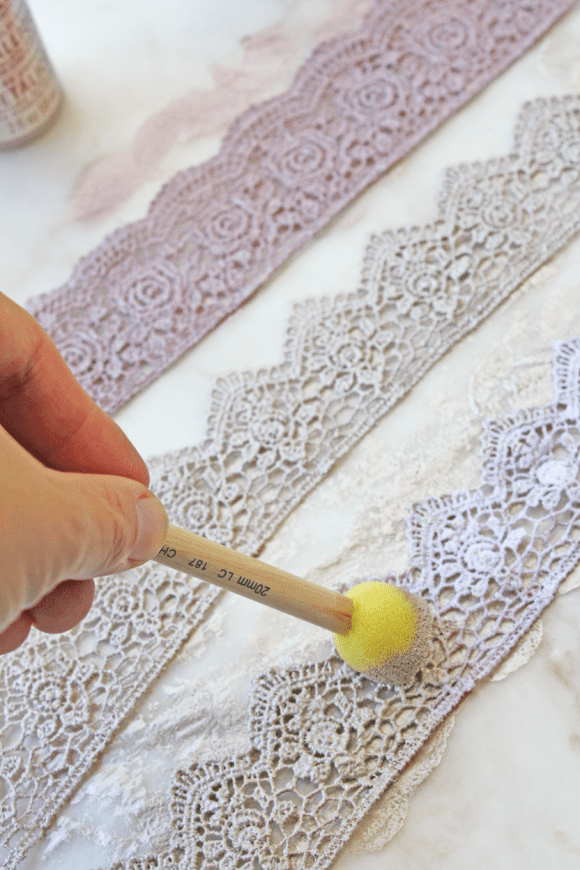
5. Once paint has dried, wrap both ends of lace until they overlap. Glue together using hot glue.
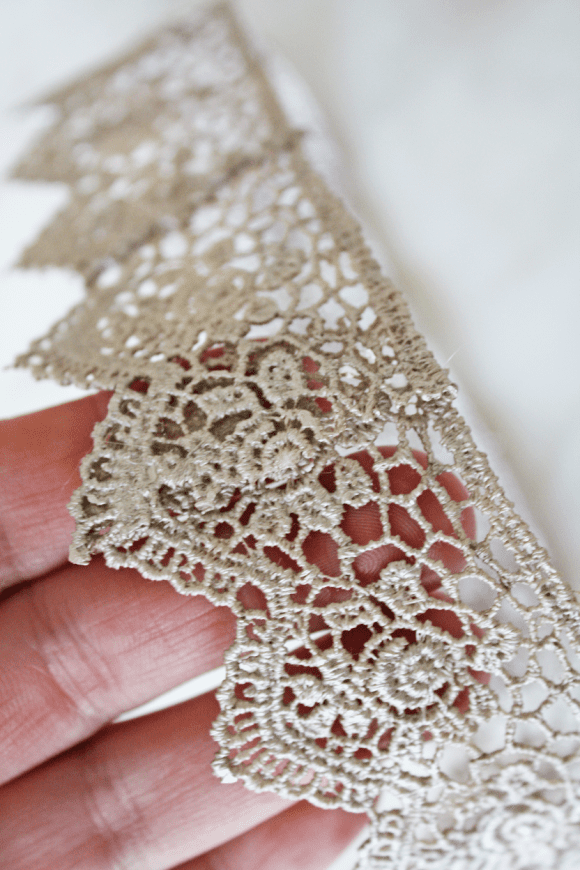
6. Keep lace crowns on with some bobby pins!
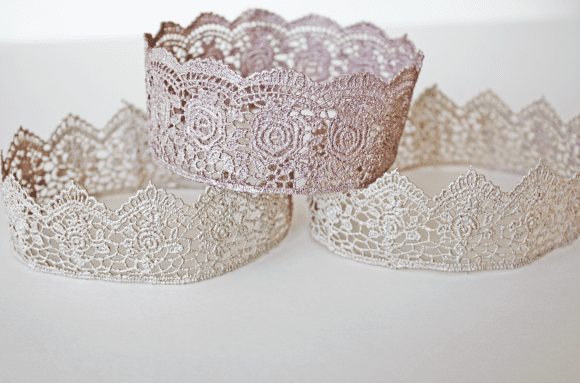
7. That’s it! Aren’t they pretty!? You can even apply a “fine” glitter for more sparkle. Just apply a thin coat of mod podge (glue) and lightly sprinkle on glitter. Allow to dry before you. Shake off excess glitter.
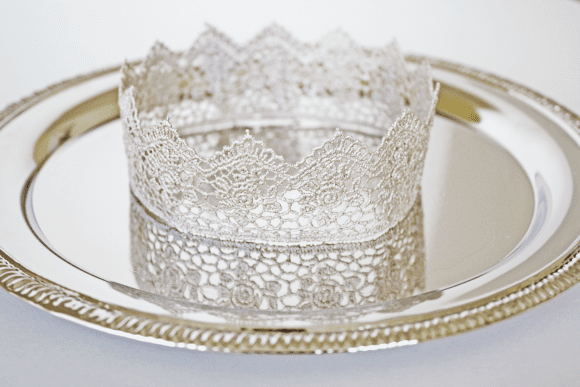
This post was in inspired by Girl Inspired.
For more inspiration, check out these gorgeous princess parties and princess crafts on our site!