Shauna Krantz, our new contributor, and the brains behind the beautiful Ella and Annie Magazine, is here with a great shabby chic ruffled wreath DIY for fall. Take it away, Shauna…
I am so excited to have created this ruffled wreath tutorial for Catch My Party! The original inspiration came from the AO at Home blog. Beautiful tutorial, however, I like a few more step-by-step details when I’m following a tutorial, so I thought I would create my own for you!
Materials:
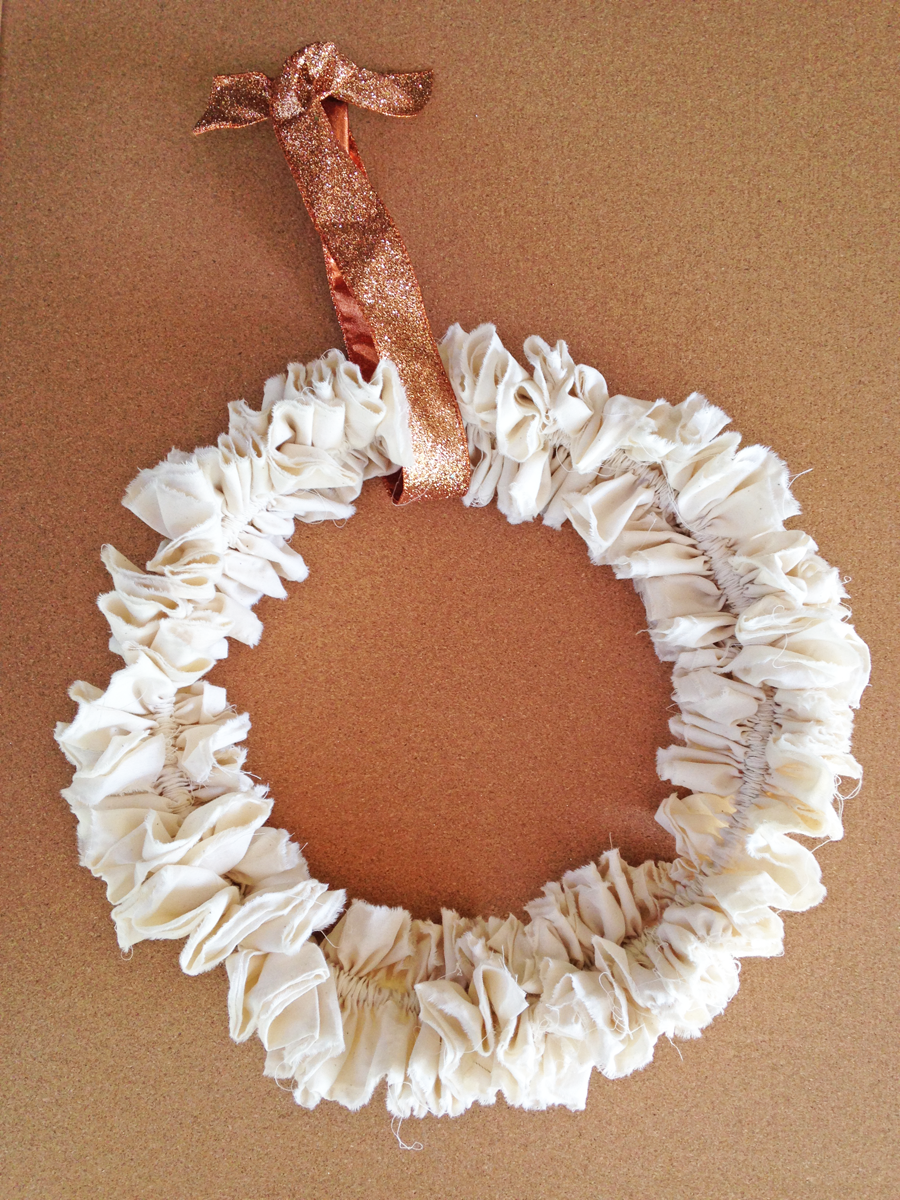
- 2 yards of fabric, 36-44” wide ( I used unbleached muslin)
- 12” wooden embroidery hoop
- Ribbon (I used a glittered ribbon with wire from Offray, found at Joann’s)
- Sewing machine or needle and thread
- Scissors

Directions:
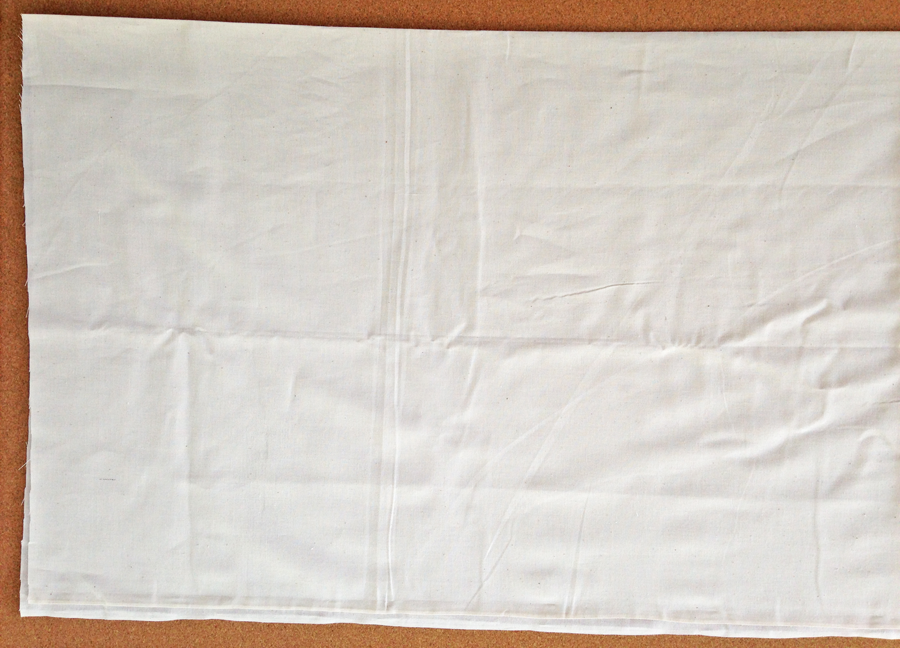
Note: on the finished sides of fabric cut the very edges and tear down sides. This way all edges of fabric have a unfinished looked.
Take your fabric and fold lengthwise in half. Do this two more times until you have 8 layers of fabric.
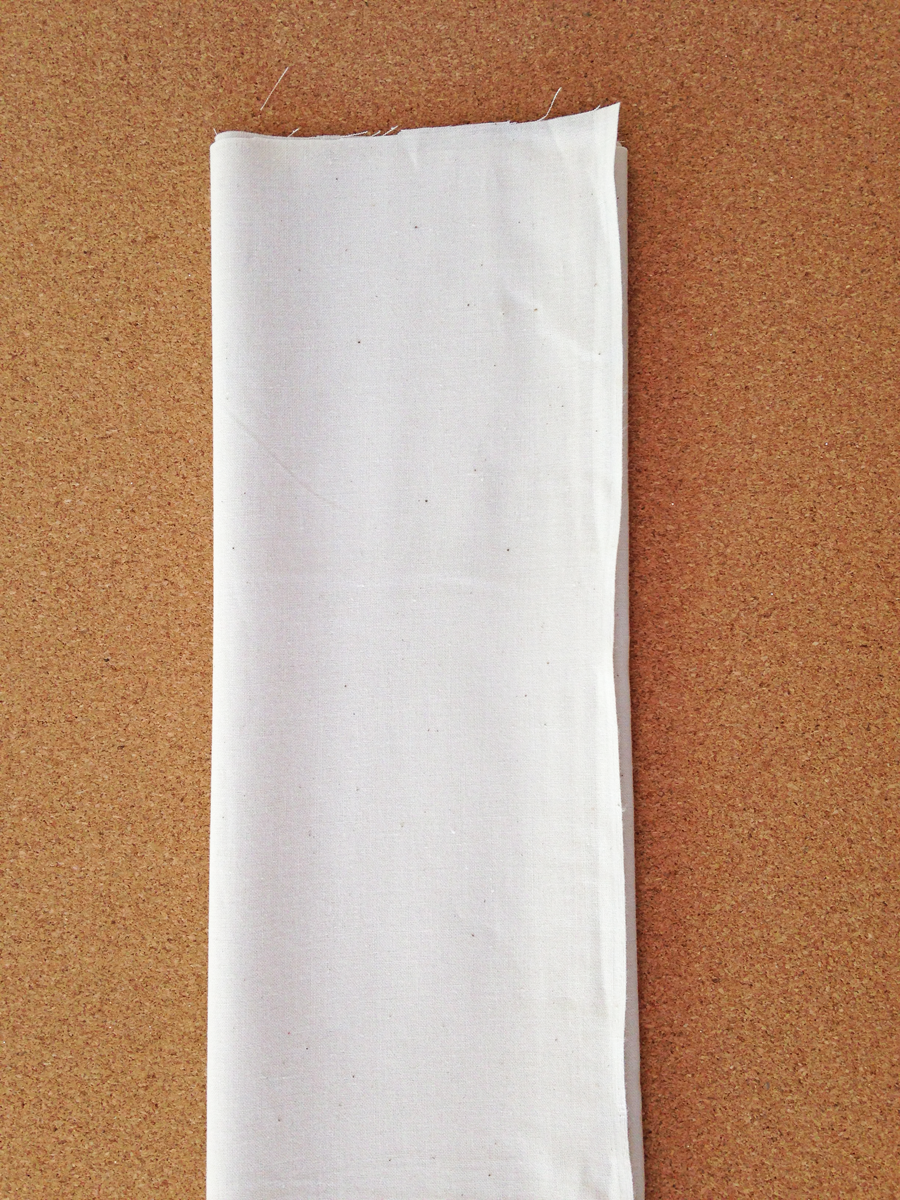
They will be about 4.5” wide and 72” long. On the fold cut 1⁄2”.
Begin to rip your first strip.
Take a quick look at this video to get a better idea of how to tear your layers.
[iframe http://www.youtube.com/embed/AApQPZx9CEc?rel=0 540 405]
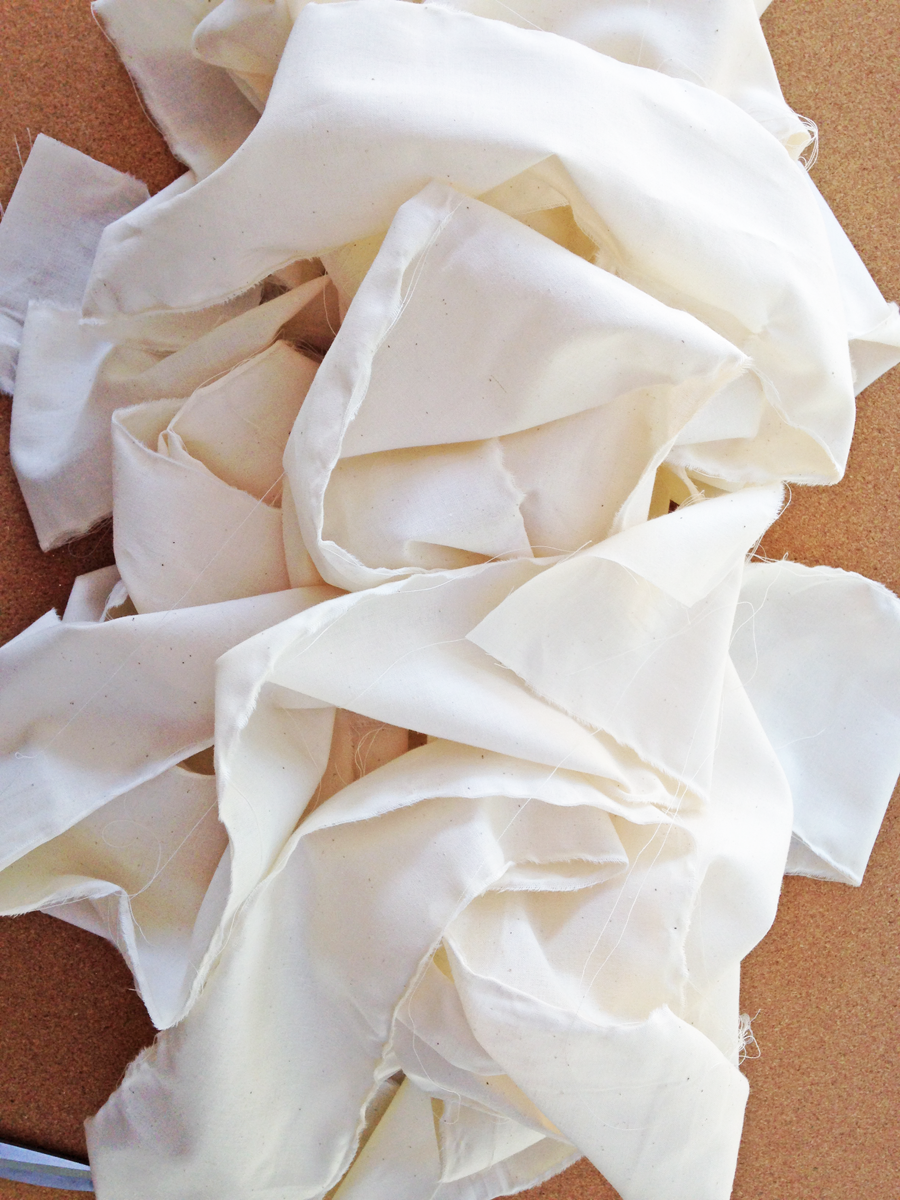
Continue to tear layers until all 8 strips are complete.
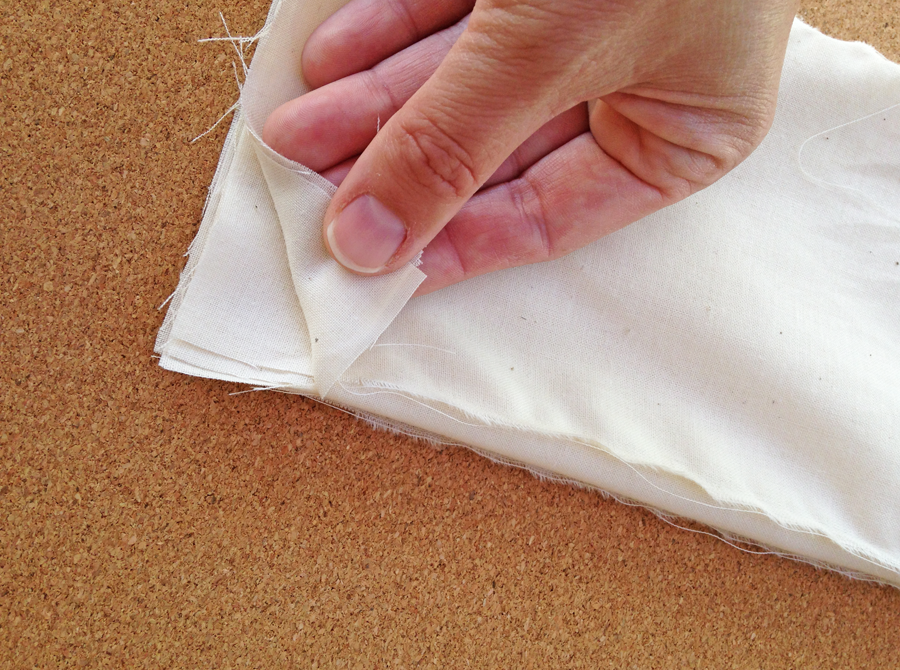
Set aside 4 of your strips. With the remaining 4 we will now mark where you will sew. Take one strip and fold in half lengthwise. Use your fingernail to make a crease down the fold or you can iron the fold.

Unfold. The crease should be the middle of your strip. Using a ruler mark a half inch on each side of the crease. You do not need a special fabric pencil for this. To be honest, I always use a real pencil! Don’t use pen or marker though. Marke every few inches down the center of fabric.
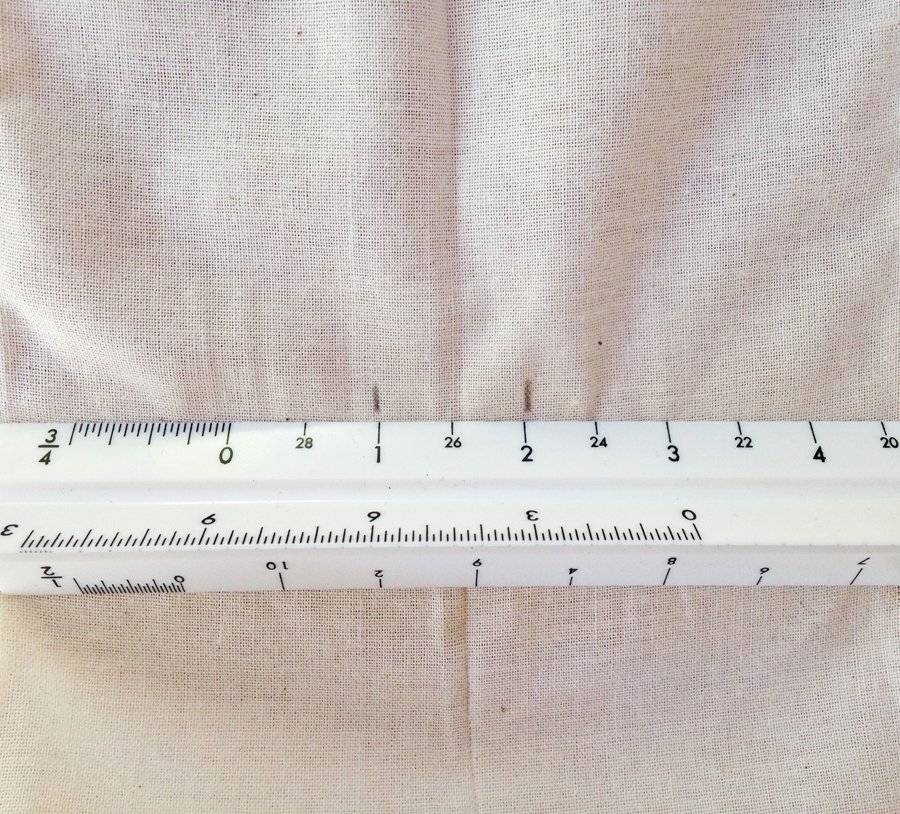

Repeat for three additional strips.
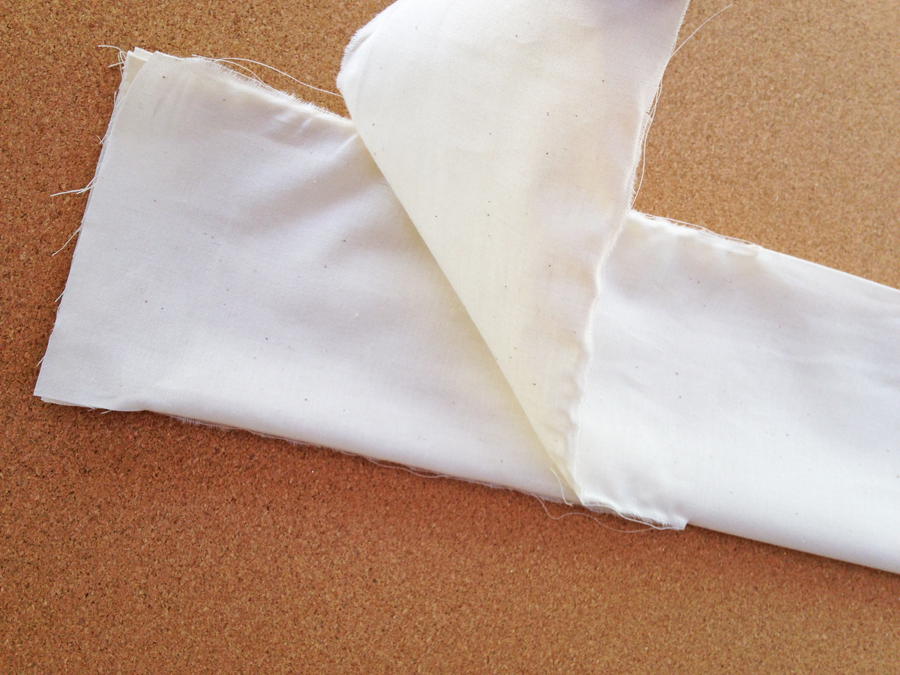
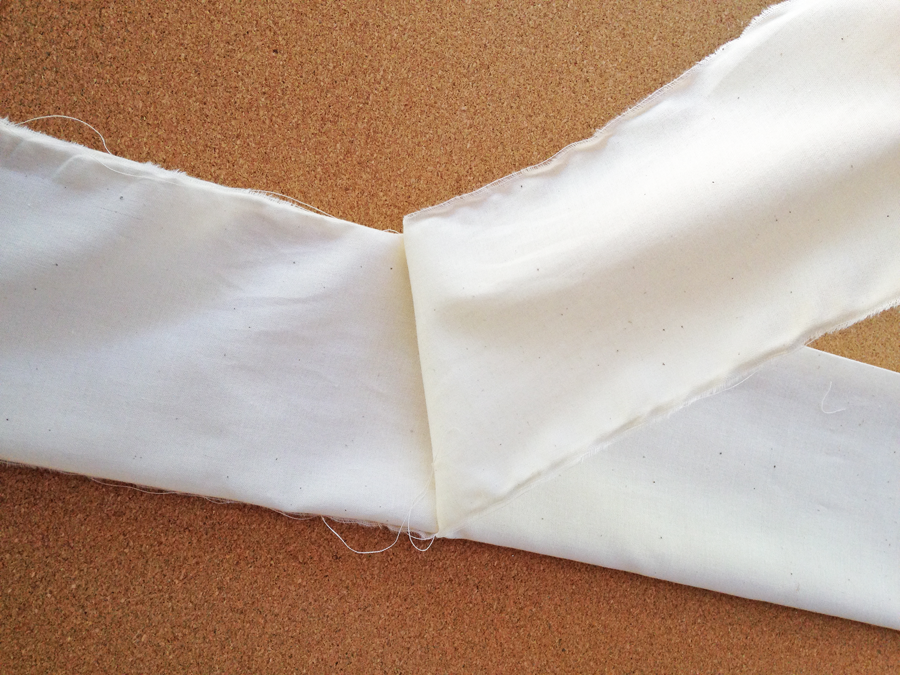
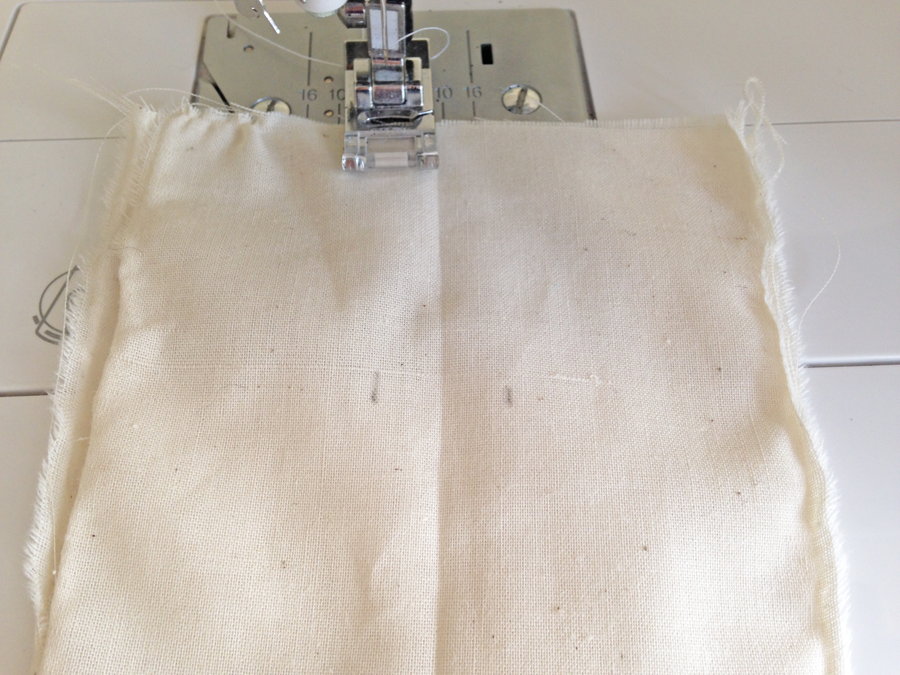
Take one of the marked strips and place on top of one of the unmarked strips. Using sewing machine (faster) or needle and thread, sew in a straight line following the guides you have made. Repeat on second half of strip. You have now created a tubing for the wooden hoop. You will repeat this process until you have 4 strips with tubing.
Only using the outer hoop, slide your first set of strips onto the hoop.
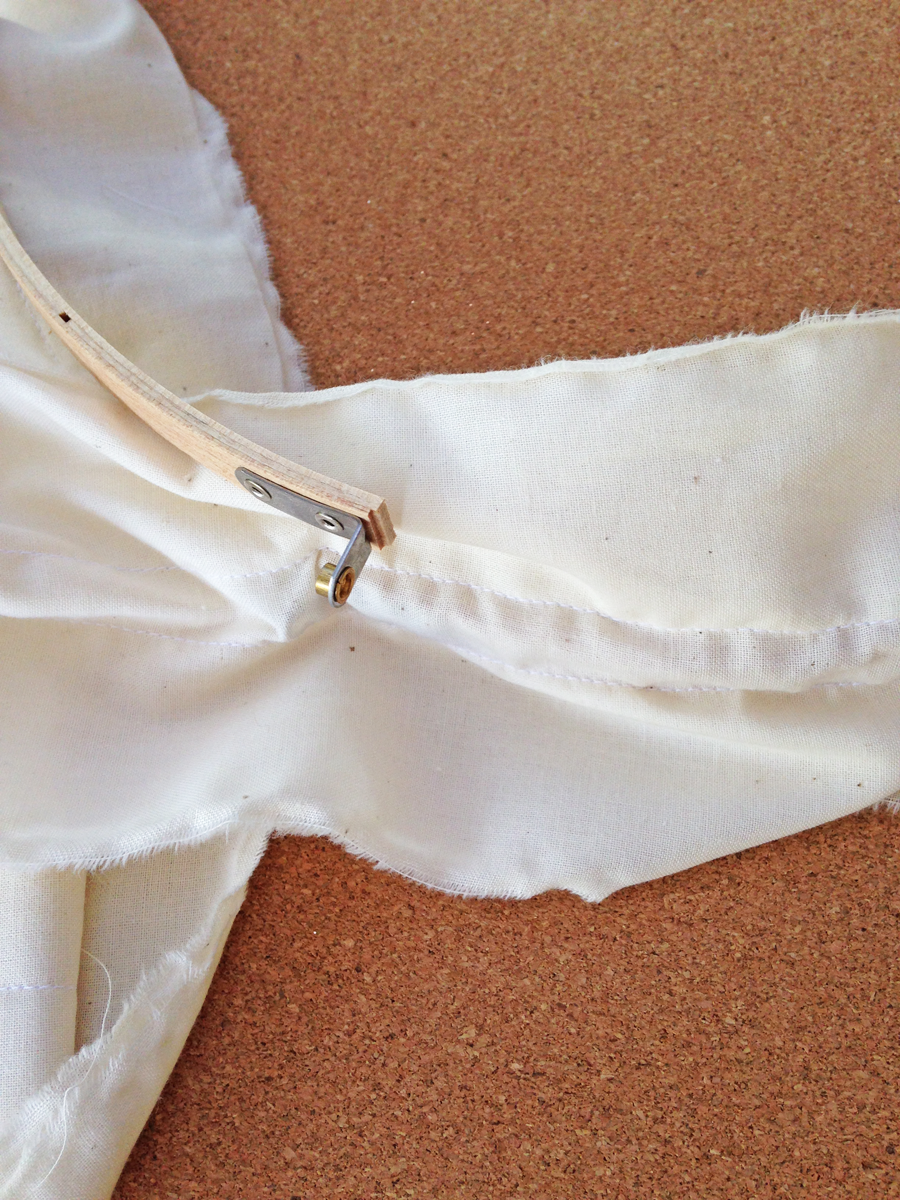
It is difficult at first because of the metal piece that secures the hoop, but once you get the hang of it, they slide on super easy. Repeat with all four sets of strips.
Fasten the hoop together with provided screw.
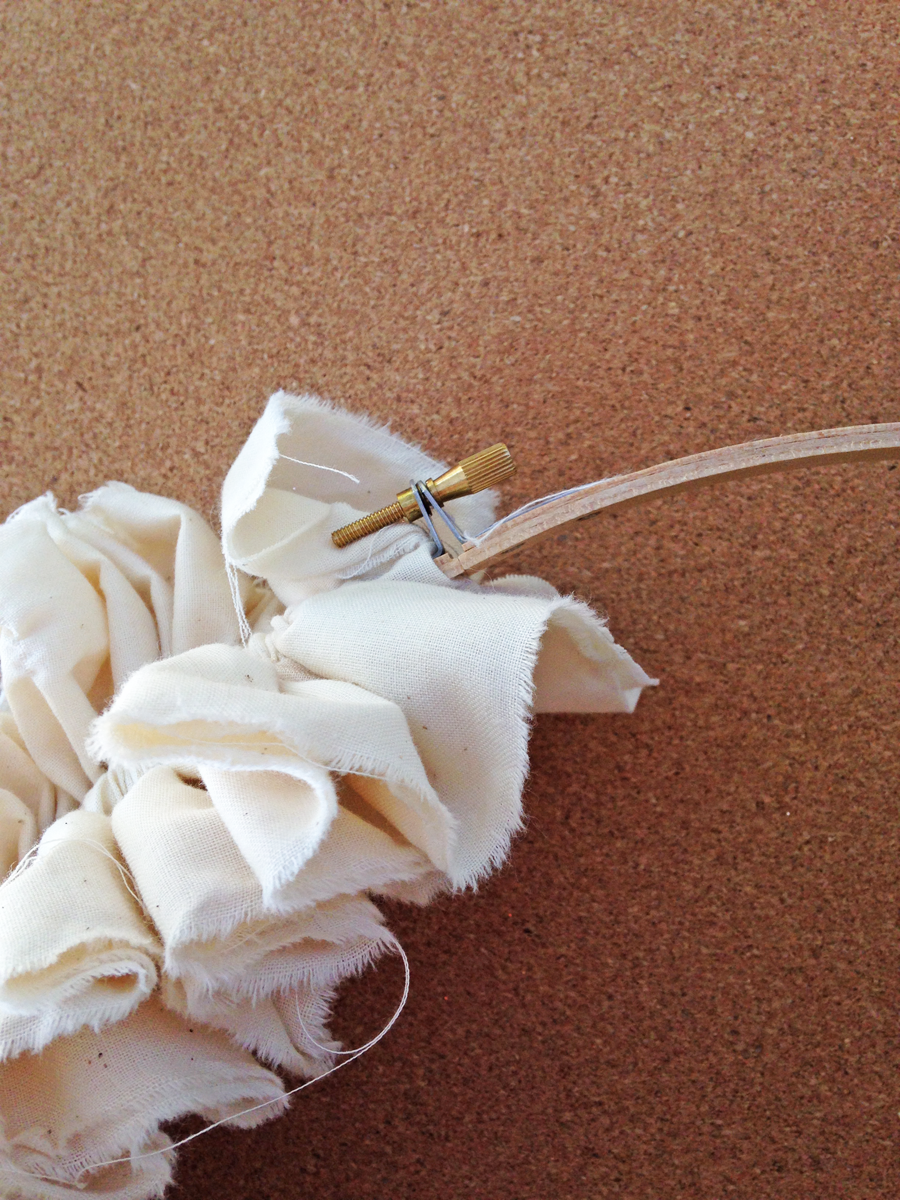
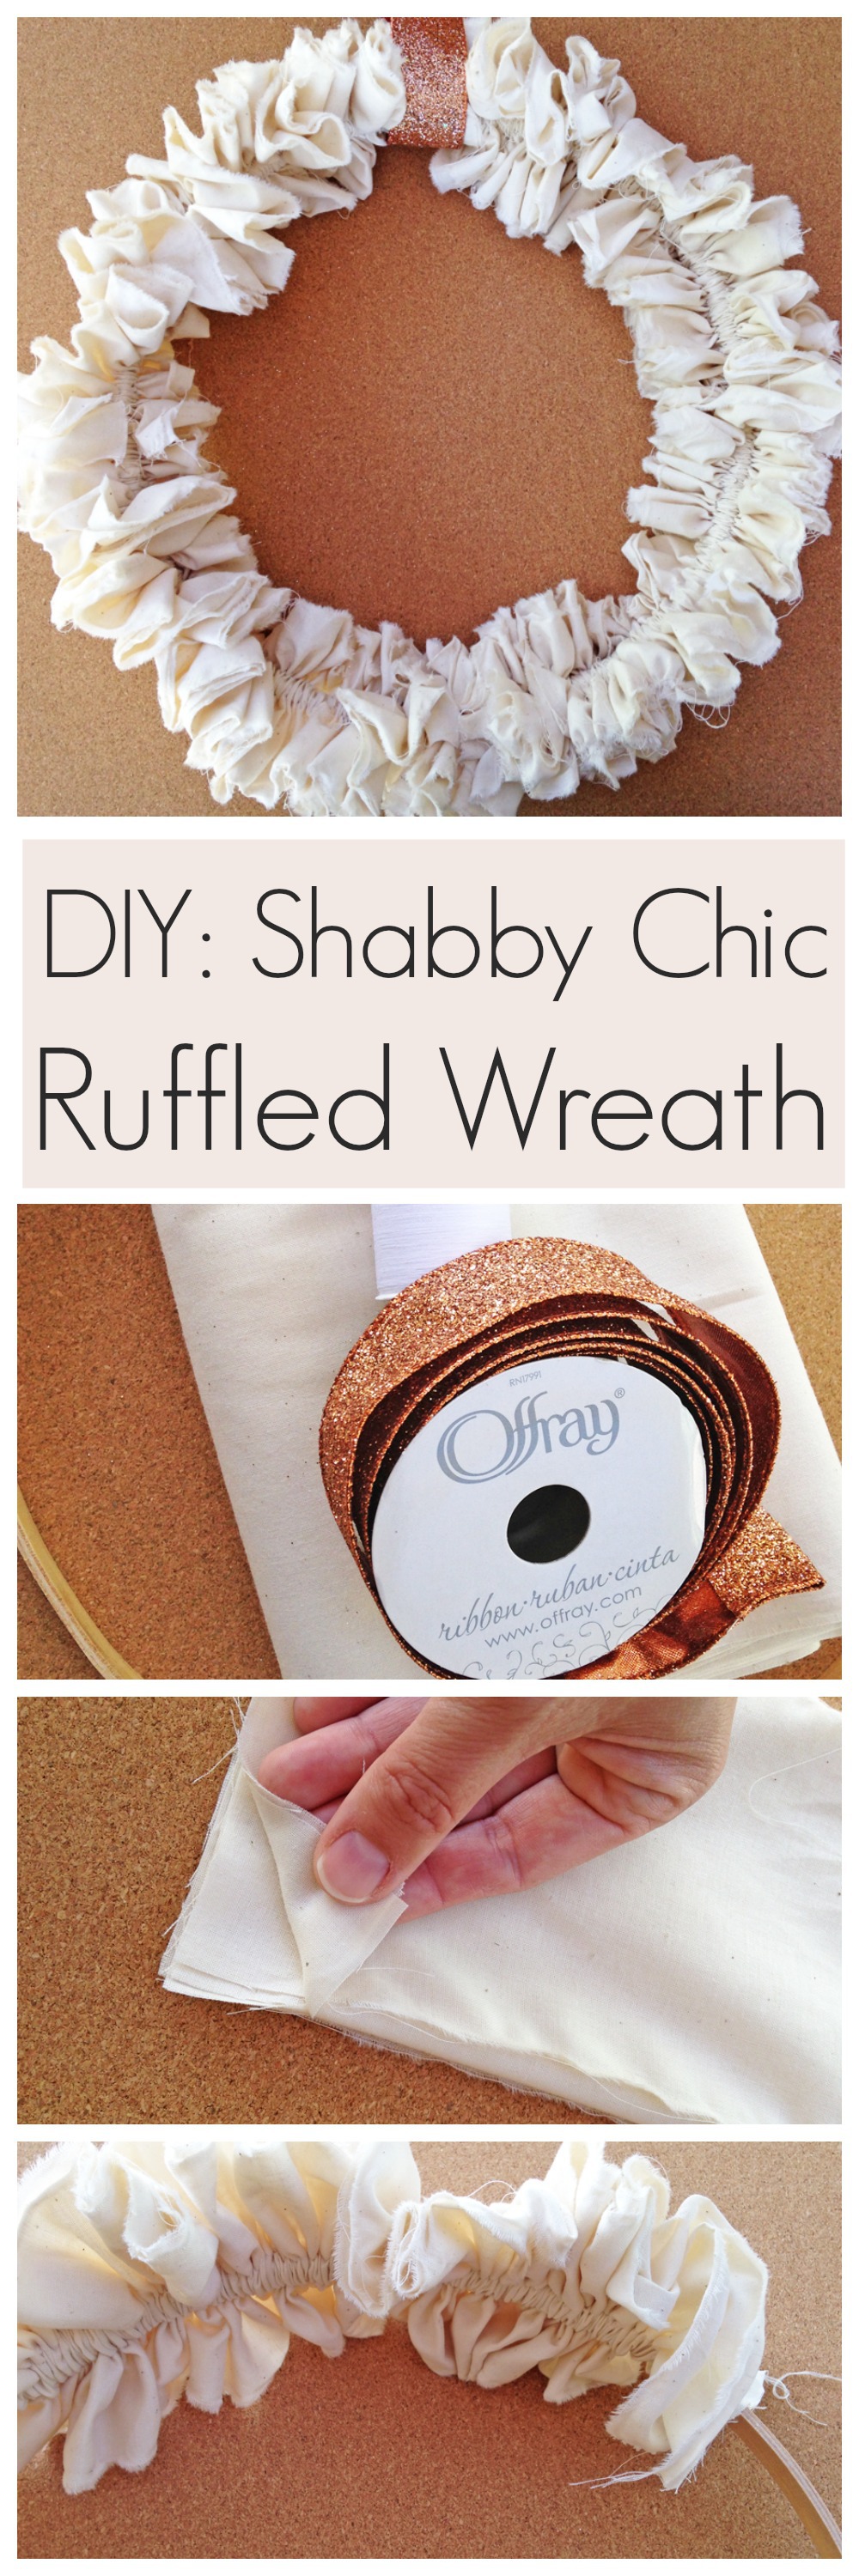
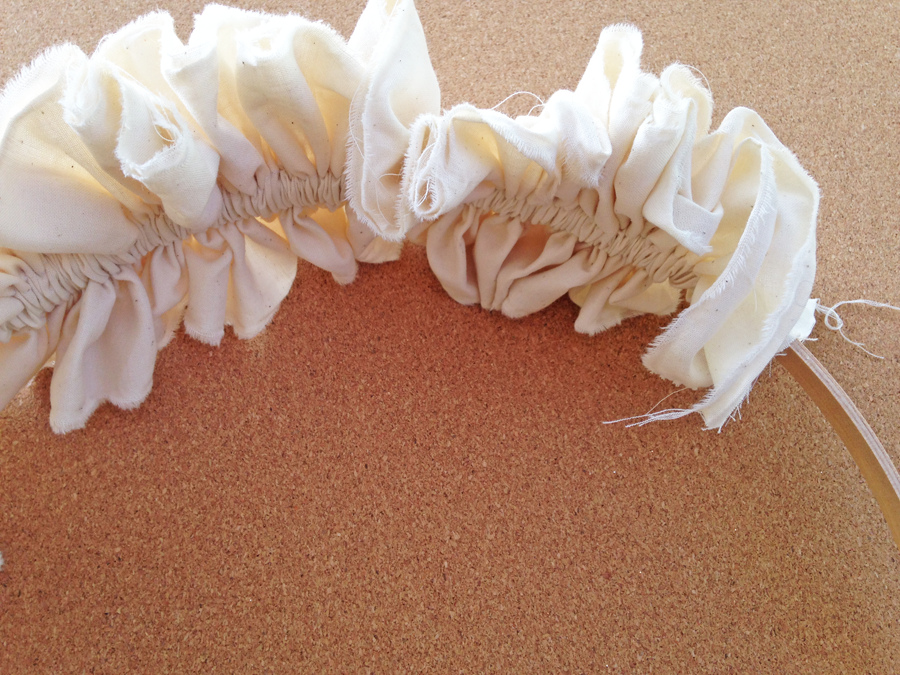
Disperse the fabric evenly throughout the wreath.
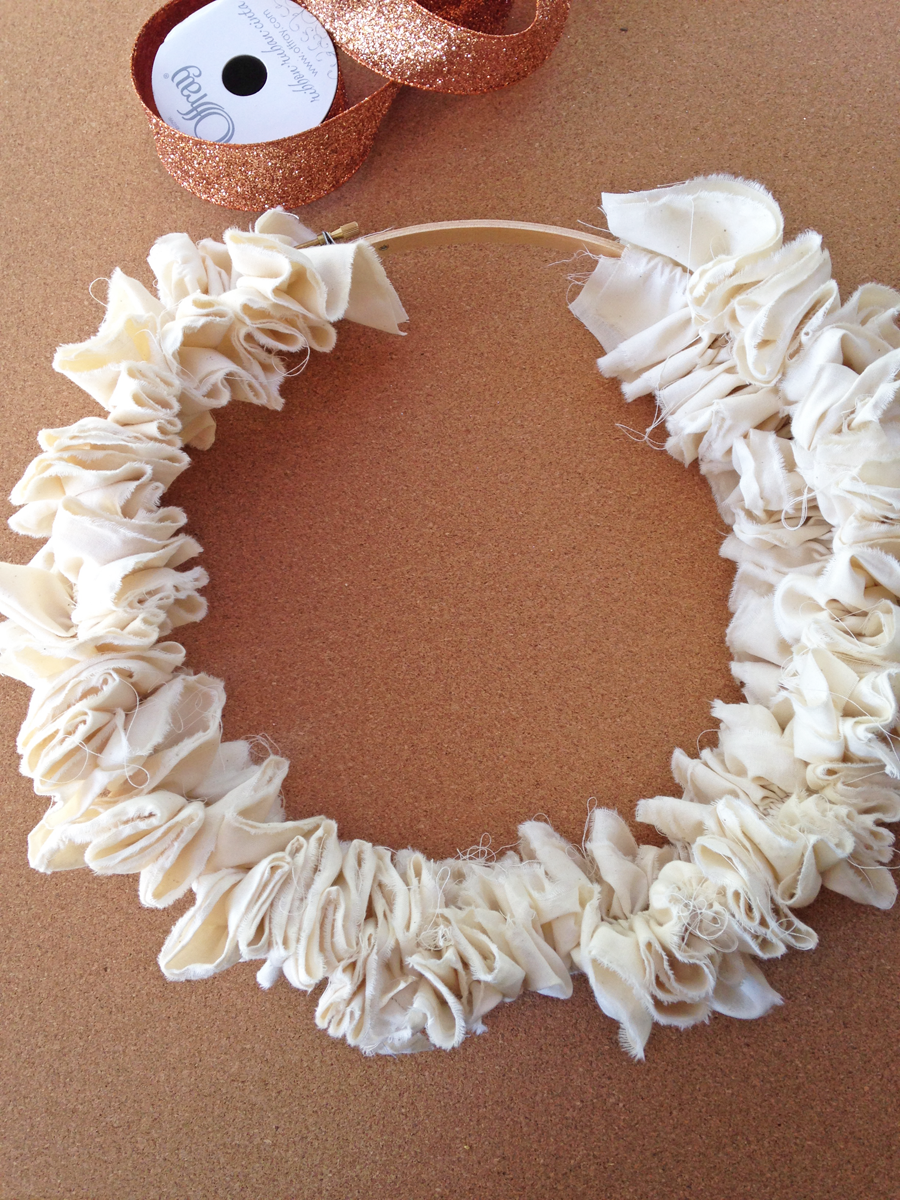
Cut ribbon and loop around wreath. Hang your beautiful work of art! I love this wreath. It is timeless and easy, and can be made with a variety of fabric to pair with each season.
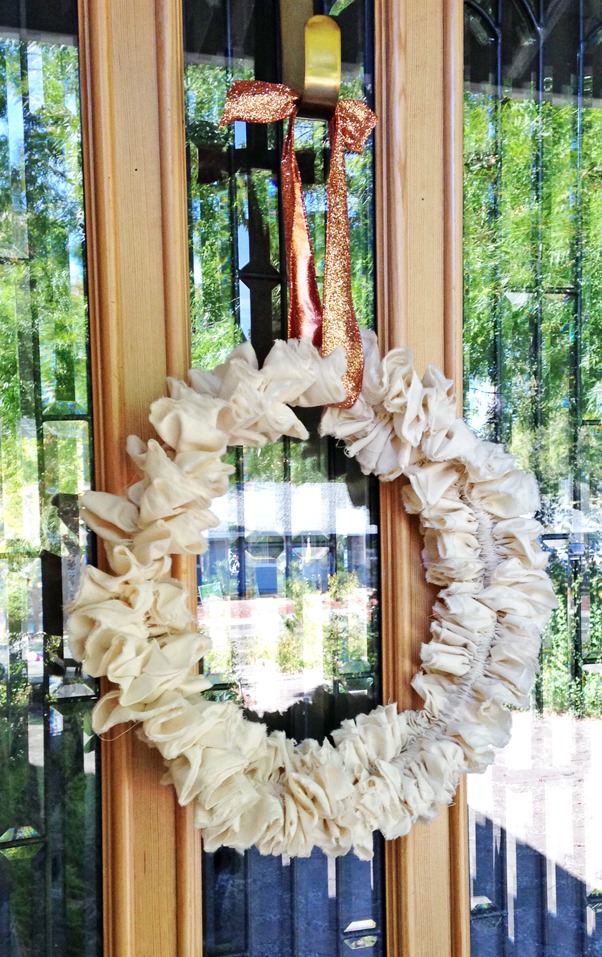
Thanks, Shauna, it looks so beautiful on your door! To see more of Shauna’s work, check out Ella and Annie Magazine and visit them on Facebook, Twitter, Instagram, and Pinterest.