
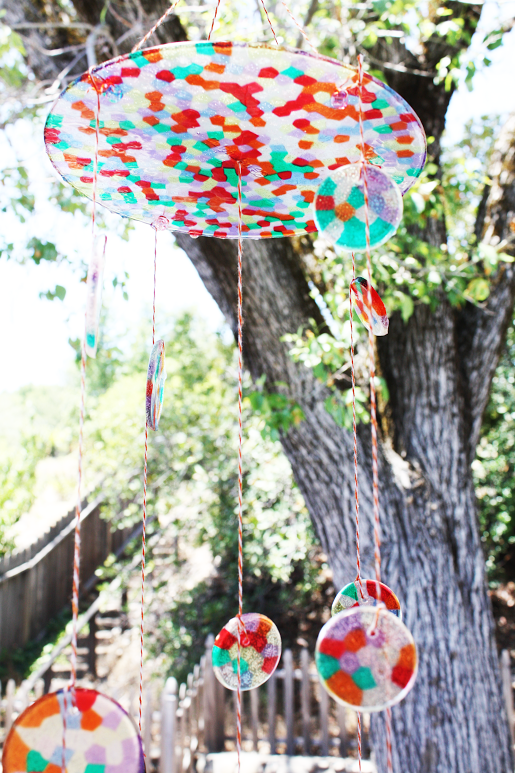
Summer is definitely winding down, but if you still have a few lazy summer days left, why not try checking out this beautiful pony bead suncatcher chandelier DIY. Not only would it look great outdoors, or in a room by a window, but it’s would be a fun outdoor summer party craft.
Pony beads are so versatile. You can use them to make jewelry, embellish craft projects, and you can even melt them.
This rainbow suncatcher chandelier was created for us by Shauna at Ella and Annie Magazine and inspired by a post from The Artful Parent.
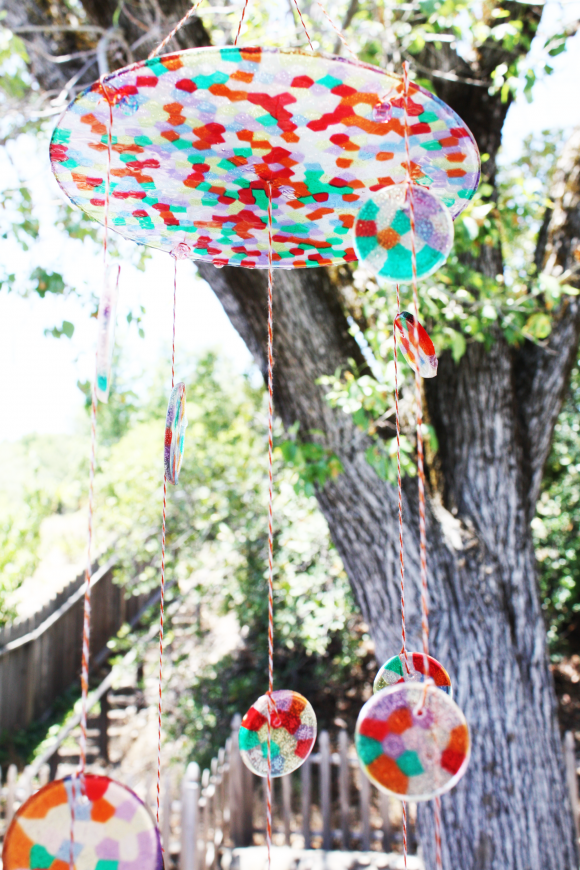
Supplies:
- Translucent pony beads (don’t make the same mistake I did and buy the solid ones)
- Twine
- Cupcake pan (for 6 cupcakes or 12 depending on how many you will be making)
- Cake pan
- Drill
- Cookie cutters (optional)
- Gas grill
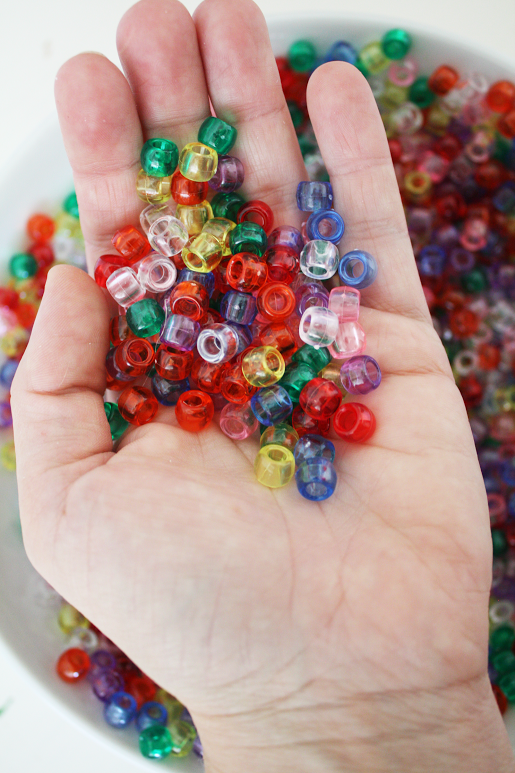
Directions:
Fill the bottom of the cake pan and cupcake pan with beads. Make sure all beads lay flat. You can also use metal cookie cutters to make shapes. You will need a baking pan to place them on and then fill.
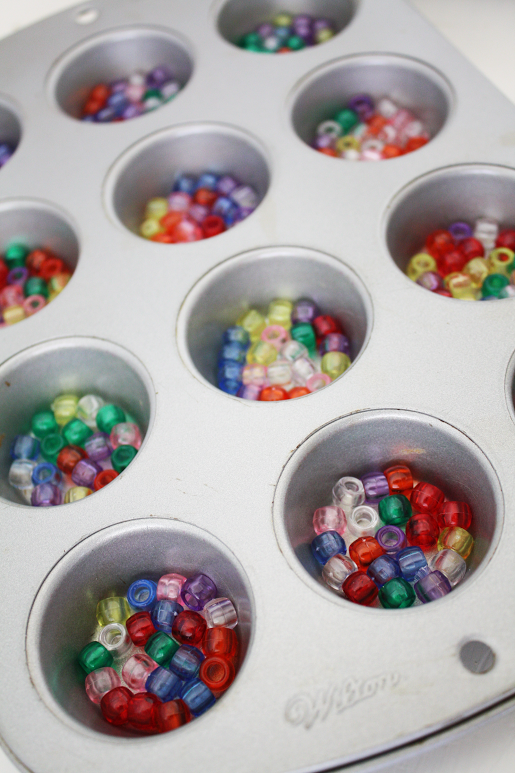
Turn on your gas grill (parents only!) I turned mine to reach 300-400 degrees. Place one pan at a time on the grill. Centered. Close the lid and bake for about 12 minutes. The time will depend on your grill. Just make sure all beads are melted before you remove. See photos for before and after examples.
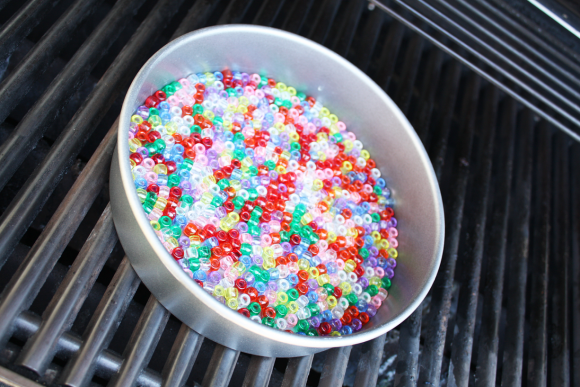
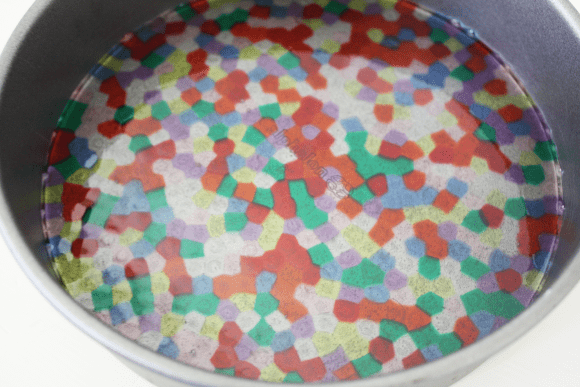
Repeat with each pan.
Cool beads. They should easily pop out of the pans. Once all your circles are complete, you will need to drill a hole in each for hanging. Parents only! The larger cake pan circle should have 4-5 holes drilled so that it hangs evenly. I drilled four holes.
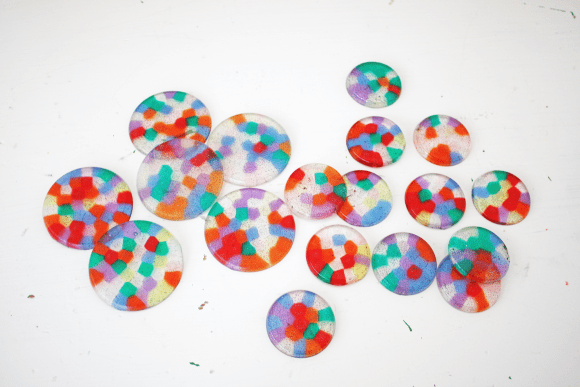
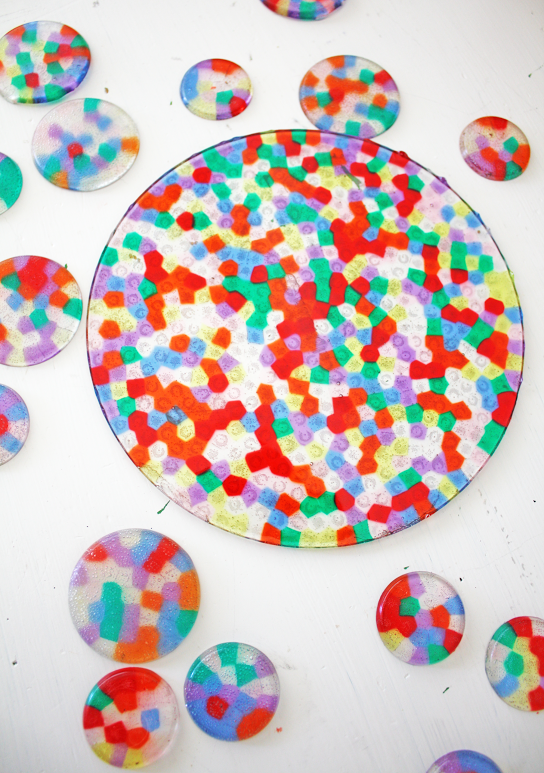
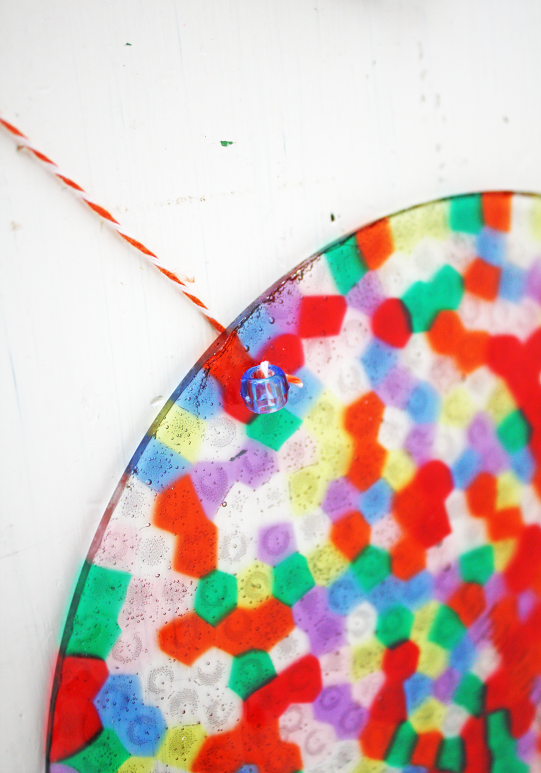
Now we are ready for the twine. Start with the larger circle for the top of your chandelier. Grab a pony bead (optional) and a piece of twine for each of the four holes.
Start by tying the bead to the side of the circle that will face down, the side everyone one will see. Do that for each hole. Pull all four strings together and tie a knot. See photo.
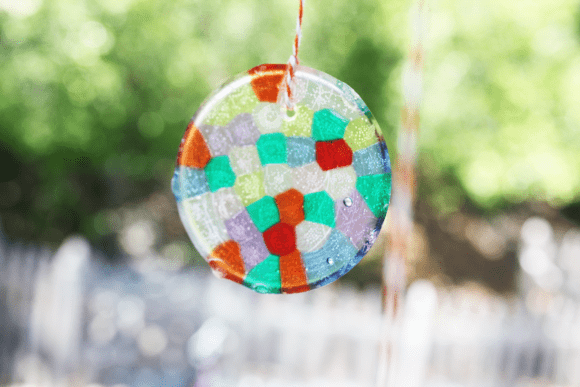
Next you need to piece together each of the hanging portions of the chandelier. You can choose how long and what shapes you put on each strand. I alternated them by making some shorter and some longer. Tie each strand to one of the holes you made in your cake pan piece. Repeat for each hole/strand.
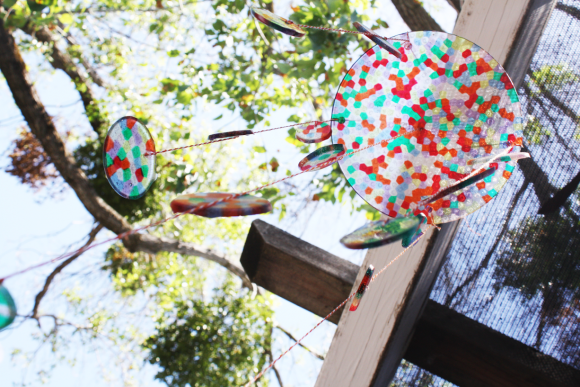
You are done! Hang for everyone to enjoy. My daughter Ella wants one for her room. Can’t you just image a handful of these hanging from trees or a deck over a beautifully set table? This is by far one of my favorite crafts to date!
For more inspiration, take a look at all these beautiful and fun summer parties from our site!