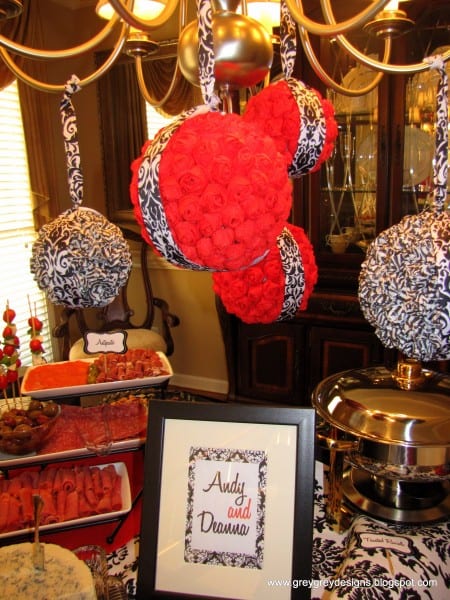
When I saw these gorgeous crepe paper pomanders Brittany from Grey Grey Designs made for her Diamonds and Damask Engagement Party, I fell in love.
What a great way to make a statement at a party. And the best part is, they’re something new. You might have seen pomanders made with real flowers, but I bet not like this!
So I asked Brittany if she would do a tutorial on how she made them, and she so graciously said yes. Our lucky day!
Here are all the details, as told by Brittany…
Recently, I was looking for an alternative to your run-of-the-mill tissue paper flowers for an engagement party that I was designing. I ran across some beautiful crepe paper rose pomanders from Danielle at Homespun with Heart .
So, I decided that I would try these instead, but I wanted to put my own twist on them by using party crepe paper and tying them with wide ribbon.
So today, I am sharing them with you! Beware, these are totally time-consuming, but also totally worth it!
Supplies:
- Styrofoam balls of assorted sizes. In this case, I used two 5” and one 6”.
- Crepe paper in the colors of your choice, roughly 4 large rolls for this project
- Hot glue gun and sticks
- Wide wired ribbon (2 rolls)
- Floral pins
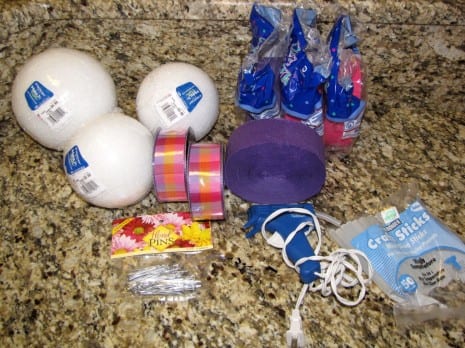
1. Take crepe paper and measure out lengths around 20” each
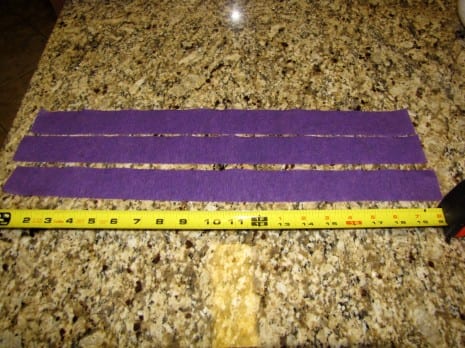
2. Fold strips of crepe paper in half lengthwise. This will make the crepe paper longer as you do it.
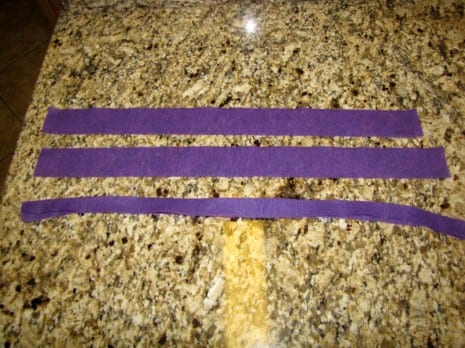
3. Hold the end of the folded crepe paper around your pinkie finger.
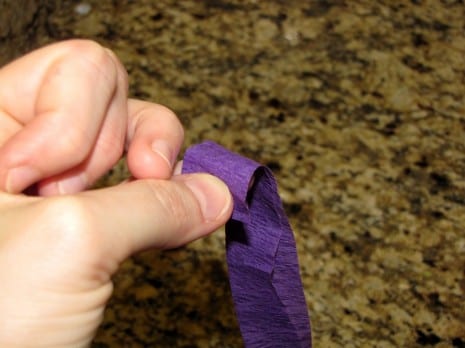
4. Wrap crepe paper around your pinkie a few times to secure. 5. Continue to wrap around your pinkie, folding over as you do. This creates the “petal” look. PS, I really need a manicure.
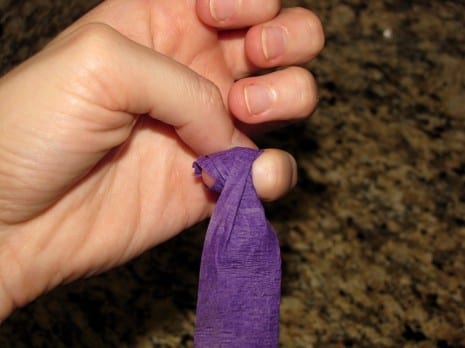
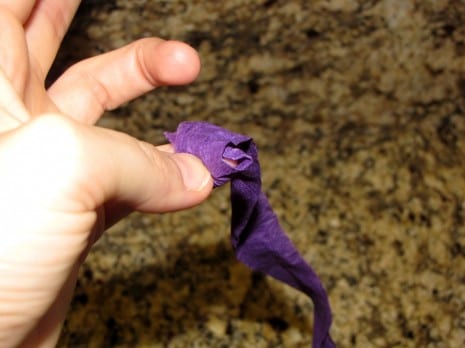
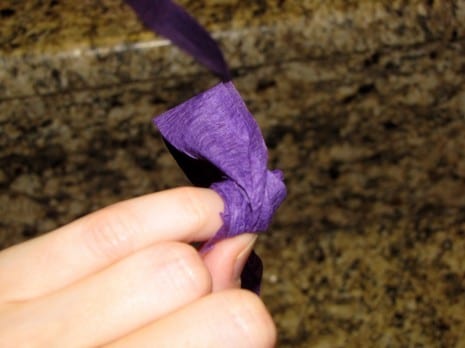
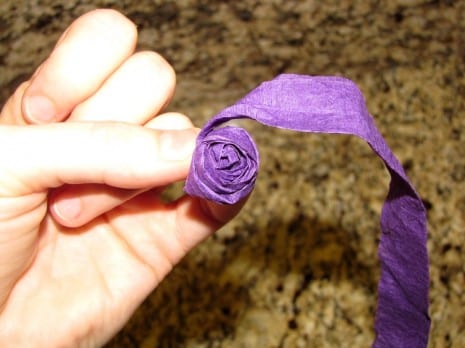
6. Be sure to wrap pretty tightly, otherwise, the “rose” will unwrap. 7. Secure the end of the rose with hot glue. It only takes a touch. And be careful with the hot glue, I burned myself, oh, roughly 500 times while doing these.
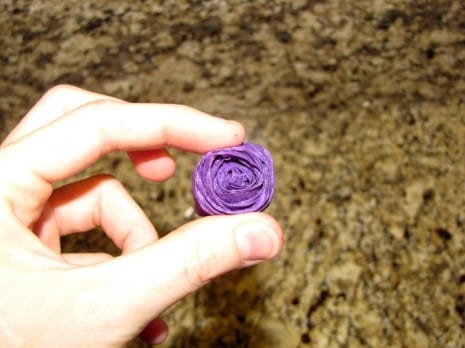
8. Once the rose is finished, glue the rose to the Styrofoam ball.
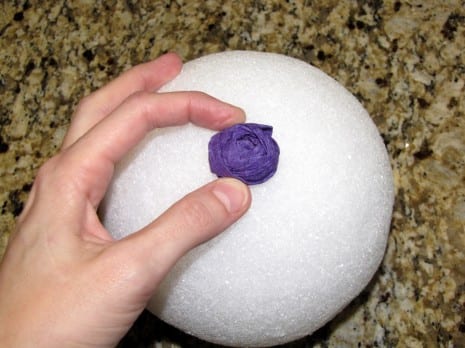
9. Repeat this 1 billion times, until you fully cover the ball in roses.
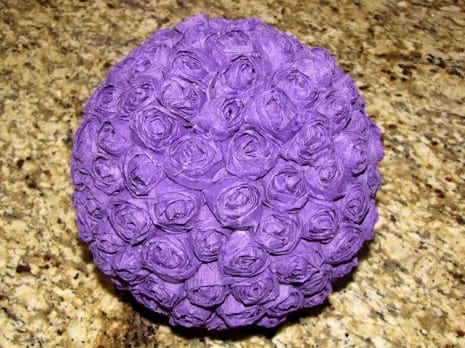
10. I recommend cutting or tearing the crepe paper as you go, since you don’t know how many strips you will need upfront. Plus, once you start on this project, you can pretty much eyeball the lengths that you need. 11. Dry overnight preferably. 12. Wrap the completed ball in the ribbon and tie off at the top. Cut to the length desired to hang.
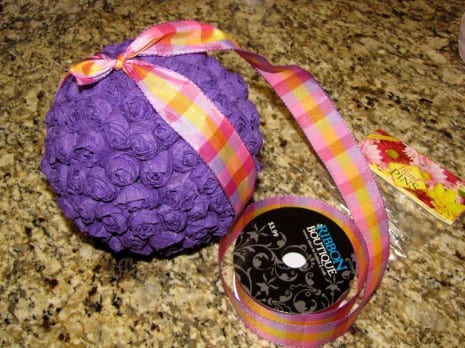
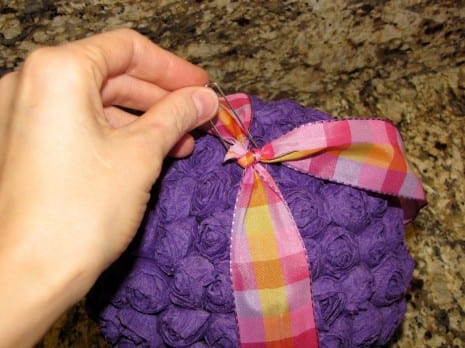
13. Secure the top and bottom of the ribbon by inserting floral pins directly into the balls. This will secure that the ribbon does not slide off the pomander.

14. Hang with ribbon! And voila, you have created a rose pomander that will never wilt, and saved you hundreds! I spent $24 on this entire project, so this is completely cost-effective and a great addition to your next party, or even a little girl’s room!
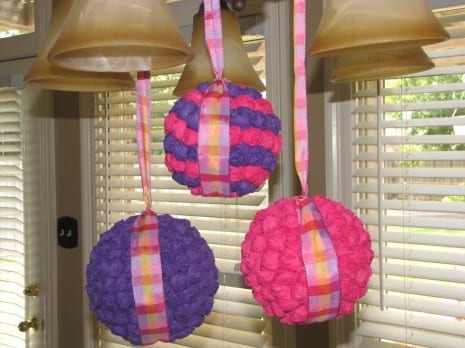
These pomanders are beautiful! Thank you, Brittany, for the wonderful tutorial.
To learn about Brittany and read more of her party tips and ideas, check out her event company, Grey Grey Designs. Plus, you can see more of her parties here at Catch My Party. Also, if you’d like some pomanders for your next party, but don’t want to make them yourself, you can buy them at Brittany’s Etsy shop.
Do you have a DIY project from one of your parties that you’d like to share? Please email me at jillian@catchmyparty.com. I’d love to show it off!
