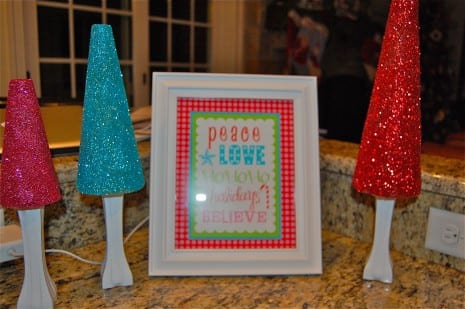
Laura B made these gorgeous glitter Christmas trees as decorations for her Crafty Kids Christmas Party. Not only did they add serious sparkle to her party, but wait ’til you see how inexpensive and easy they are to make.
Laura so generously put together this tutorial for us. Thank you, Laura!
Supplies you will need:
- 3 styrofoam trees: I used sizes, 15×5, 12×4 and 9×4, but you can use any size you want.
- 3 small candlesticks. I found these at Michaels for $1.00
- Spray adhesive
- Elmer’s glue for the glitter on the bottom and a stronger epoxy like glue ( I used E6000) to glue the tree to the candlesticks
- Glitter in any colors you LOVE
- White spray paint
Here’s what you do:
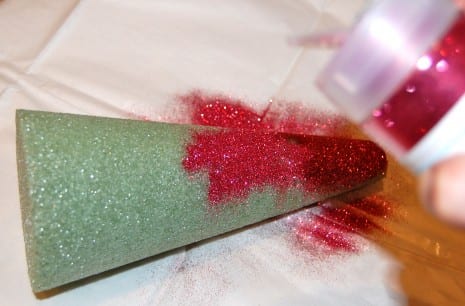
- Give your tree a good coating of the spray adhesive. It dries pretty fast so you won’t have to wait too too long. Leave the bottom of the tree undone, you will glitter this at the end.
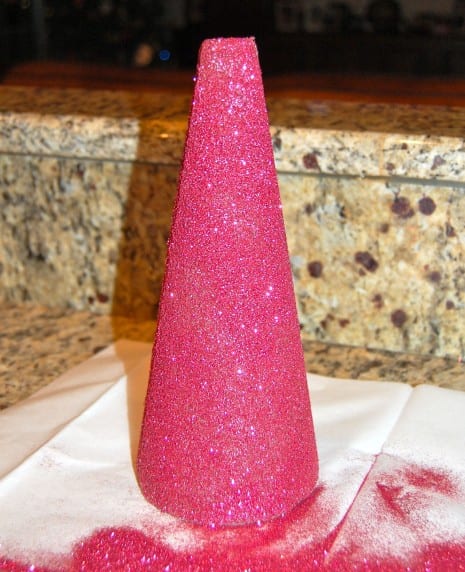
- Once you have your tree coated in glue, cover it completely with the glitter. Do this for all three trees and then set them aside to dry.
- While they are drying, you can spray paint your candlesticks. Let those dry. I even saw pretty silver candlesticks. That would look cool to just leave them silver.
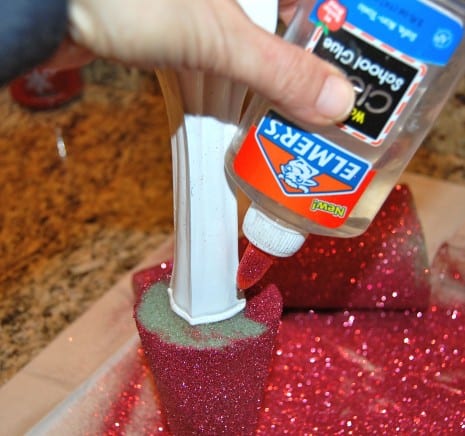
- Now take your E6000 and glue the candlesticks to the trees. Let them sit overnight. They have to be really good and dry.
- When everything is good and dry, flip them over and put a little Elmer’s glue on the bottom around where the tree is glued to the candlestick. Glitter this.
- You are done! Find the perfect spot for these and wait for all the compliments. They are so pretty that I had several people not believe I made them!
(I have to give the credit for this tutorial to eighteen25. I originally saw it here.)
What sparkley and fun Christmas trees! Thank you again, Laura, for sharing with us.
To learn more about Laura and find great party tips and ideas, visit her blog, Cupcakes and Lemonade. Also visit her Etsy shop for cute printables, cards, and invitations.


