
Happy Spring everyone. Still waiting for the last snow to melt here in New York, but I see the spring light at the end of the snowy tunnel. Plants are starting to come up, birds are singing, and the chipmunks are starting to dig to recover their winter leftovers.
I have Easter on the mind today. I wanted to share a real easy tutorial that you and the children can craft together using plastic water bottles or soda bottles and some washi tape. Pretty easy, right!
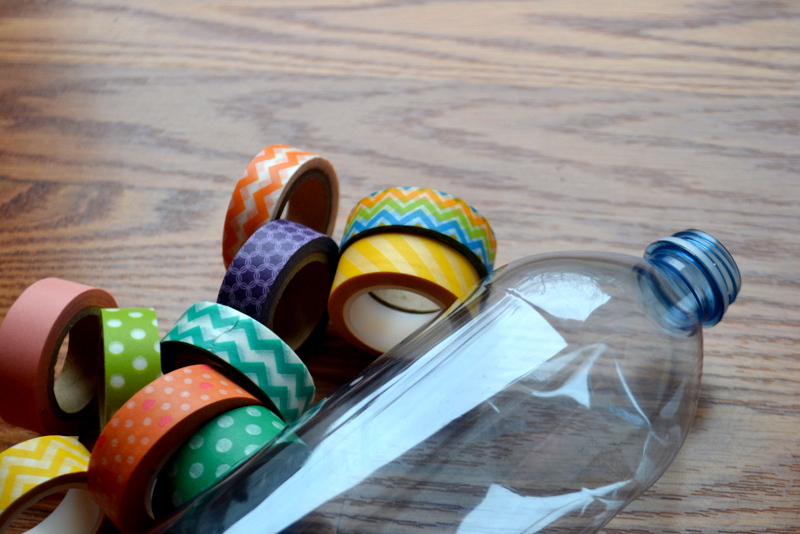
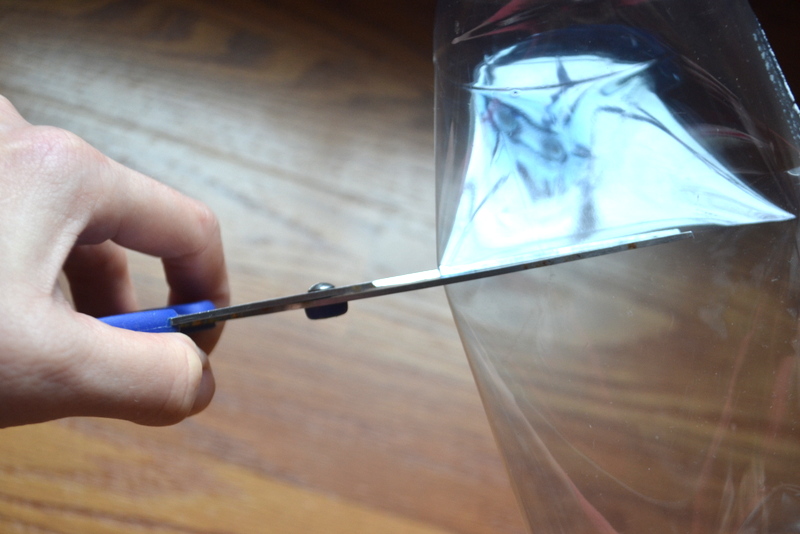
Step 1: I Cut your plastic bottle the size you want it. Of course you can GO Big and use a 2 liter container and make a darling centerpiece, but I went small, and each guest at our Easter table will have one at their place setting.
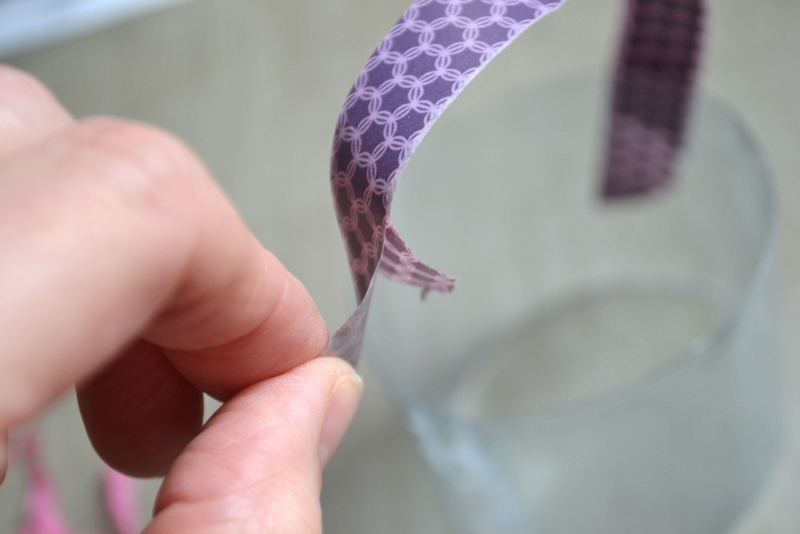
Step 2: Making your handle. This is a little tricky and requires two people. I measured out the size handle I wanted and doubled the size so I had two of the same size pieces of washi tape. Then I put stuck them together to make the handle.

** The key is leaving some room at each end of the handle to stick the handle to your plastic container. Then once you start covering it, the handle will be covered up.
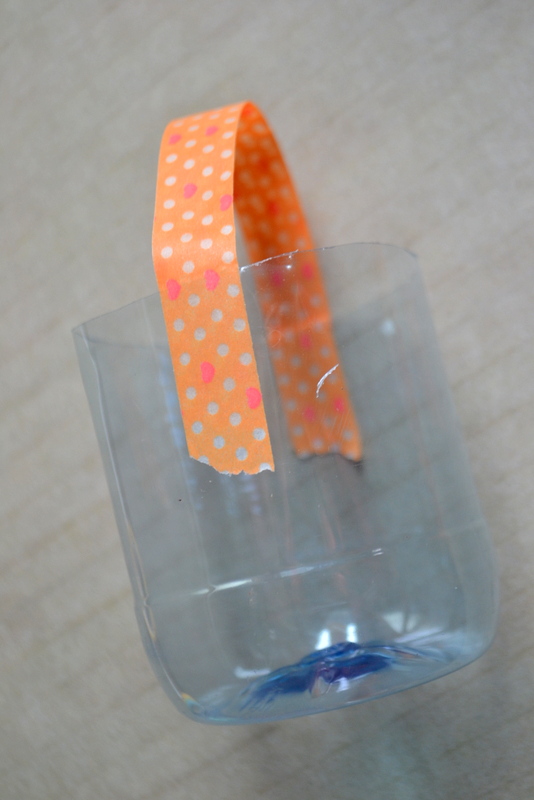
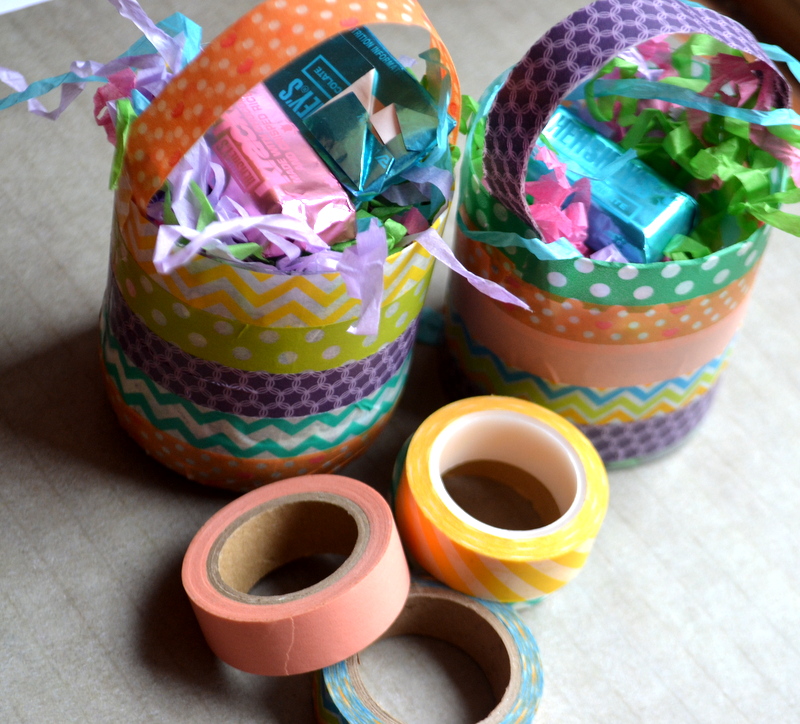
Step 3: Start your washi tape pattern around your basket piece.

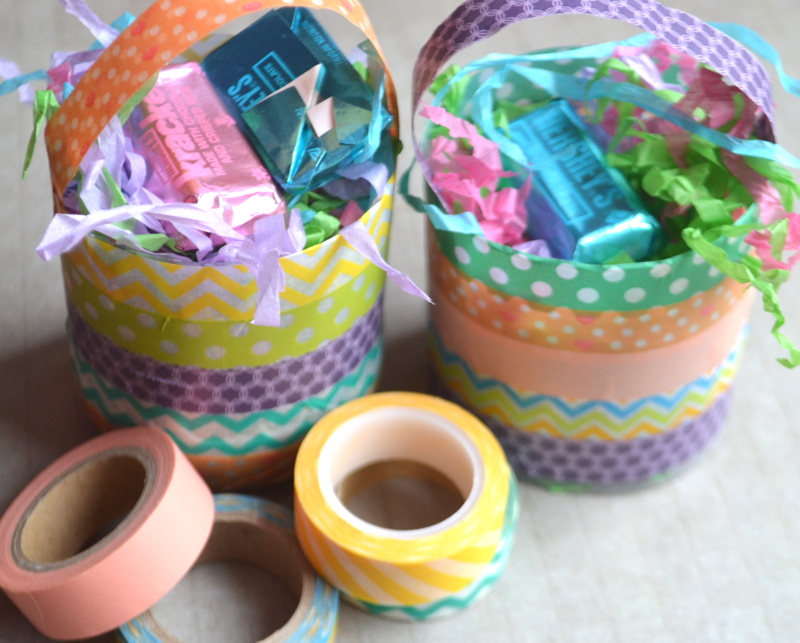
Once you are done – decorate with some Easter grass and a few chocolates or jelly beans.

Didn’t they come out so cute?! The children can make them for their teachers, neighbors and grandparents. I am hoping to find enough plastic bottles around so we can make some to bring over to the nursing home.
Until next time – Party On Friends and THINK SPRING!