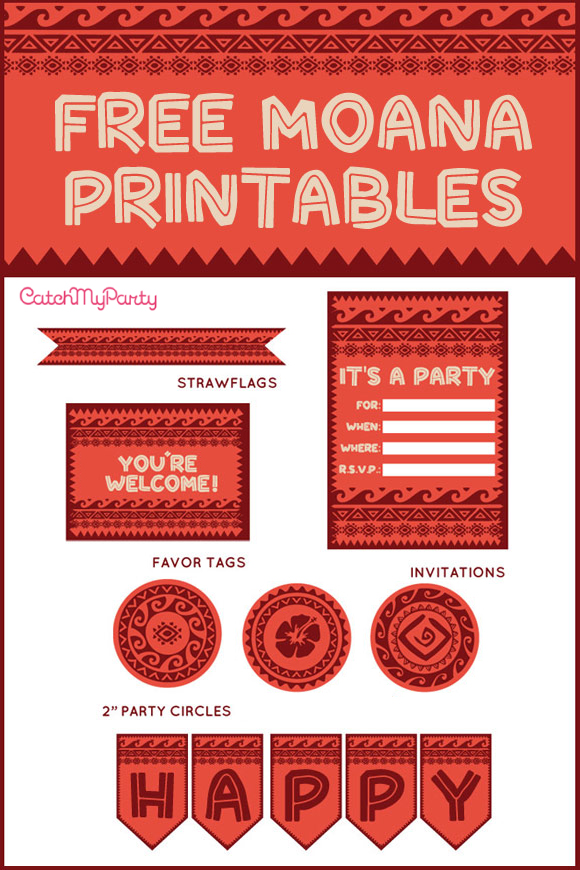
Moana was is one of my all-time favorite Disney movies. It’s such a beautiful and inspirational story that young girls love, and the music is also so catchy!
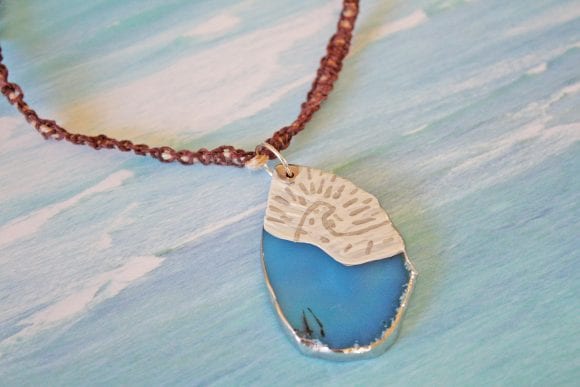
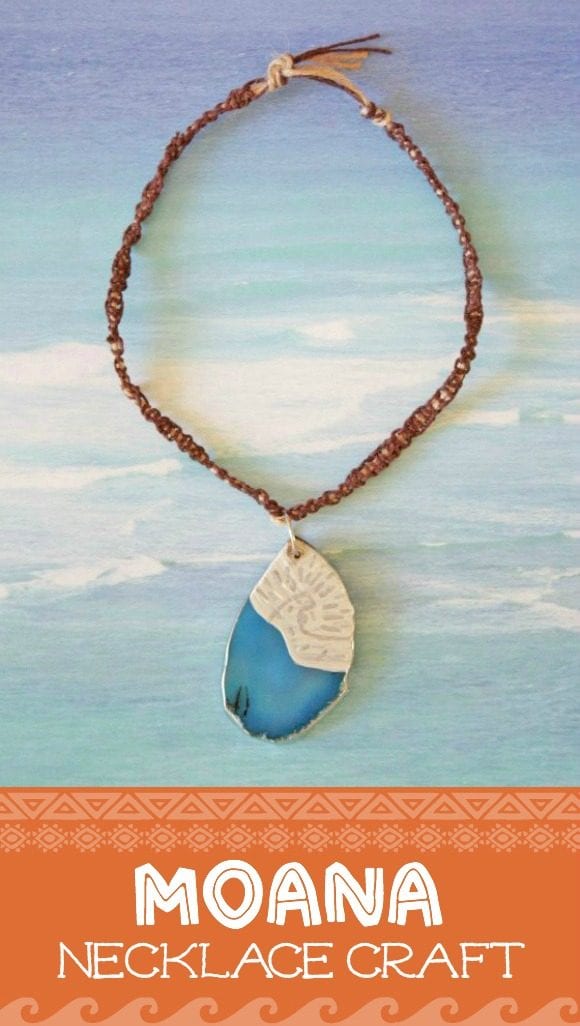
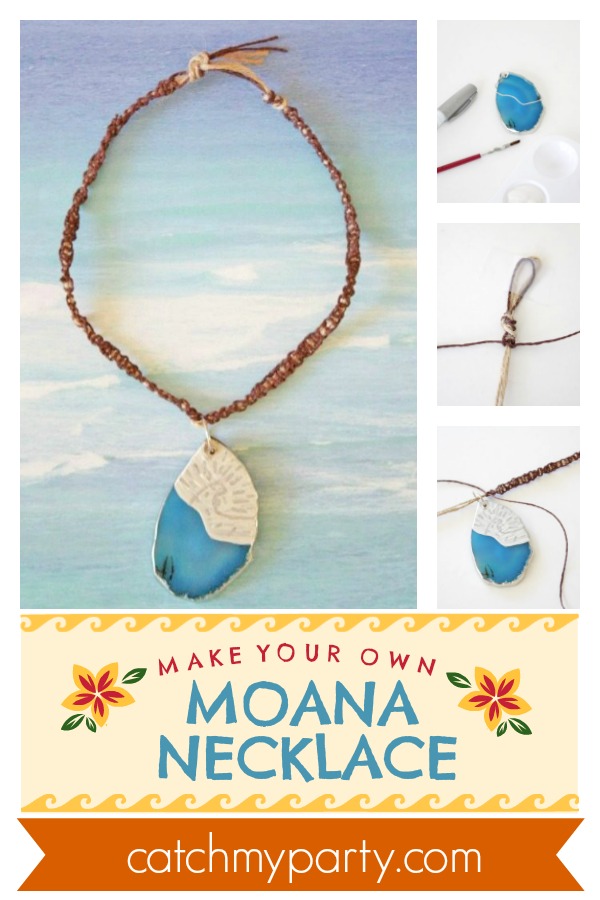
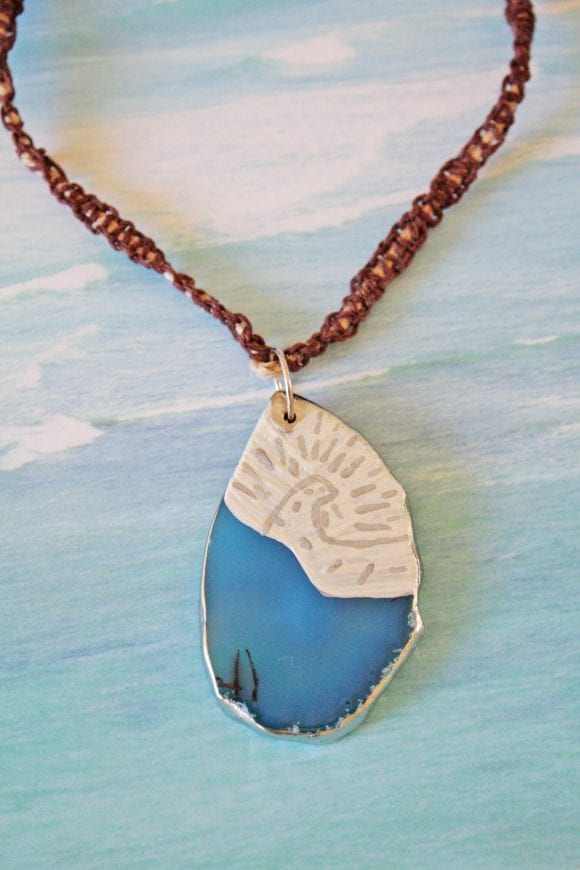
So if you’re thinking of throwing a Moana birthday party and need a fun activity for your guests, how about making this lovely Moana necklace craft DIY?
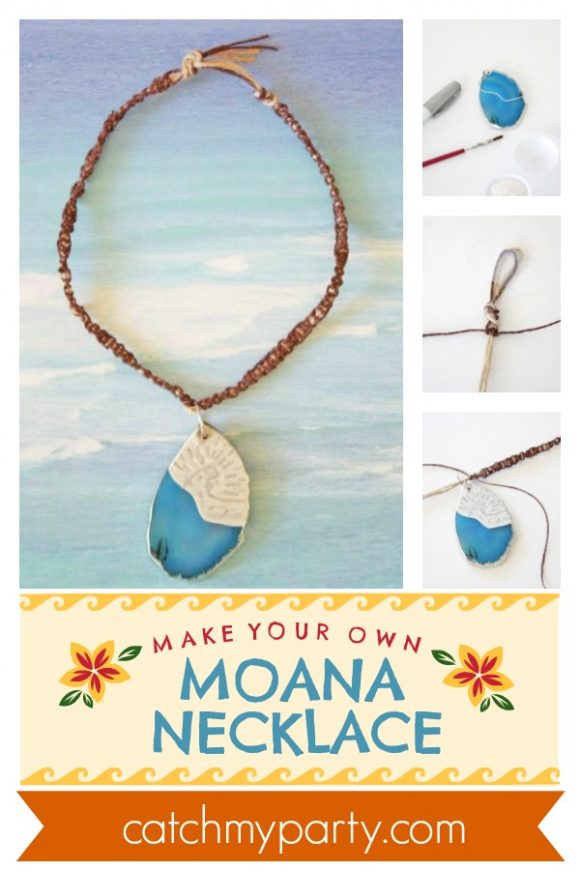
What I love about this Disney Moana necklace DIY is that not only will your guests be entertained, as it doubles up as a great party favor for them to take home with them! What more could you ask for?
Moana Necklace Craft DIY – How To
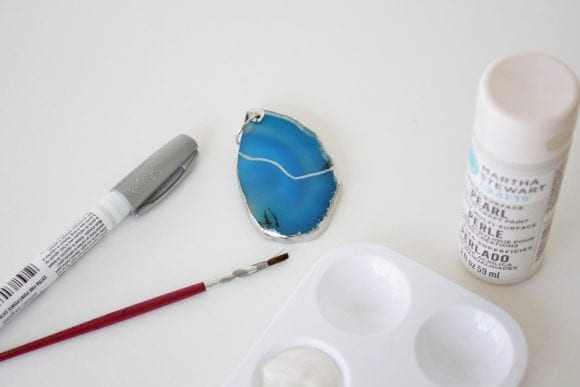
What you need:
- Hemp cording (dark brown and tan)
- Pearl acrylic paint
- Silver paint pen (fine tip)
- Turquoise stone
Some of these links may be affiliate links. I may make a small commision if you click and buy, at no expense to you.
Directions:
Step 1:
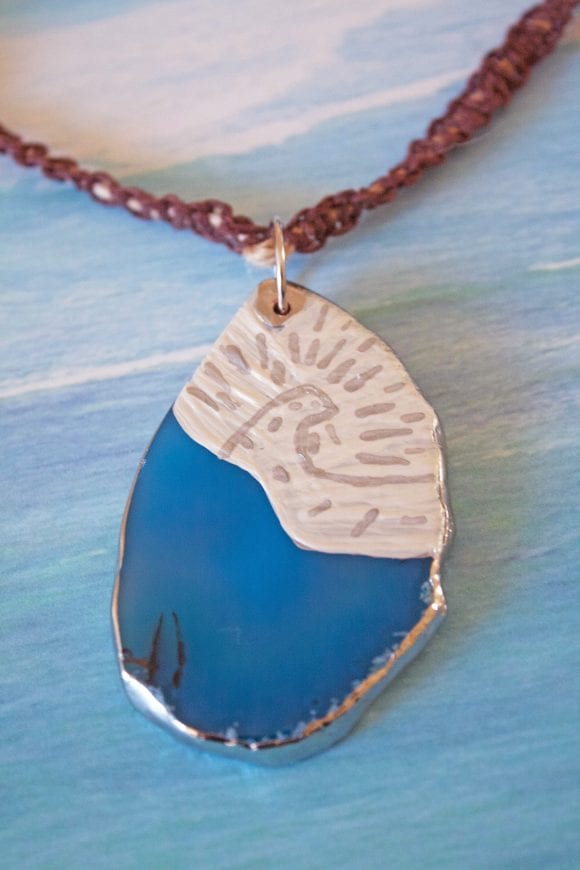
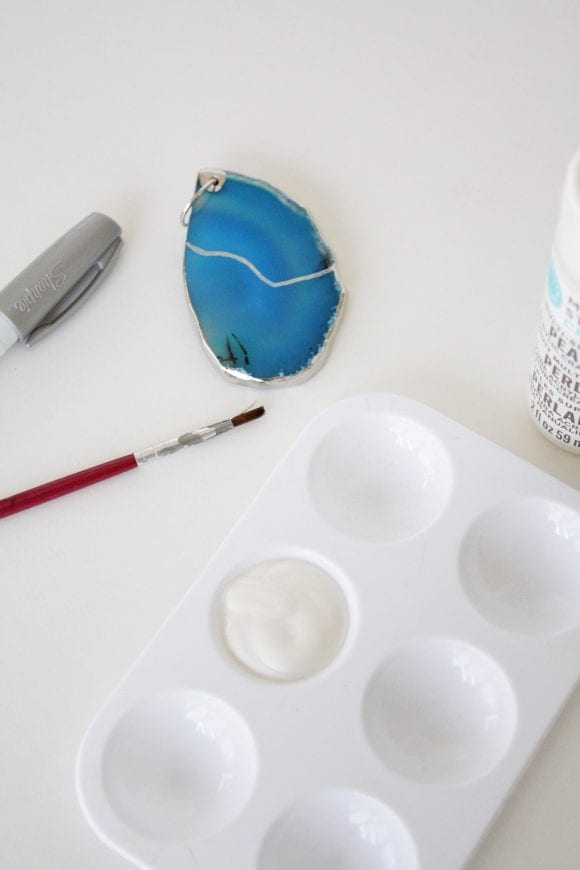
Start off this Moana necklace DIY by using your silver paint pen to draw the wavy line across the top of your stone.
Step 2:
Fill in the top portion of the stone with your pearl acrylic paint. I added multiple layers of paint. Make sure to let each layer dry before adding another.
Step 3:
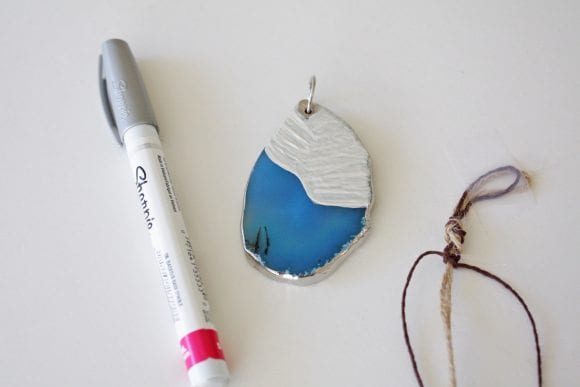
Once the pearl paint has dried completely, you can use your fine tipped silver paint pen to draw the design. Be careful not to press too hard when drawing the design. I went over my design twice. Dry completely.
Step 4:
Set the stone aside.
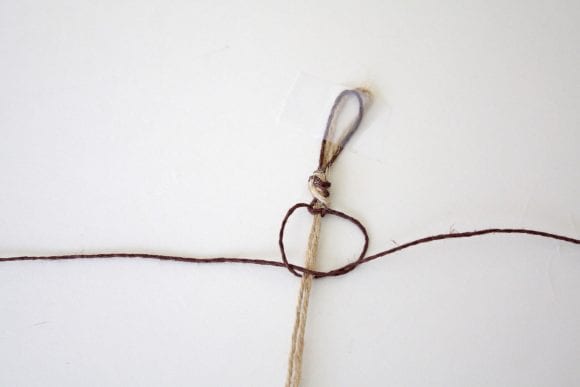
Cut two pieces of hemp cording, 2x as long as you want your necklace to be. One strand for each color. Fold each strand in half and line up the folds at the top. Tie a knot.
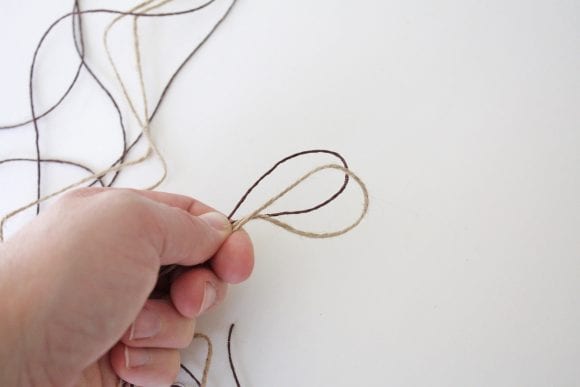
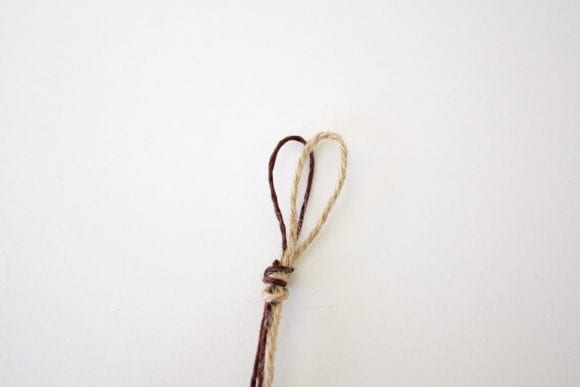
Step 5:
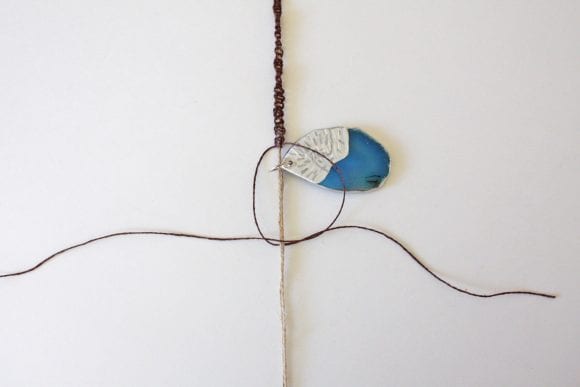
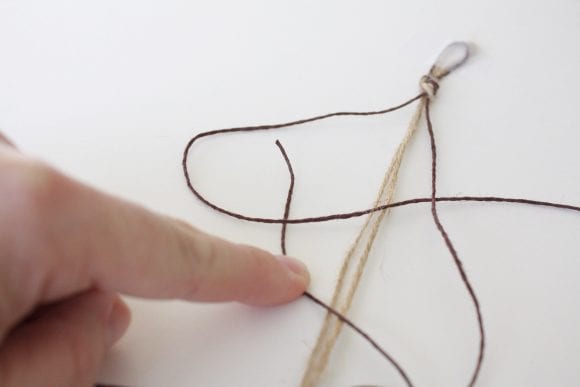
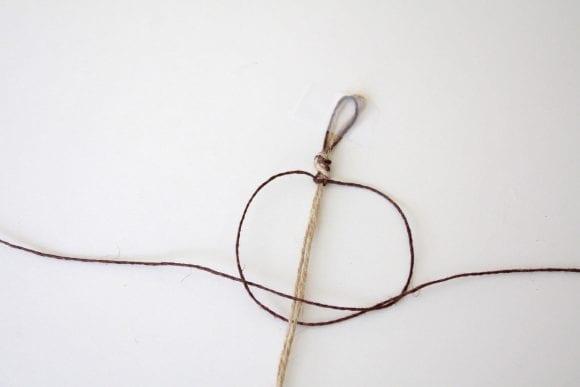
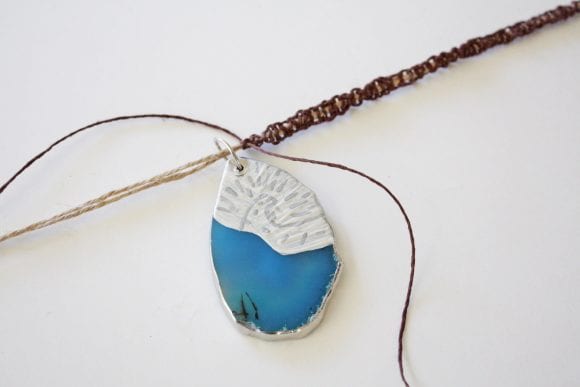
Tape the knot down so it holds the necklace in place. Place the two tan pieces of hemp together in the middle. Place both brown pieces of hemp on either side of the tan strands. Begin by taking the left piece of dark brown hemp and crossing it over to the right side (on top of the two tan strands).
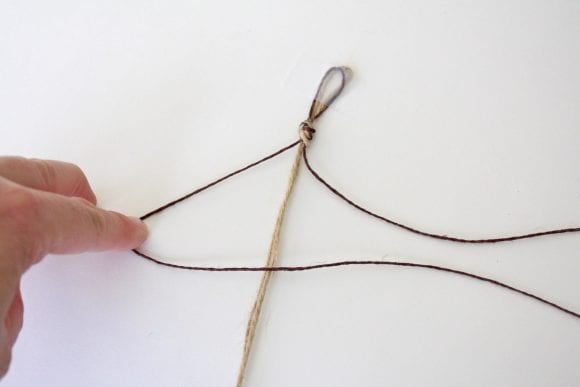
Step 6:
Take the right dark brown hemp strand and place it on top of the left. Grab the end of the right strand and pull it under the two tan strands in the middle. Continue to take the strand and pull it up through the loop you made on the left side.
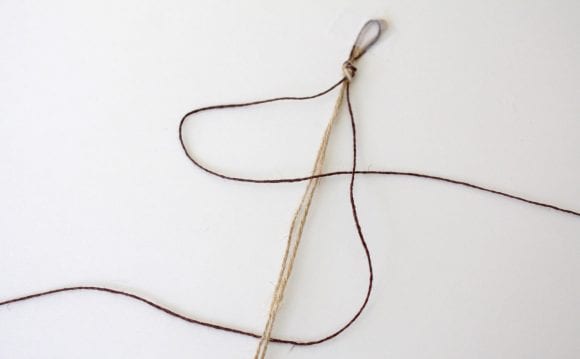
Step 7:
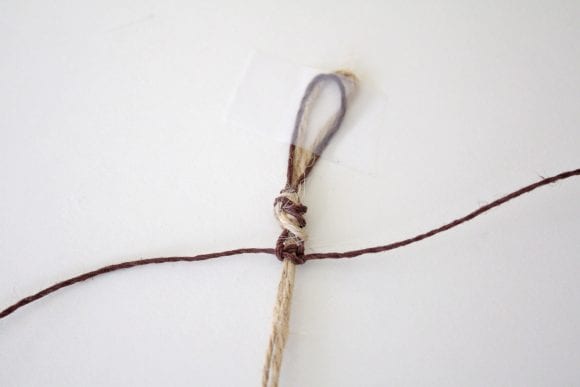
Pull both dark brown hemp strands to complete the knot.
Step 8:
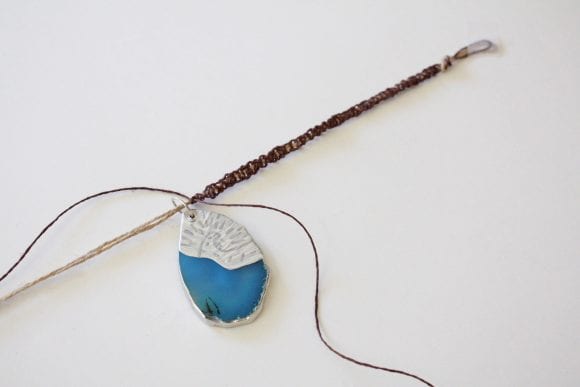
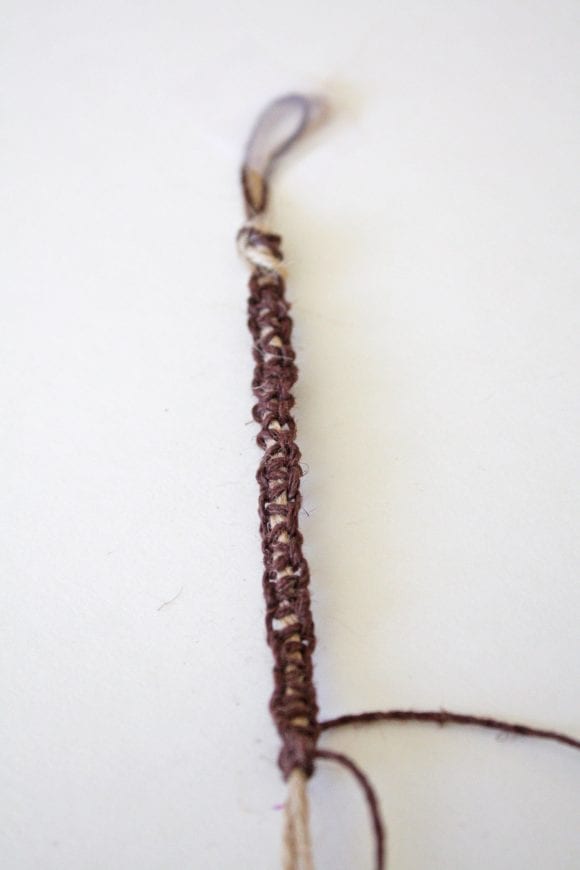
Repeat this process, alternating sides. Next, start with taking the right hand side piece of dark brown hemp and crossing it over to the left side. Continue creating your knots until you reach the middle of your necklace. Slide your Moana stone onto the two tan hemp strands up to the middle. Tie one of your knots below the stone, pulling to tighten.
Step 9:
Continue on with the knots below the stone until you’ve reached the end of your Moana magical necklace!
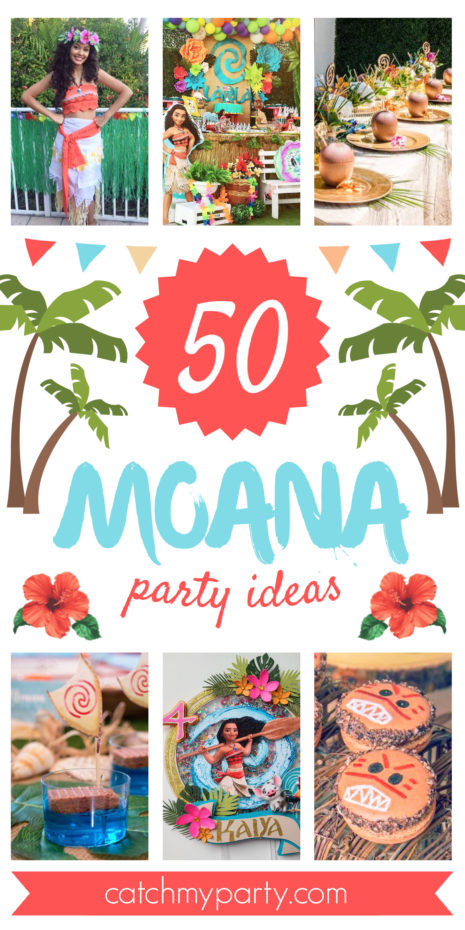
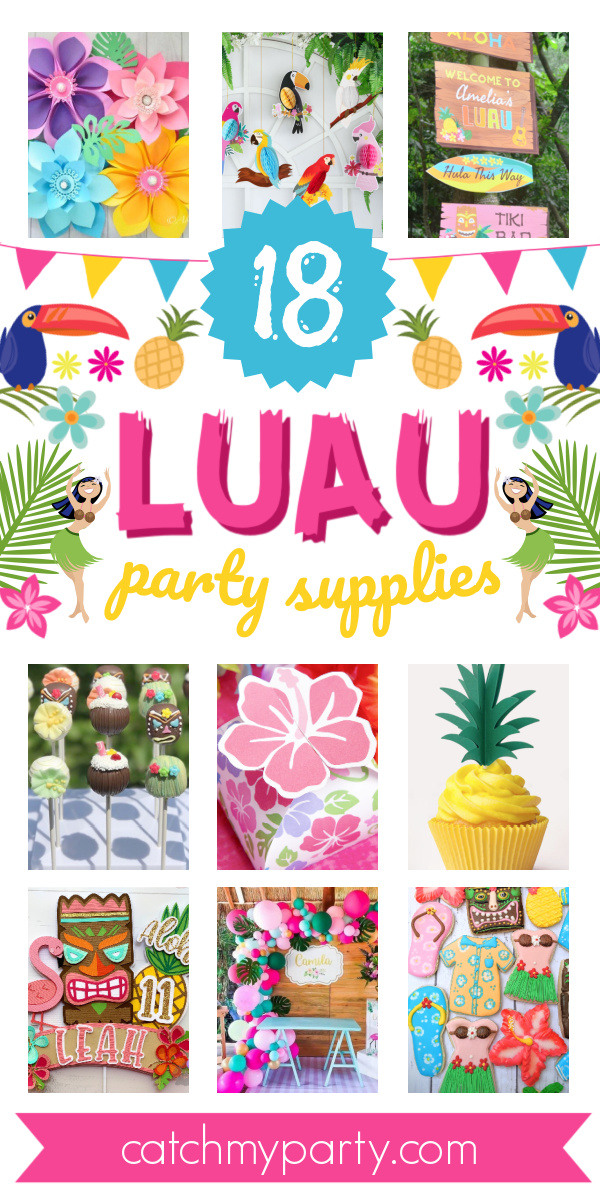
For more inspiration, check out all these amazing Moana parties on our site, and check out these Moana party supplies from vendors with listings on Catch My Party!
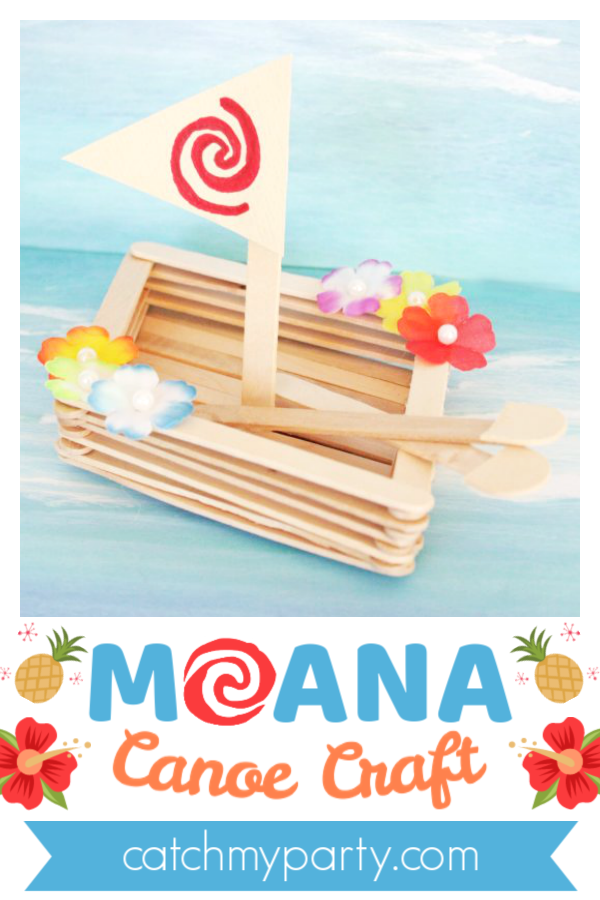
Need Disney Moana party craft ideas?
Need Disney Moana free party printable decorations?
Need more Disney Moana birthday party ideas?
