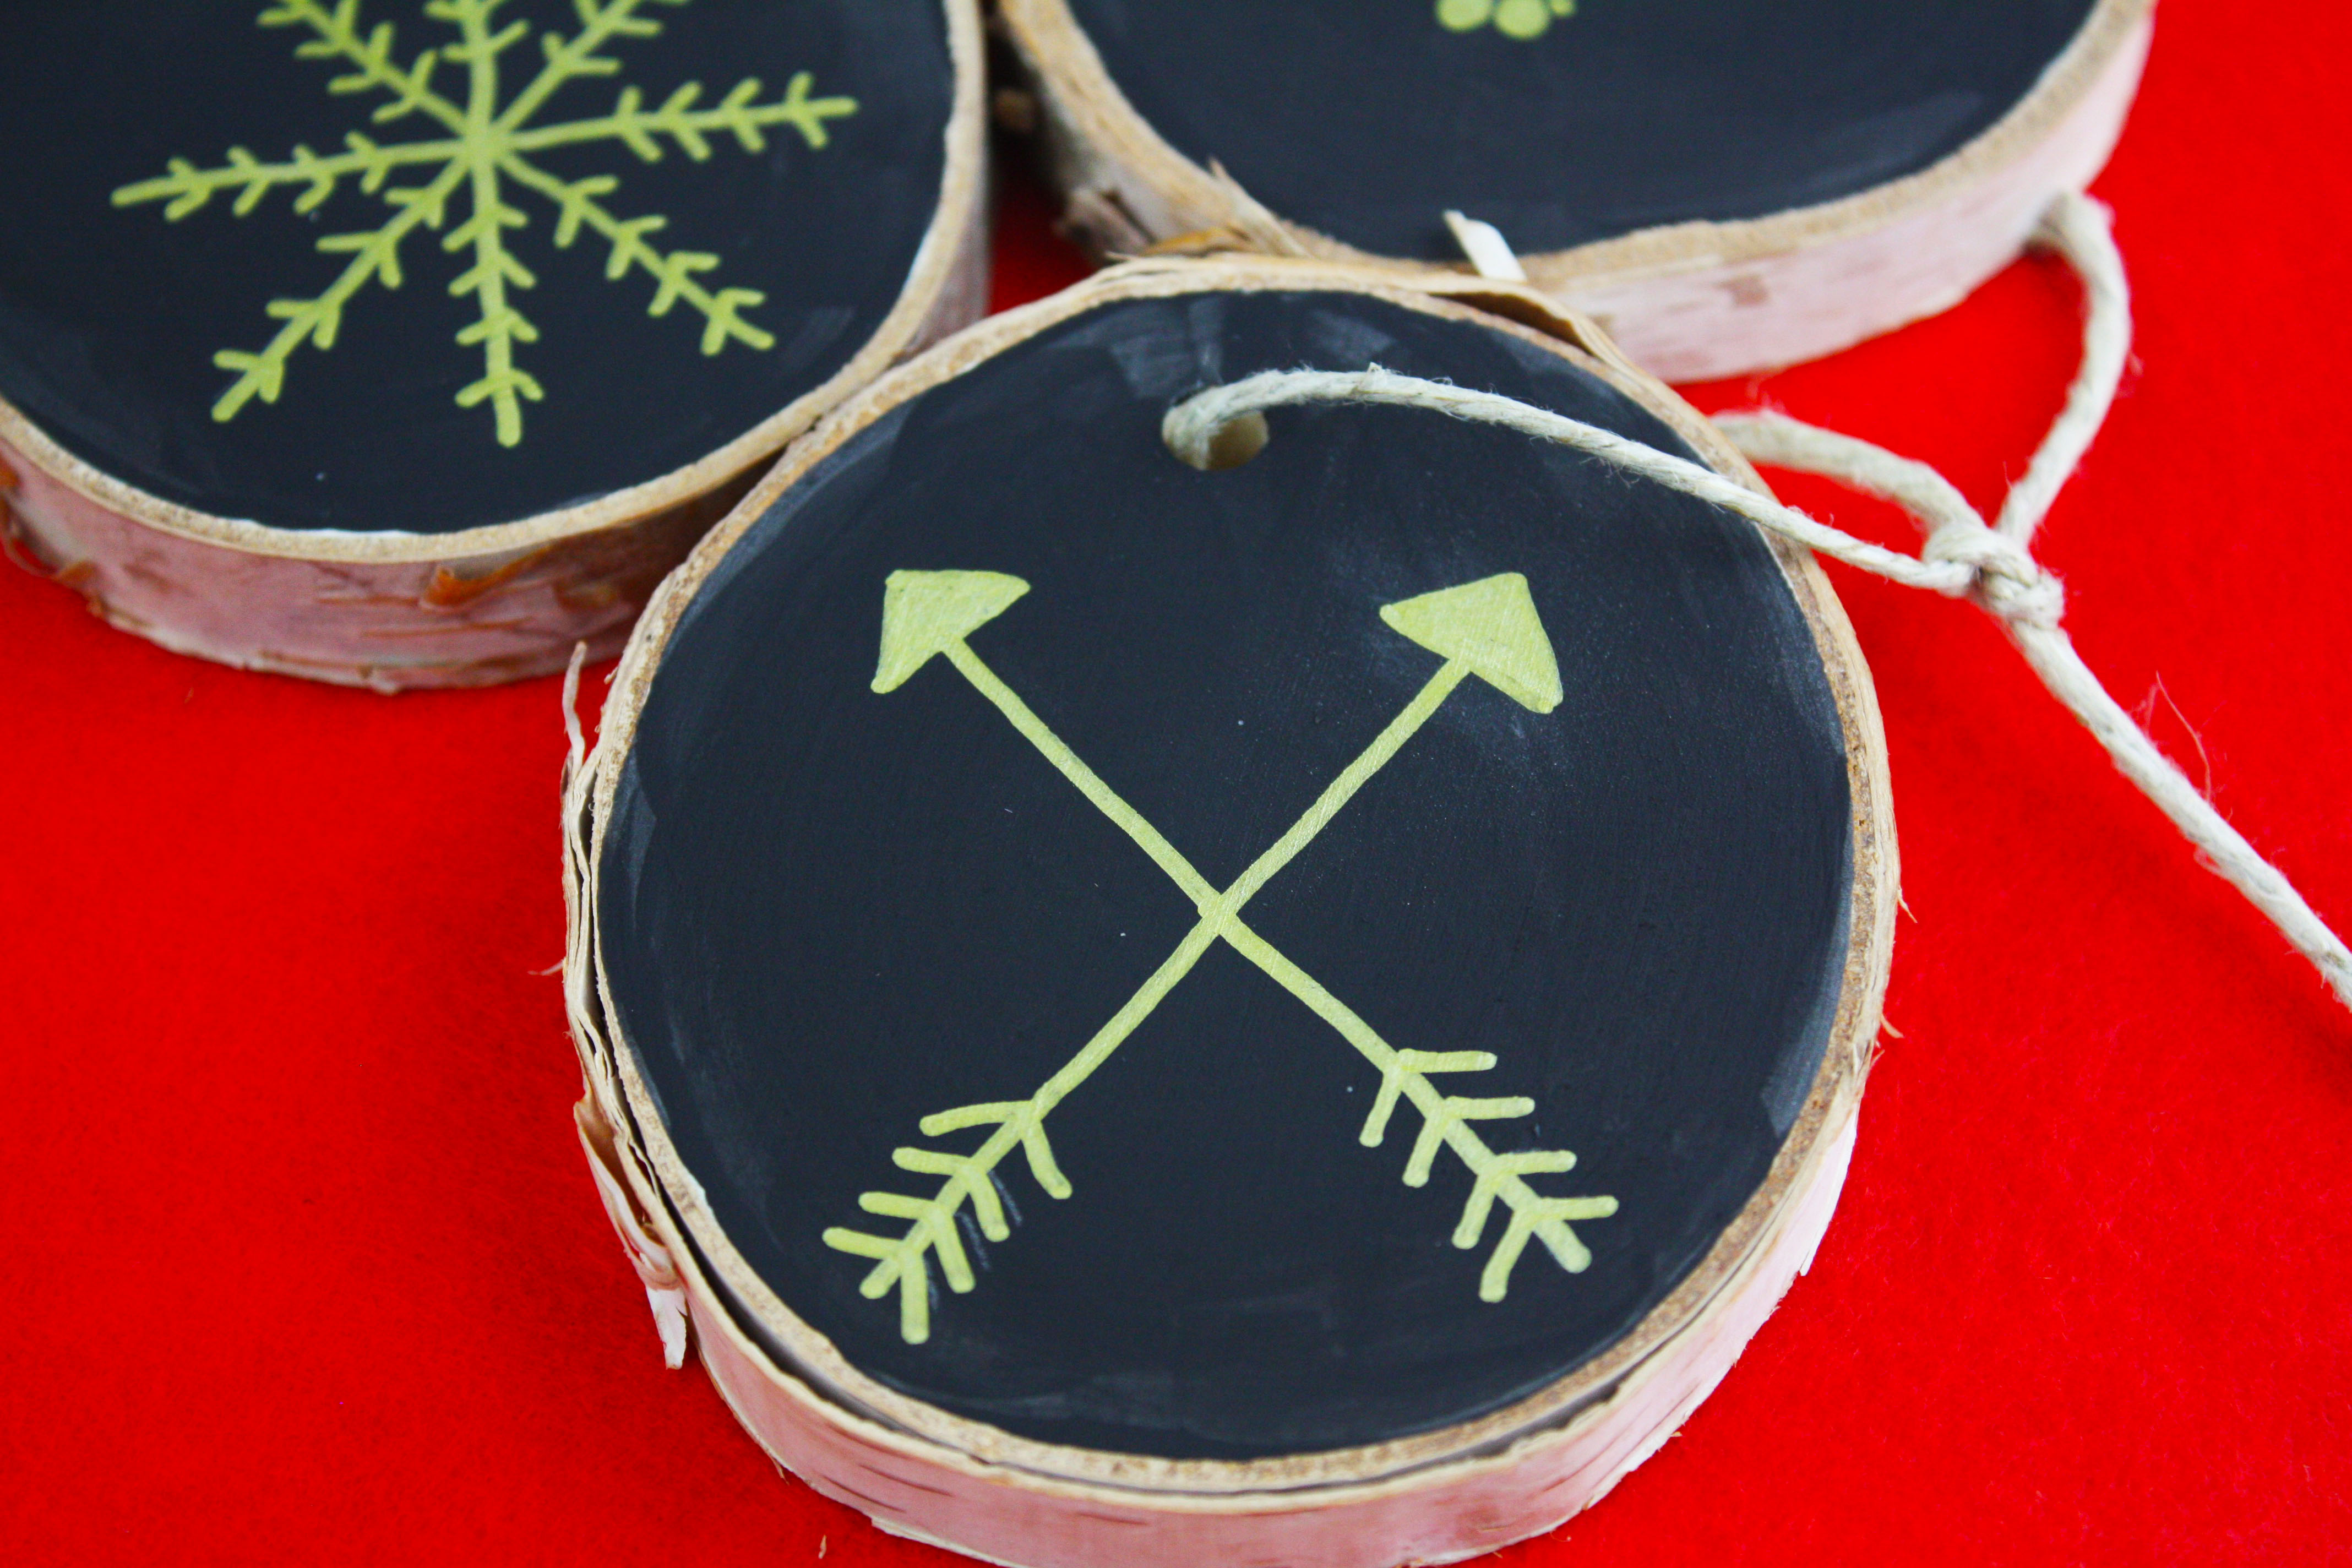
Here’s a last minute wooden chalk Christmas ornament DIY that will give your tree that rustic boho look! And your kids can easily participate in this one. This is a great weekend activity for your family.
Wooden Chalk Christmas Ornament DIY
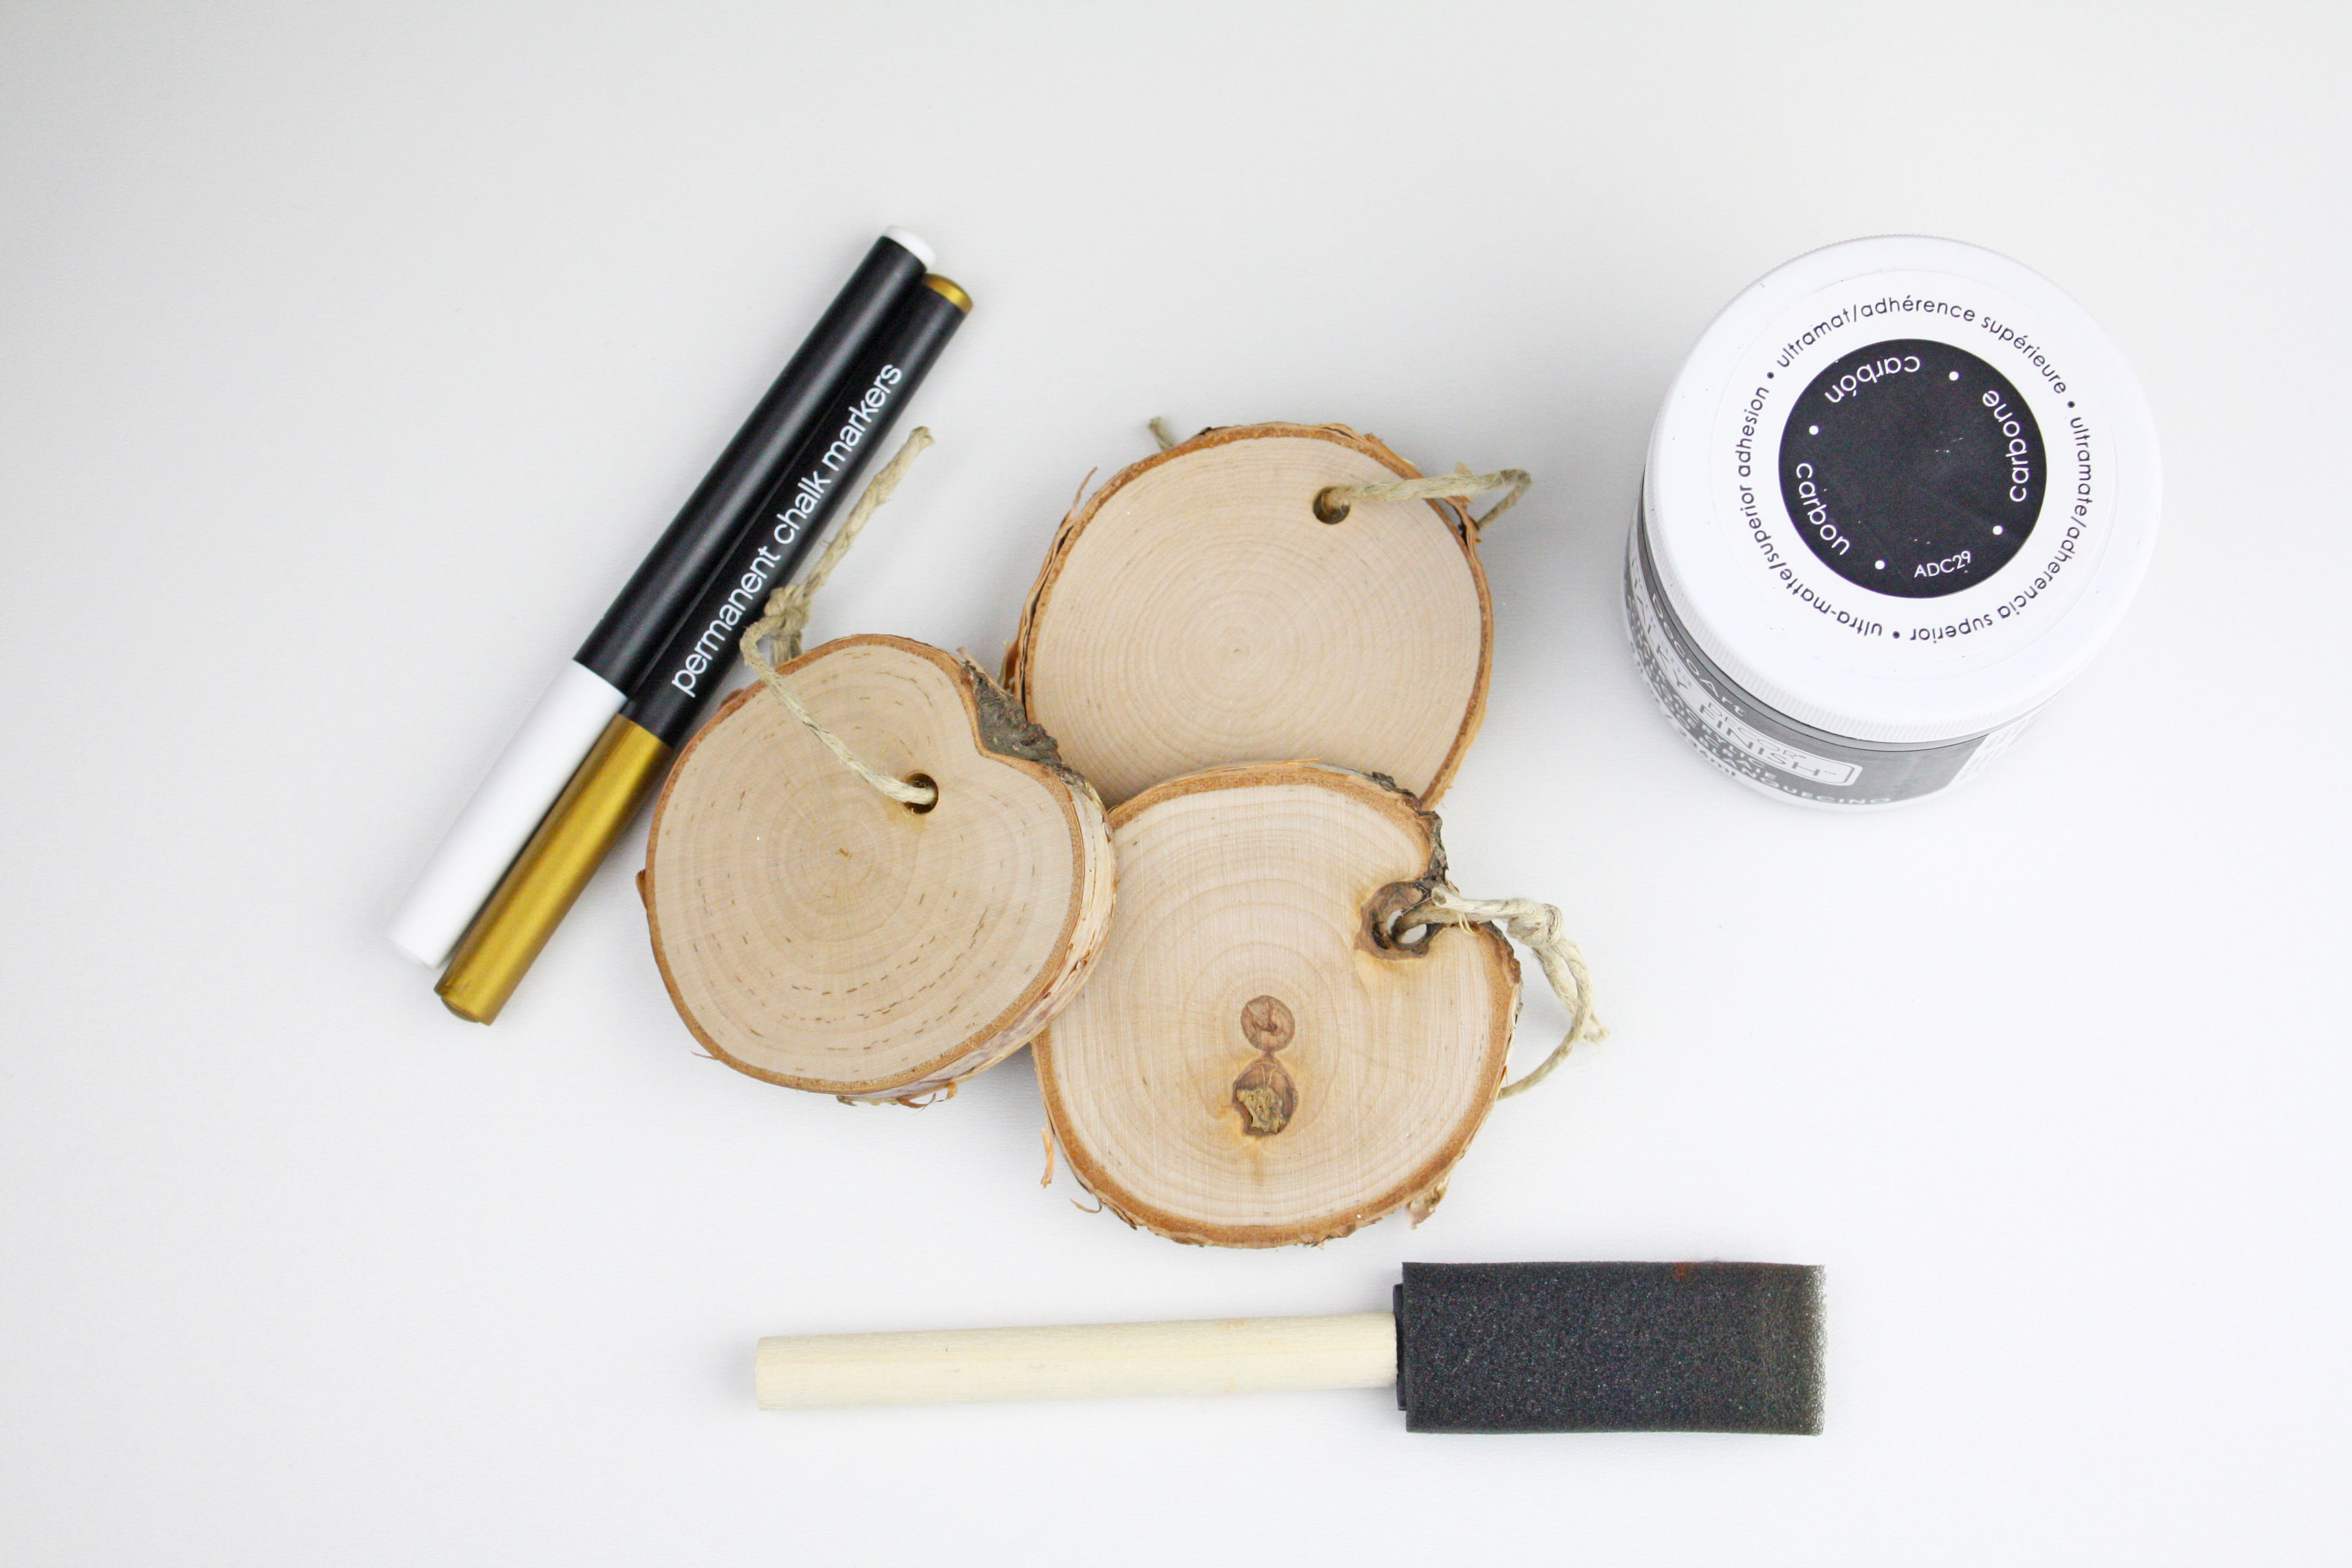
What you need (affil):
Optional: stencils
Directions:
Step 1:
Paint each wood slice with 1-2 coats of the chalkboard paint.

Step 2:
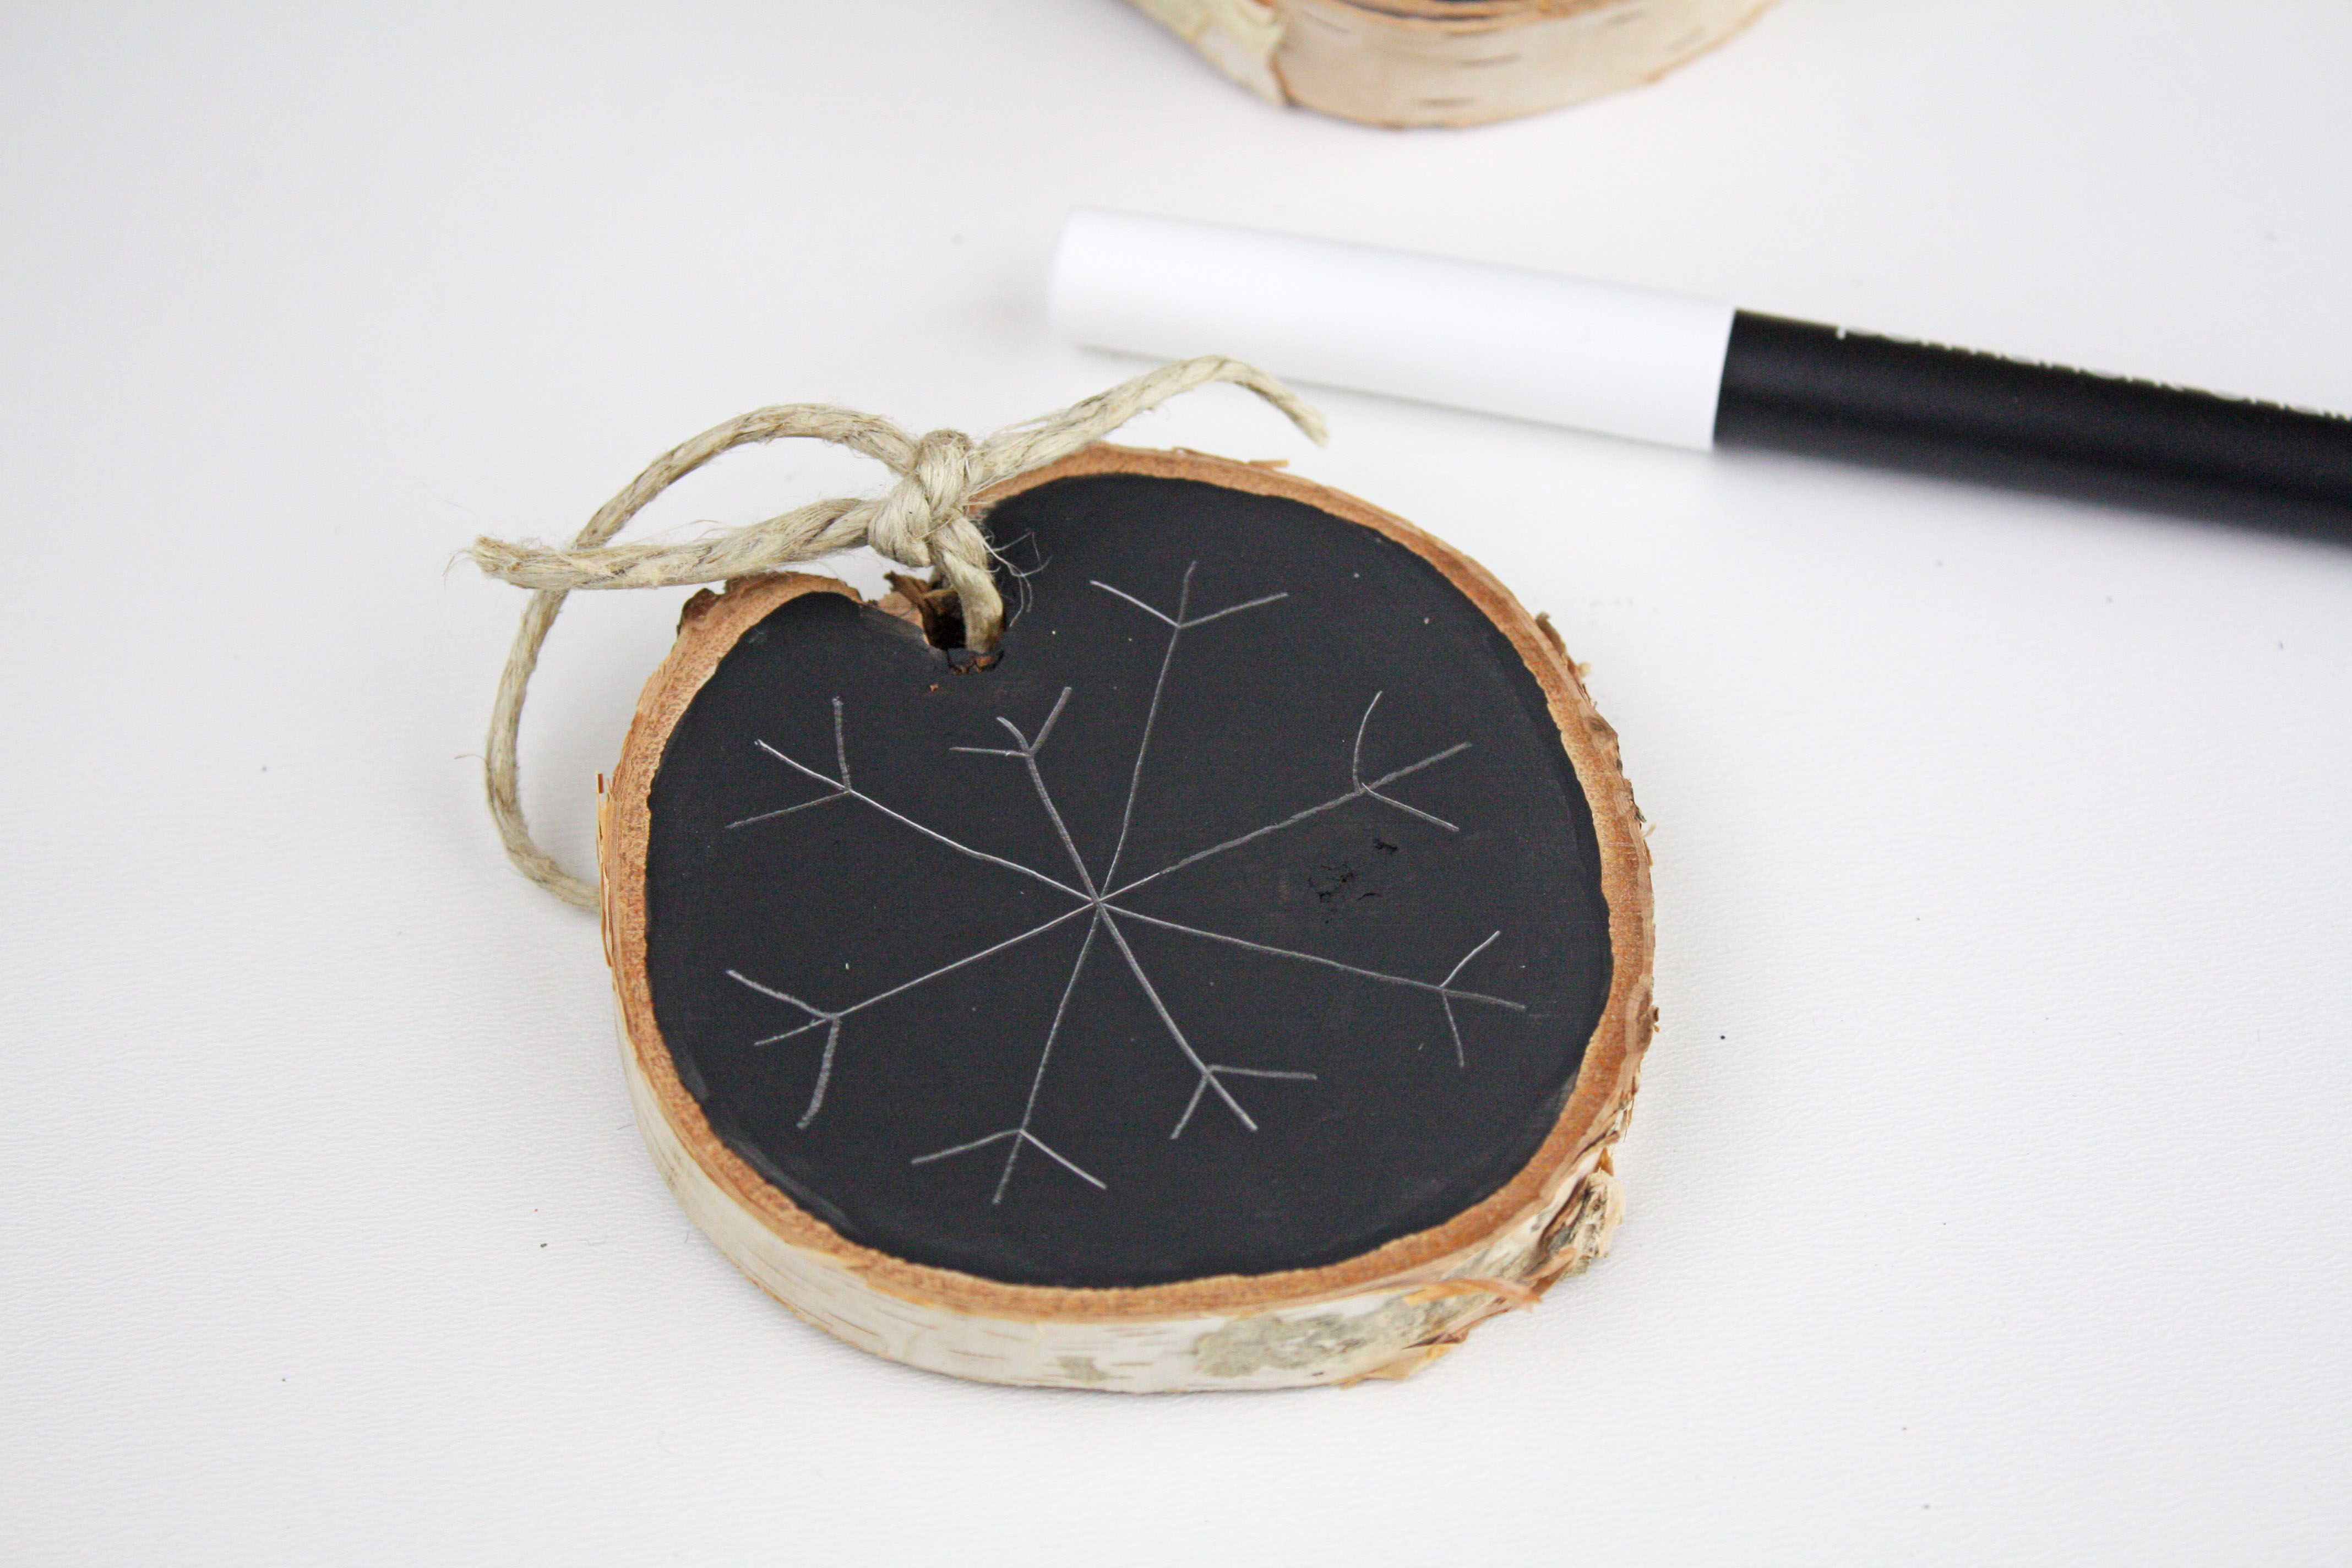
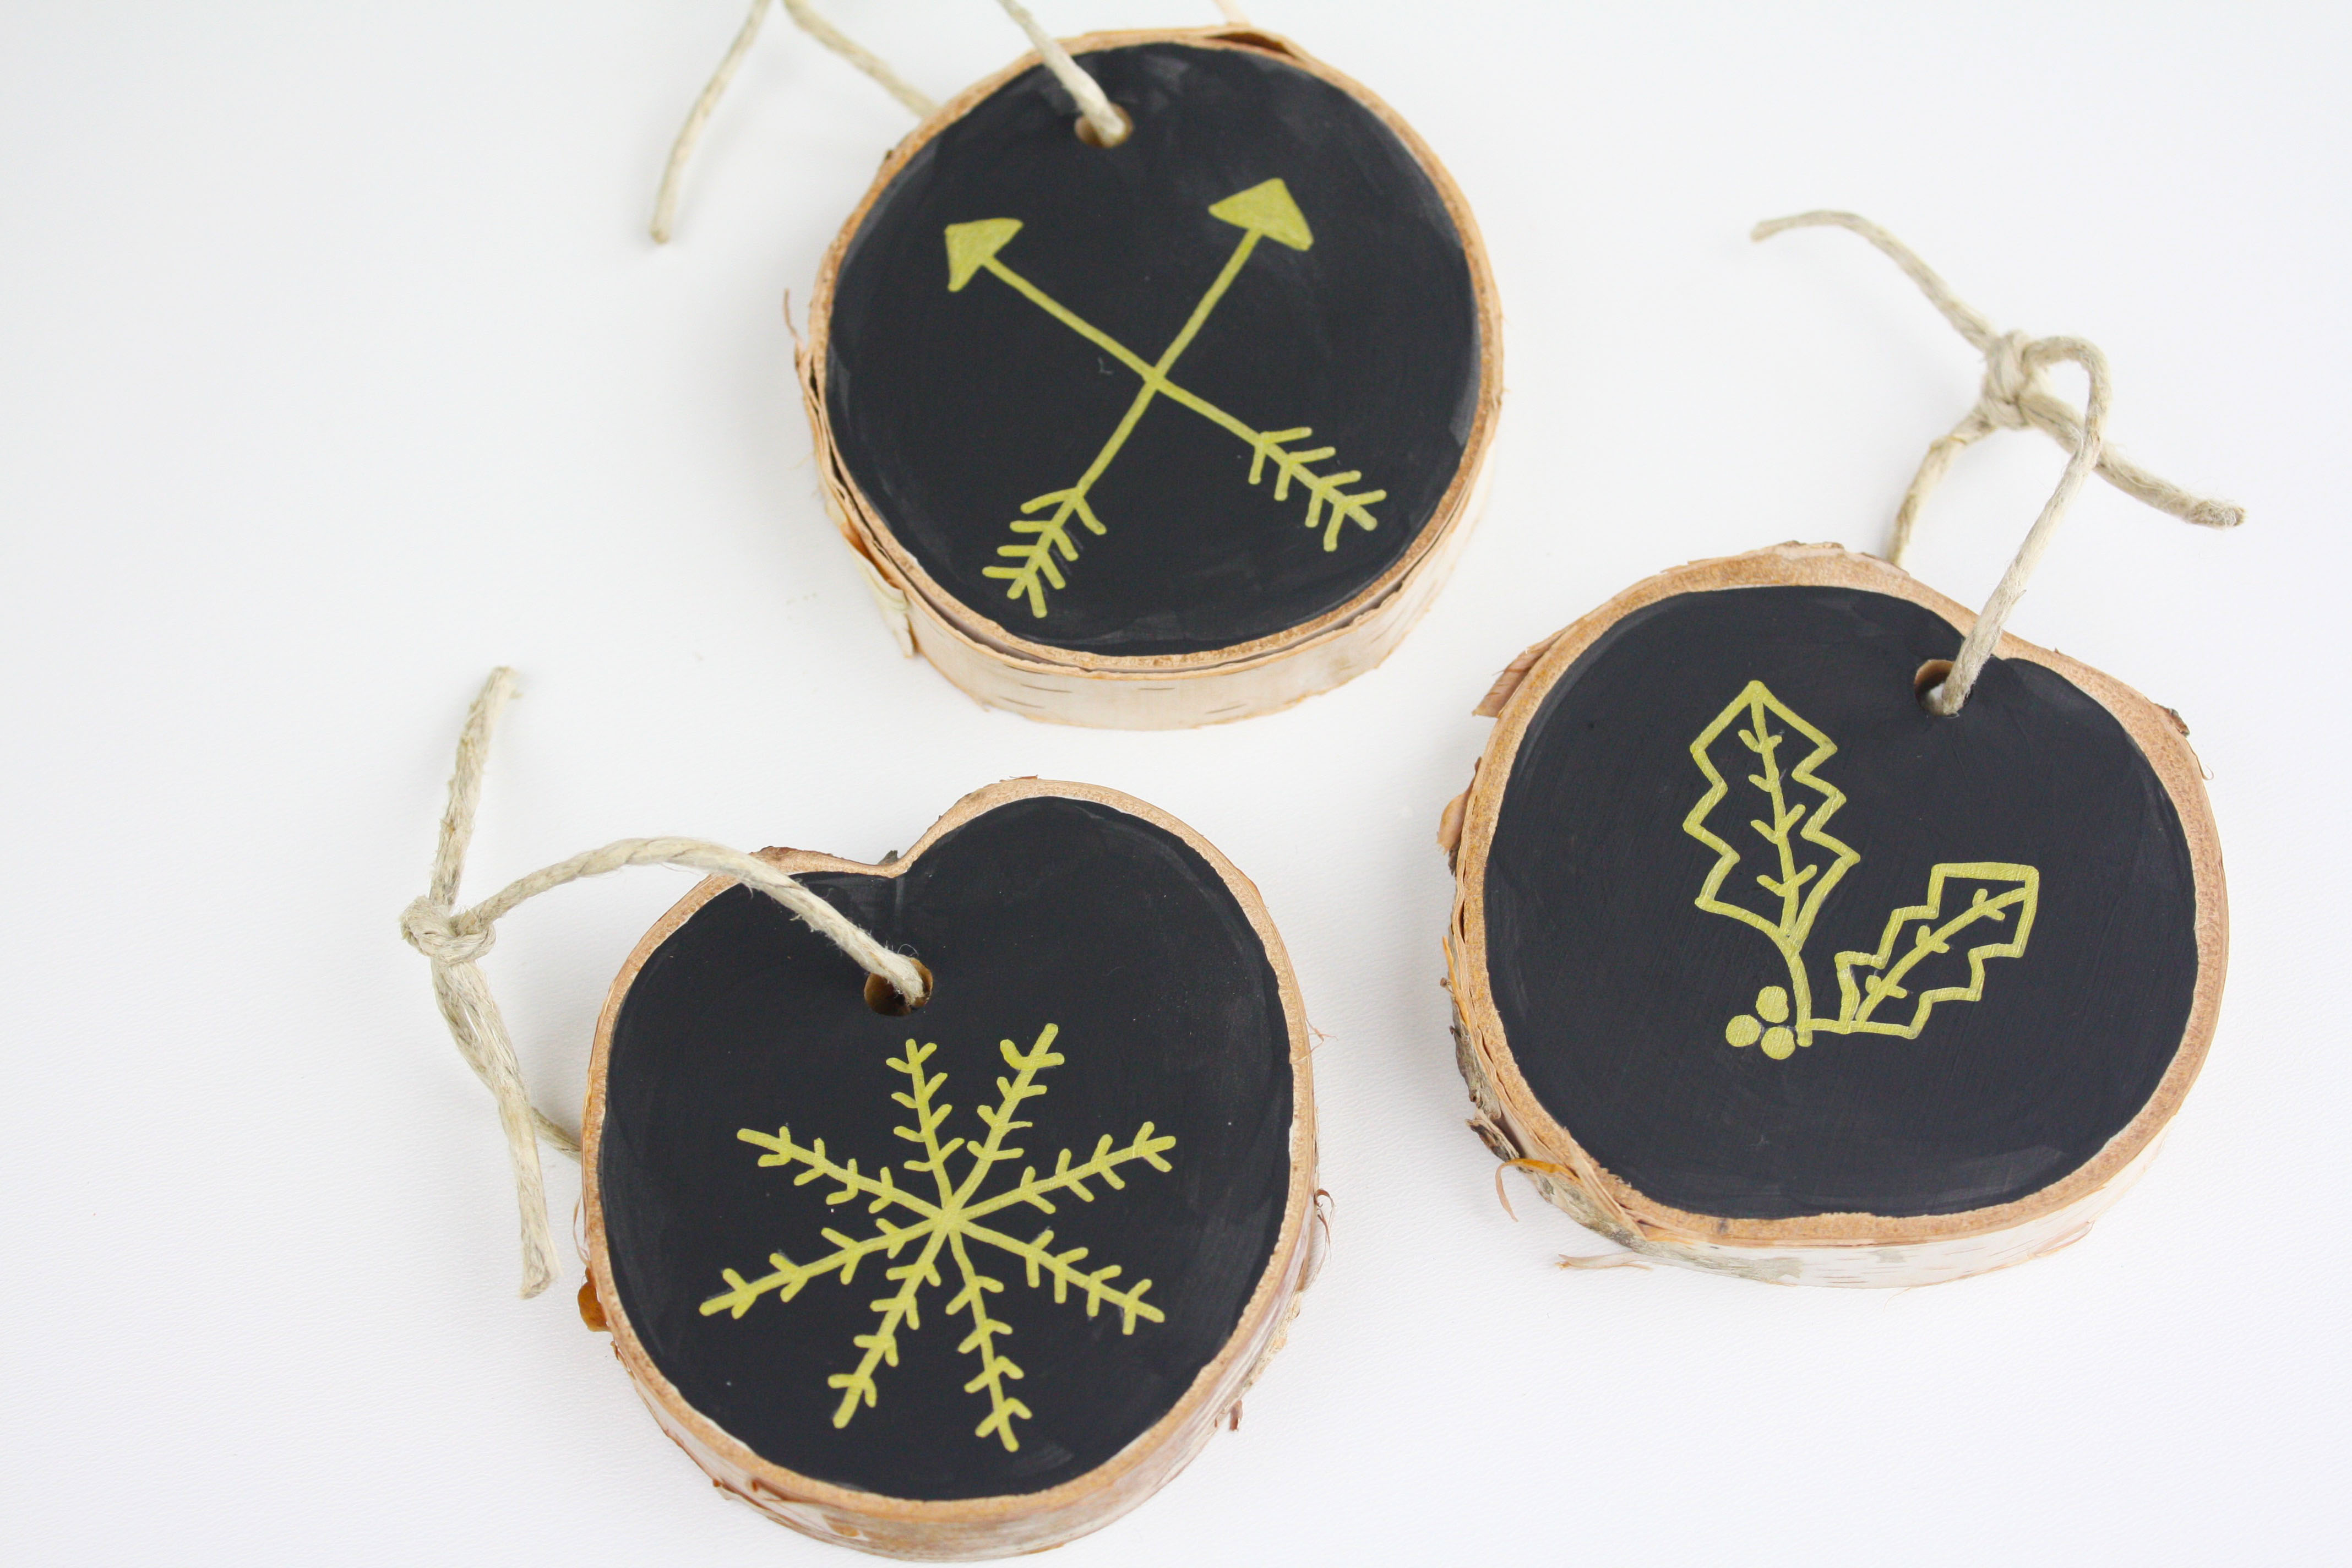
Use chalk markers to freehand draw or stencil mistletoe, arrows and a snowflake. We used a gold chalk marker. You could also use sharpie paint pens.
Step 3:
Add colorful holiday ribbon or string to each wood slice ornament.
For more holiday inspiration, check out these amazing Christmas parties on our site and all our collections of free Christmas printables.
OTHER CHRISTMAS BLOG POSTS YOU’LL LIKE:
Here Are Some More Christmas Posts You’ll Enjoy!
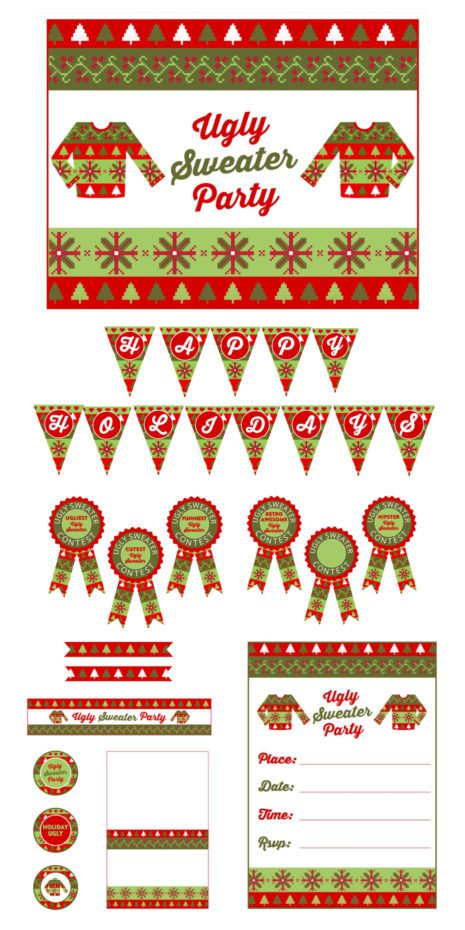
- Download these Festive FREE Ugly Sweater Party Printables
- Make a Winter Sea Breeze Holiday Cocktail

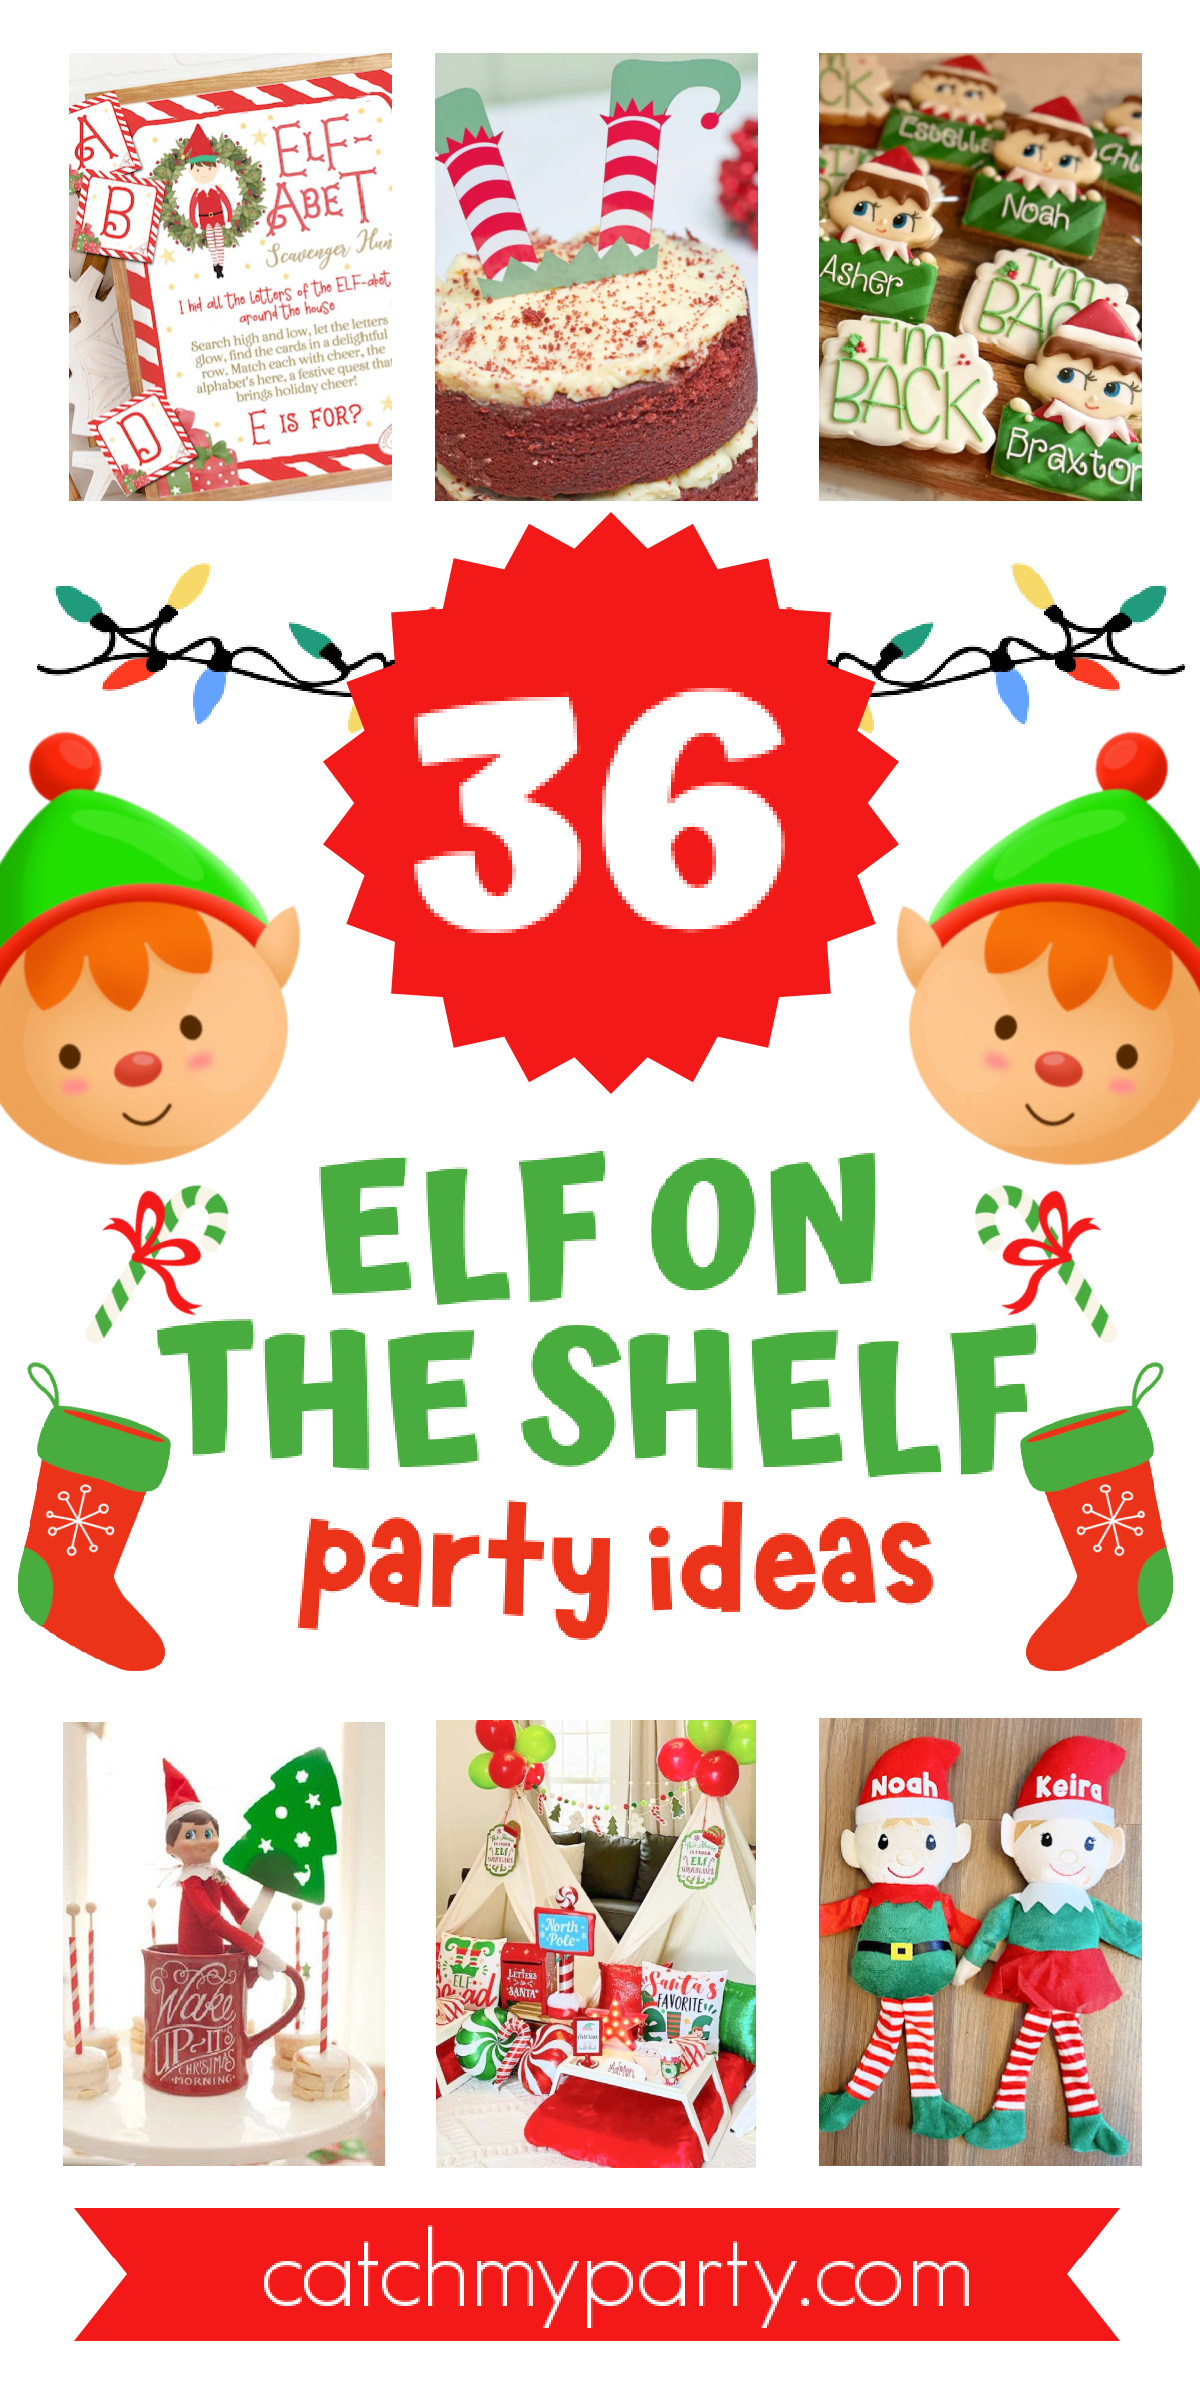
- 36 Festive Elf on the Shelf Christmas Party Ideas!
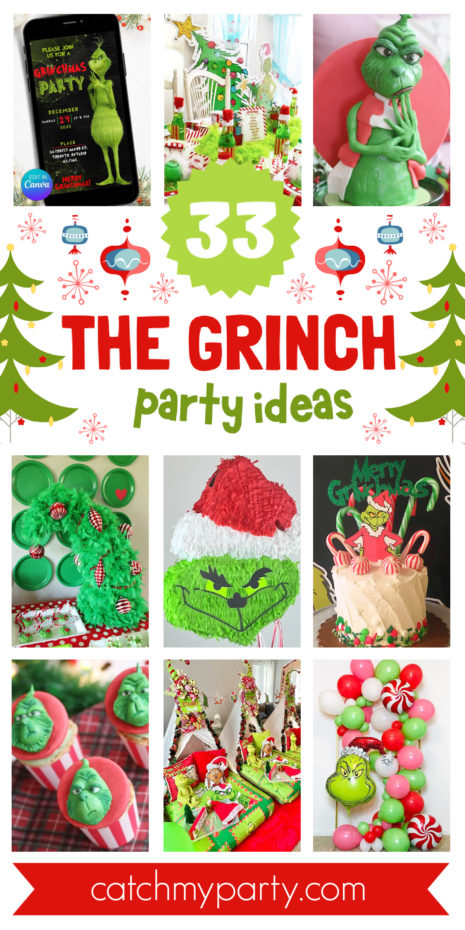
- The 33 Best Christmas Grinch Party Ideas!
- Celebrate This Holiday Season With These Fantastic Christmas Food and Drink Ideas!
- 30 ELEGANT Christmas Party Themes and Party Ideas!🎄